
Are you tired of slow wireless internet speeds in certain areas of your home or office? Well, there’s a solution that can help you share your wireless connection through Ethernet and improve your internet experience. By utilizing this method, you can extend the reach of your wireless network to areas with weak or no signal, ensuring a stable and fast connection throughout your space. In this article, we will guide you through the process of sharing your wireless connection through Ethernet, providing step-by-step instructions and valuable tips along the way. Whether you’re looking to boost your internet connection for gaming, streaming, or simply to improve productivity, this method can make a significant difference. So, let’s dive in and discover how to share your wireless connection through Ethernet!
Inside This Article
- Configuring the Wireless Connection
- Configuring the Ethernet Connection
- Sharing the Wireless Connection Through Ethernet
- Troubleshooting the Connection
- Conclusion
- FAQs
Configuring the Wireless Connection
Configuring the wireless connection on your device is essential for enabling hassle-free internet access. Whether you are setting up a new device or reconnecting to an existing network, following the correct steps ensures a seamless and secure connection. In this section, we will explore the process of configuring a wireless connection in a detailed and user-friendly manner.
To configure the wireless connection, begin by accessing the settings menu on your device. This can typically be done by tapping the gear icon or navigating to the “Settings” option in the main menu. Once you have accessed the settings, locate the “Wi-Fi” option.
Upon finding the “Wi-Fi” option, tap on it to enter the wireless network settings. Here, you will find a list of available Wi-Fi networks in your vicinity. Locate your desired network from the list and tap on it.
If the network is secured, you will be prompted to enter the Wi-Fi password. Carefully enter the password using the on-screen keyboard. To ensure accuracy, pay close attention to uppercase and lowercase letters, as well as any special characters that may be included in the password.
After entering the password, tap on the “Connect” button to establish a connection to the wireless network. Your device will now attempt to connect to the network, and once successfully connected, you will see a confirmation message or an icon indicating a successful connection.
In some cases, you may need to verify additional settings, such as the network security type or the IP address assignment method. These settings can usually be found in the advanced settings or network settings section. If you are unsure about these settings, it is recommended to consult the device’s user manual or contact the manufacturer’s support for assistance.
It’s important to note that Wi-Fi signals can vary in strength, so it’s advisable to position your device in close proximity to the wireless router for the best signal reception. Additionally, keeping your device’s software and firmware up to date can improve compatibility and resolve any potential connectivity issues.
By following these steps and configuring your wireless connection correctly, you can enjoy uninterrupted internet access and take full advantage of the wireless capabilities of your device.
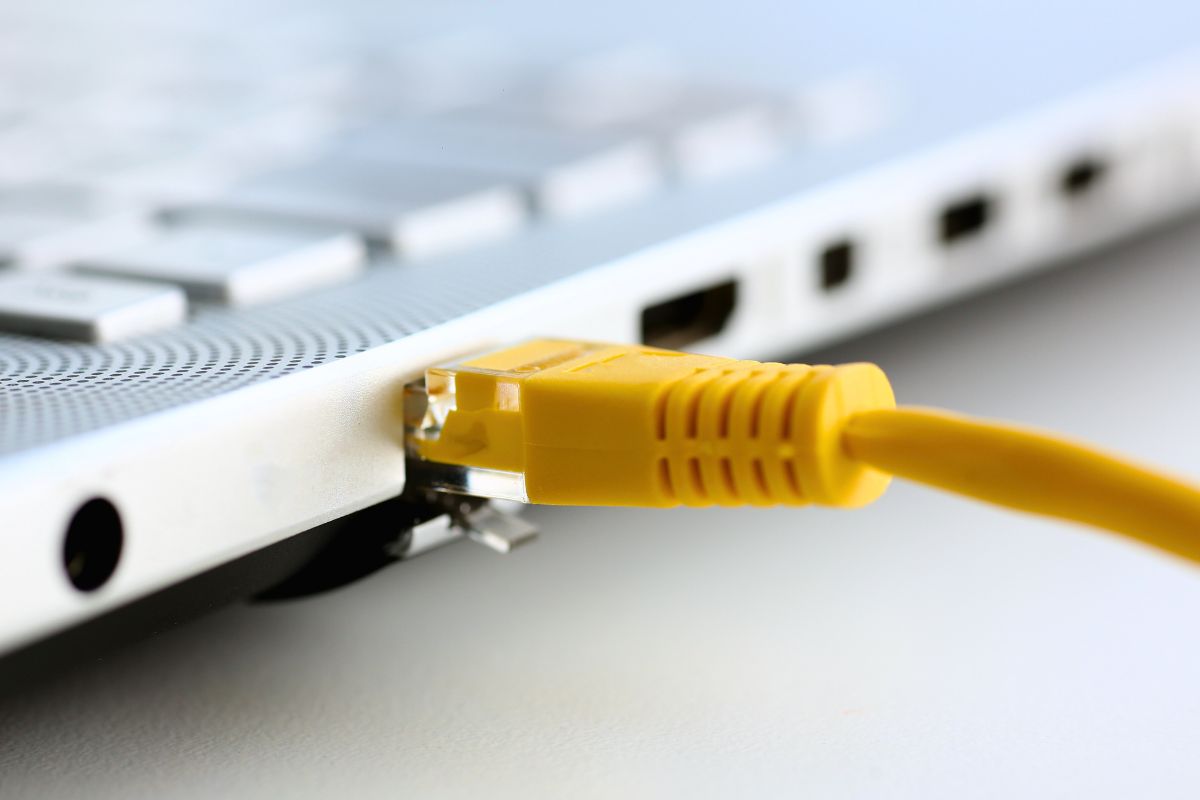
Configuring the Ethernet Connection
Connecting your device to the internet via an Ethernet connection is a reliable and convenient way to ensure a stable and fast connection. Configuring the Ethernet connection is a straightforward process that can be done in just a few simple steps. Here’s a step-by-step guide to help you set up your Ethernet connection:
Step 1: Connect the Ethernet cable to your device and the router or modem. Make sure that the cable is securely plugged into both ends to avoid any connection issues.
Step 2: On your device, open the Network and Internet settings. This can typically be found in the Control Panel or the System Preferences, depending on your operating system.
Step 3: Look for the Ethernet settings and click on it. You may need to select the option that says “Ethernet” or “Wired Connection.”
Step 4: Once you have opened the Ethernet settings, you may need to click on the “Configure” or “Properties” button. This will allow you to customize the settings for your Ethernet connection.
Step 5: In the configuration settings, you can choose to obtain the IP address automatically or enter it manually. If you’re unsure, it’s usually recommended to select the automatic option.
Step 6: Save the settings and exit the configuration window. Your device should now recognize the Ethernet connection and establish a connection to the internet.
Step 7: To test the connection, open a web browser and visit a website. If the page loads properly, congratulations! Your Ethernet connection is successfully configured.
Remember, configuring the Ethernet connection may differ slightly depending on your device’s operating system. However, the general steps outlined above should work for most devices. If you encounter any issues, refer to the user manual or contact the manufacturer for further assistance.
By following these steps, you can easily configure your Ethernet connection and enjoy a stable and reliable internet connection. Whether you’re using it for work, gaming, or streaming, an Ethernet connection ensures that you have a seamless online experience.
Sharing the Wireless Connection Through Ethernet
Are you tired of slow Wi-Fi speeds and unreliable connections? Do you want to enjoy a faster and more stable internet connection on your devices? Well, you’re in luck! In this article, we will explore the method of sharing your wireless connection through Ethernet, providing you with a seamless and lightning-fast internet experience.
When it comes to sharing your wireless connection through Ethernet, there are a few methods you can choose from. Let’s take a closer look at each one:
- Using a Wi-Fi router with an Ethernet port: One of the simplest ways to share your wireless connection is by using a Wi-Fi router that has an Ethernet port. Simply connect your wireless router to your modem, and then connect your device to the router using an Ethernet cable. This allows the router to act as a bridge, converting your wireless connection into a wired Ethernet connection.
- Using a computer as a bridge: Another method is to use your computer as a bridge between your wireless connection and the device you want to connect via Ethernet. To do this, you will need to enable Internet Connection Sharing (ICS) on your computer. This feature allows your computer to share its wireless connection with other devices connected via Ethernet.
- Using a wireless bridge: If you have a device that lacks an Ethernet port but supports Wi-Fi, you can use a wireless bridge to connect it to your wireless network and then share the connection via Ethernet. A wireless bridge acts as a bridge between your wireless network and the device, providing it with an Ethernet connection.
- Using a mobile hotspot: Lastly, if you have a smartphone or a tablet with a mobile hotspot feature, you can share your wireless connection through Ethernet by enabling the hotspot and connecting your device via USB tethering or using a USB-to-Ethernet adapter. This allows your mobile device to function as a wireless router, sharing its internet connection through Ethernet.
Now that you know the various methods available, let’s explore the benefits of sharing your wireless connection through Ethernet:
- Faster speeds: By sharing your wireless connection through Ethernet, you can experience faster internet speeds compared to relying solely on Wi-Fi. Ethernet connections provide more consistent and reliable speeds, especially for activities that require a high bandwidth, such as gaming or streaming.
- Stable connection: Ethernet connections are known for their stability. Unlike Wi-Fi, which can be affected by interference from other devices or obstacles within your environment, Ethernet connections offer a more reliable and uninterrupted connection.
- Reduced latency: For gamers and online video conference enthusiasts, latency is a significant concern. Sharing your wireless connection through Ethernet can help reduce latency and provide a smoother gaming experience or seamless video calls.
- Expanded network coverage: Sharing your wireless connection via Ethernet allows you to extend your network coverage. You can connect devices that are located further away from your wireless router through Ethernet cables, ensuring a strong and reliable connection throughout your home or office.
While sharing your wireless connection through Ethernet offers numerous benefits, it’s important to consider some limitations and factors before proceeding:
- Physical distance limitations: Ethernet connections are limited by the length of the Ethernet cable, typically up to 100 meters in length. If you need to connect devices that are further apart, you may need additional networking equipment, such as switches or additional routers.
- Compatibility and hardware requirements: Not all devices support Ethernet connections, so make sure the device you want to connect has an Ethernet port or can be connected via a wireless bridge. Additionally, you may need extra cables or adapters depending on the method you choose.
- Security considerations: Sharing your wireless connection through Ethernet means that the connected device will have access to your network. Ensure that you have proper security measures in place, such as enabling firewalls and using strong passwords, to protect your network from unauthorized access.
So there you have it – a comprehensive guide on sharing your wireless connection through Ethernet. Whether you use a Wi-Fi router, enable internet connection sharing on your computer, use a wireless bridge, or leverage your mobile hotspot, you can enjoy faster speeds, a stable connection, reduced latency, and expanded network coverage. Just be aware of the limitations and ensure the necessary hardware and security measures are in place. Now, go ahead and transform your internet experience!
Troubleshooting the Connection
When it comes to sharing a wireless connection through Ethernet, it’s not uncommon to encounter some connection issues along the way. However, with a little troubleshooting, you can quickly resolve these problems and get back to enjoying a seamless online experience.
Here are some common troubleshooting steps to follow:
1. Check the Ethernet cable: Ensure that the Ethernet cable is securely plugged in at both ends. Sometimes, a loose connection can cause intermittent or no connectivity at all.
2. Restart your devices: Power cycling your devices, including the wireless router, Ethernet adapter, and computer, can often resolve connectivity issues. Simply turn off each device, wait for a few seconds, and then turn them back on.
3. Verify the network settings: Confirm that your wireless router is set up correctly and broadcasting a signal. You can do this by accessing the router’s administration interface and checking the wireless settings.
4. Update drivers: Ensure that your Ethernet adapter’s drivers are up to date. Outdated drivers may cause compatibility issues and lead to connection problems.
5. Check firewall and antivirus settings: Sometimes, security software can block network connections. Temporarily disable your firewall and antivirus software to see if it resolves the issue.
6. Reset network settings: If all else fails, you can reset your network settings. This can be done by opening the Command Prompt and typing “ipconfig /flushdns” to clear the DNS cache.
By following these troubleshooting steps, you should be able to resolve most common connection issues when sharing a wireless connection through Ethernet. However, if the problem persists, it may be helpful to consult your internet service provider or seek professional assistance.
Conclusion
Sharing a wireless connection through Ethernet can be a useful solution in various scenarios, whether you need to extend your internet access, improve connectivity, or create a local network. By following the steps outlined in this guide, you can easily share your wireless connection with devices that don’t have built-in Wi-Fi capabilities.
From setting up a wireless access point to configuring network settings, we have covered everything you need to know to establish a stable and secure Ethernet connection. Remember to choose the appropriate equipment, ensure compatibility, and maintain proper security measures to safeguard your network.
By sharing your wireless connection through Ethernet, you can enhance productivity, enjoy seamless connectivity, and make the most out of your internet connection. So go ahead, follow the steps, and start sharing your wireless connection with ease!
FAQs
1. Can I share my wireless connection through an Ethernet cable?
Yes, you can share your wireless connection through an Ethernet cable. This process is commonly known as internet sharing or Ethernet bridging. It allows you to connect a device that doesn’t have Wi-Fi capabilities directly to the internet using your computer’s wireless connection.
2. How do I share my wireless connection through an Ethernet cable?
To share your wireless connection through an Ethernet cable, you need to enable internet sharing on your computer. Go to the network settings, select your wireless connection, and enable the option to share your connection with other devices via Ethernet. Once enabled, you can connect the Ethernet cable to the device you want to provide internet access to.
3. What are the benefits of sharing a wireless connection through Ethernet?
Sharing a wireless connection through Ethernet offers several benefits. Firstly, it allows you to provide internet access to devices that don’t have Wi-Fi capabilities, such as gaming consoles, smart TVs, or desktop computers without Wi-Fi cards. Additionally, sharing through Ethernet can provide a more stable and reliable connection compared to a wireless signal, which can be affected by interference or distance from the router.
4. Are there any limitations when sharing a wireless connection through Ethernet?
While sharing a wireless connection through Ethernet is a convenient solution, there are a few limitations to consider. Firstly, the device you want to connect to the internet through Ethernet must be in close proximity to your computer with the shared connection. Additionally, the speed and performance of the shared connection may be slightly reduced compared to a direct wired connection or a dedicated Wi-Fi connection.
5. Can I share my wireless connection through Ethernet on both Windows and Mac?
Yes, you can share your wireless connection through Ethernet on both Windows and Mac computers. The process may vary slightly depending on the operating system, but the overall concept remains the same. Just go to the network settings, enable internet sharing, and select Ethernet as the method to share the connection.