
Are you an aspiring artist looking to learn how to draw a realistic eye using Procreate? Look no further! In this comprehensive guide, we will walk you through step-by-step instructions and provide valuable tips on how to achieve stunning eye drawings with Procreate. Procreate is a powerful digital drawing app that offers a wide range of tools and features to bring your artwork to life. Whether you’re a beginner or an experienced artist, this article will equip you with the knowledge and techniques needed to create eye-catching eye drawings with Procreate. So, grab your digital stylus and let’s dive into the wonderful world of eye drawing on Procreate!
Inside This Article
Gathering Reference Material
Before you begin drawing an eye on Procreate, it’s important to gather reference material. References play a crucial role in understanding the structure, shading, and intricate details of an eye. Here are a few ways to gather reference material:
1. Use high-quality photographs: Look for sharp, clear, and well-lit photographs of eyes. You can find a wide range of eye photographs online, on platforms such as Unsplash or Pixabay. Ensure that the photographs have different angles, expressions, and lighting conditions to gain a comprehensive understanding.
2. Study real eyes: Observing real eyes can provide valuable insights into the complexity of the human eye. Take the time to study the eyes of your friends, family members, or even your own reflection. Notice the variations in iris color, pupil size, eyelid shapes, and the way light interacts with different eye structures.
3. Explore artistic references: Look for eye drawings or paintings created by other artists. This can help you gain inspiration, understand different artistic styles, and learn techniques to capture the essence of an eye on Procreate.
4. Follow tutorials and guides: Many artists and illustrators have created tutorials specifically for drawing eyes on Procreate. These tutorials often provide step-by-step instructions, tips, and techniques to help you improve your eye-drawing skills. Additionally, you can find guides or reference books that specialize in drawing eyes.
Remember: while gathering reference material, aim for a diverse range of images and sources. This will help you develop a well-rounded understanding of eye anatomy and enhance your ability to draw realistic and expressive eyes on Procreate.
Setting Up your Canvas
Before you start drawing an eye on Procreate, it’s important to set up your canvas properly. The canvas is the digital space where you will create your artwork. Follow these steps to ensure your canvas is set to the ideal specifications:
- Open Procreate: Launch the Procreate app on your device.
- Create a New Canvas: Tap on the “+” symbol or go to the “Gallery” and select “New Canvas” to create a new blank canvas.
- Select the Desired Dimensions: Choose the dimensions for your canvas. For drawing an eye, a square canvas is typically a good choice. You can control the dimensions by specifying the width and height in pixels or by choosing from the available presets.
- Choose the Resolution: Select the resolution for your canvas. Higher resolutions offer more detail but may require more processing power and storage space. For most eye drawings, a resolution of 300 DPI (dots per inch) is sufficient.
- Set the Color Profile: Decide on the color profile for your canvas. Procreate offers various options, such as RGB and sRGB. RGB is generally a good choice for digital artwork.
- Backup and Sync Options: Enable backups and sync options if you want to save your work to the cloud or back up your files automatically. This ensures that your artwork is safe even in the event of device failure.
- Background Color: Choose the background color for your canvas. You can opt for a white background or experiment with different colors to set the mood for your drawing.
- Save and Name Your Canvas: Give your canvas a name and tap on the “Create” button to finalize the setup. This will save your canvas and take you to the drawing interface.
By following these steps, you can set up your canvas on Procreate to begin drawing an eye with the perfect digital workspace. Take your time to explore the various options and settings available and find the combination that suits your artistic vision.
Sketching the Basic Shapes
Once you have established the proportions and placement of the eye, it’s time to start sketching the basic shapes that make up the eye’s structure. These shapes will serve as a foundation for adding the details later on. Here’s how to do it:
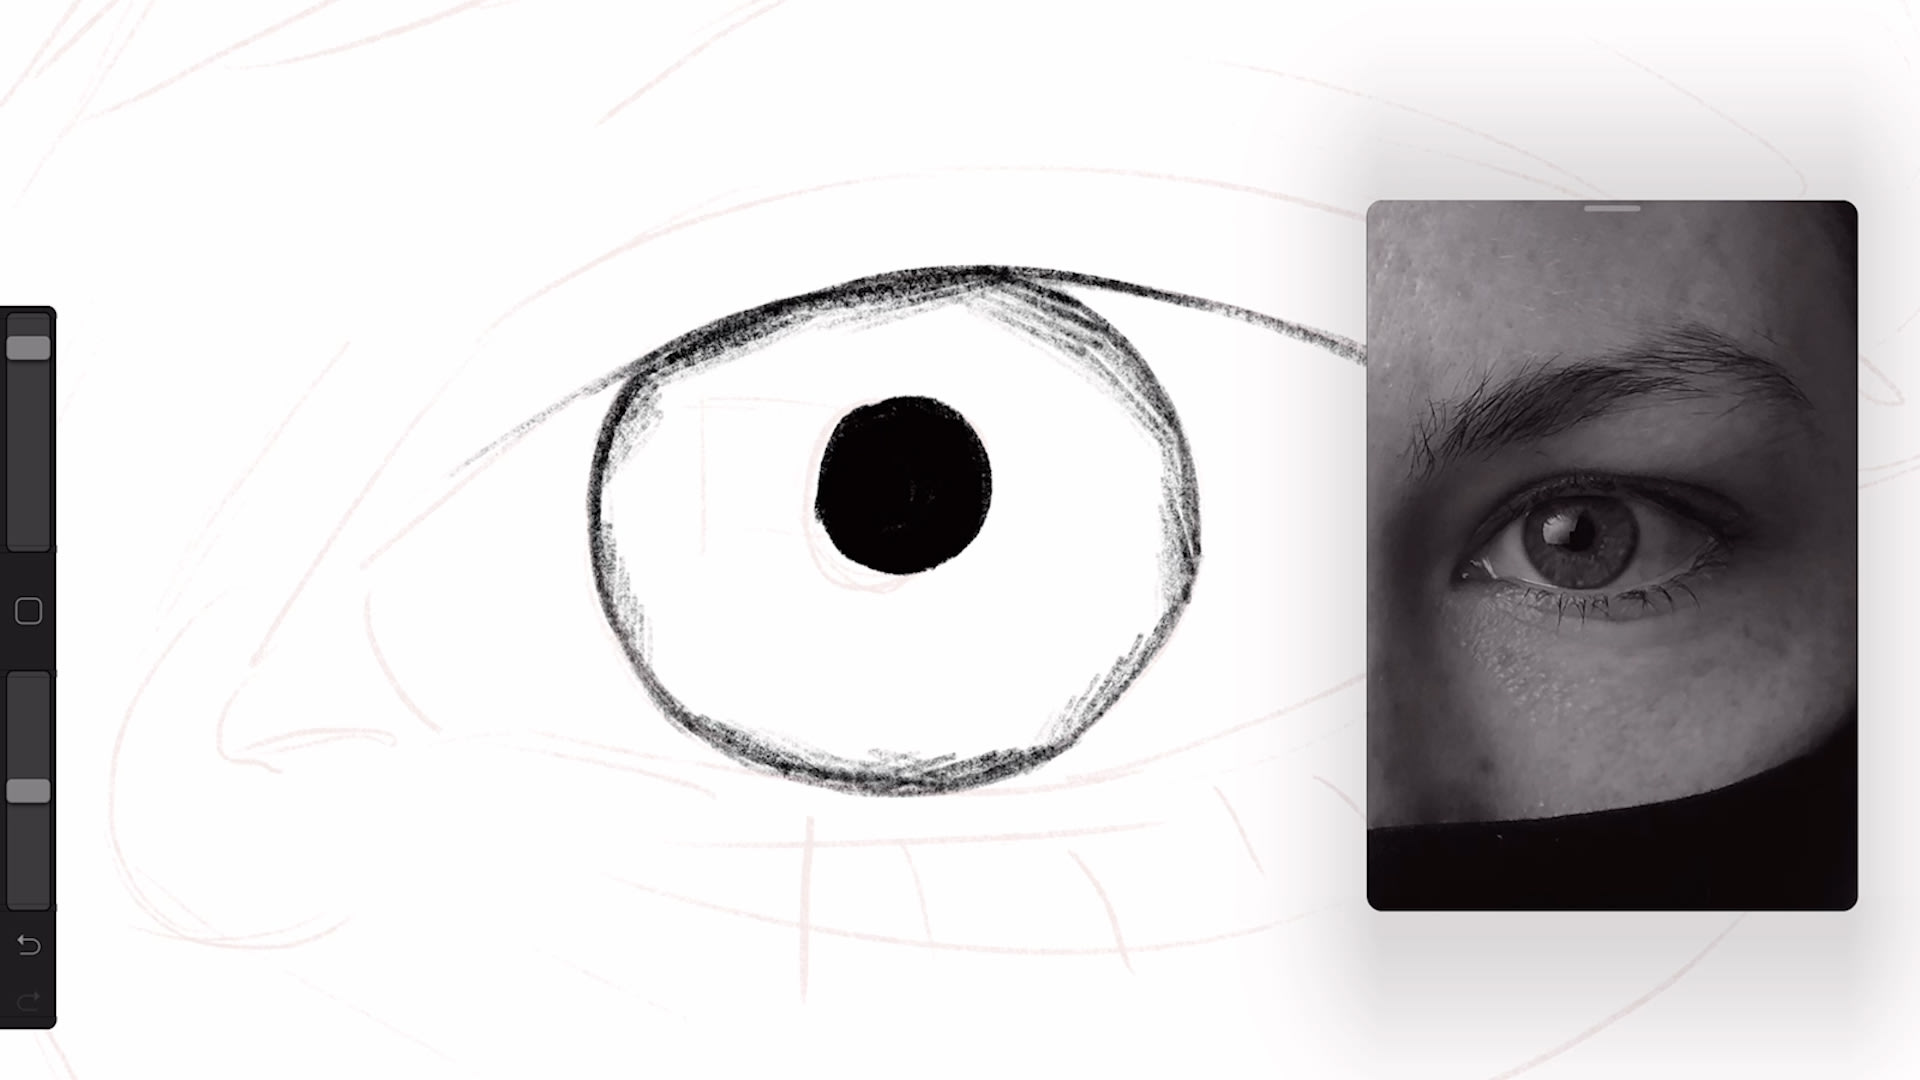
1. Begin by drawing a large oval shape in the center of the eye area. This oval will represent the iris and the pupil. Make sure it’s proportionate to the size of the eye and that it’s positioned correctly.
2. Next, draw a smaller oval shape within the larger one, slightly off-center. This smaller oval is the highlight of the eye, representing the reflection of light. Keep in mind the direction of the light source and position the highlight accordingly.
3. Now, draw a slightly curved line below the iris to indicate the lower eyelid. This line should follow the shape of the eye and connect smoothly with the outer edges of the larger oval.
4. To complete the basic shapes, draw a curved line above the iris to represent the upper eyelid. This line should be thicker and more defined than the lower eyelid. Make sure it follows the natural curve of the eye and connects smoothly with the outer edges of the larger oval.
5. Finally, add two small curved lines at the inner corner of the eye to indicate the tear duct. These lines should be shorter and thinner than the eyelids, and they should point towards the center of the eye.
By sketching these basic shapes, you will have a solid foundation for adding the details and refining your eye drawing. These shapes serve as a guide and help establish the correct proportions and placement of the different elements. Don’t worry about perfection at this stage; focus on capturing the overall structure of the eye.
Now that you have completed the basic shapes, you can move on to adding the details such as the eyelashes, eyebrow, and shading to bring your eye drawing to life.
Conclusion
In conclusion, drawing an eye on Procreate can be a rewarding and creative experience. With its advanced features and intuitive interface, Procreate offers a wide array of tools and brushes that allow artists to bring their vision to life with stunning precision and detail. Whether you are a beginner or an experienced artist, Procreate provides a versatile platform that allows you to unleash your artistic skills and create eye-catching eye drawings.
By following the step-by-step guide outlined in this article, you can learn the fundamental techniques and tips for drawing a realistic eye on Procreate. Remember to experiment with different brushes, shading techniques, and colors to achieve the desired effect and add your personal touch to your artwork.
So, grab your iPad, open up Procreate, and let your imagination take flight as you embark on the journey of drawing captivating eyes on this powerful digital art application. Happy drawing!
FAQs
1. Can I draw an eye on Procreate even if I’m a beginner?
Absolutely! Procreate is a versatile and user-friendly app that caters to artists of all skill levels. With its intuitive interface and extensive brush library, you can easily create stunning eye drawings, even as a beginner. Just take your time, practice, and don’t be afraid to experiment with different techniques to bring your eye drawings to life.
2. What are the essential tools in Procreate for drawing an eye?
To draw an eye on Procreate, you’ll need a few essential tools. First, make sure you have a selection of brushes that suit your style and preferences. This could include brushes for sketching, shading, and detailing. Additionally, using the layer features in Procreate can greatly enhance your workflow, allowing you to work on different elements of the eye separately. Finally, don’t forget to utilize Procreate’s blending modes and layer opacity settings to achieve realistic lighting and textures.
3. Are there any specific techniques for drawing realistic eyes on Procreate?
Yes, there are several techniques you can utilize to create realistic eyes on Procreate. Start by observing real eyes and studying their structure, including the iris, pupil, eyelids, and lashes. Use layers to build up your drawing, starting with a base sketch and gradually adding details. Pay attention to shading and highlights to create depth and dimension. Additionally, experimenting with different brush settings and blending modes can help you achieve more realistic textures and effects.
4. Can I make my eye drawings look more expressive on Procreate?
Absolutely! Procreate offers various tools and features that can enhance the expressiveness of your eye drawings. Consider experimenting with different brush styles to create unique textures and effects that reflect the mood or emotion you want to convey. Adding a touch of color and utilizing Procreate’s layer blending modes can also make your eye drawings more vibrant and dynamic. Don’t be afraid to push the boundaries and explore different artistic styles to bring out the desired level of expressiveness.
5. Are there any resources or tutorials available for learning to draw eyes on Procreate?
Yes, there are plenty of resources and tutorials available to help you learn how to draw eyes on Procreate. You can find step-by-step tutorials, video demonstrations, and even Procreate-specific courses online. Websites, YouTube channels, and online art communities are great places to start looking for these valuable resources. Additionally, don’t hesitate to experiment on your own and develop your unique style by practicing regularly and exploring different techniques with the app.