
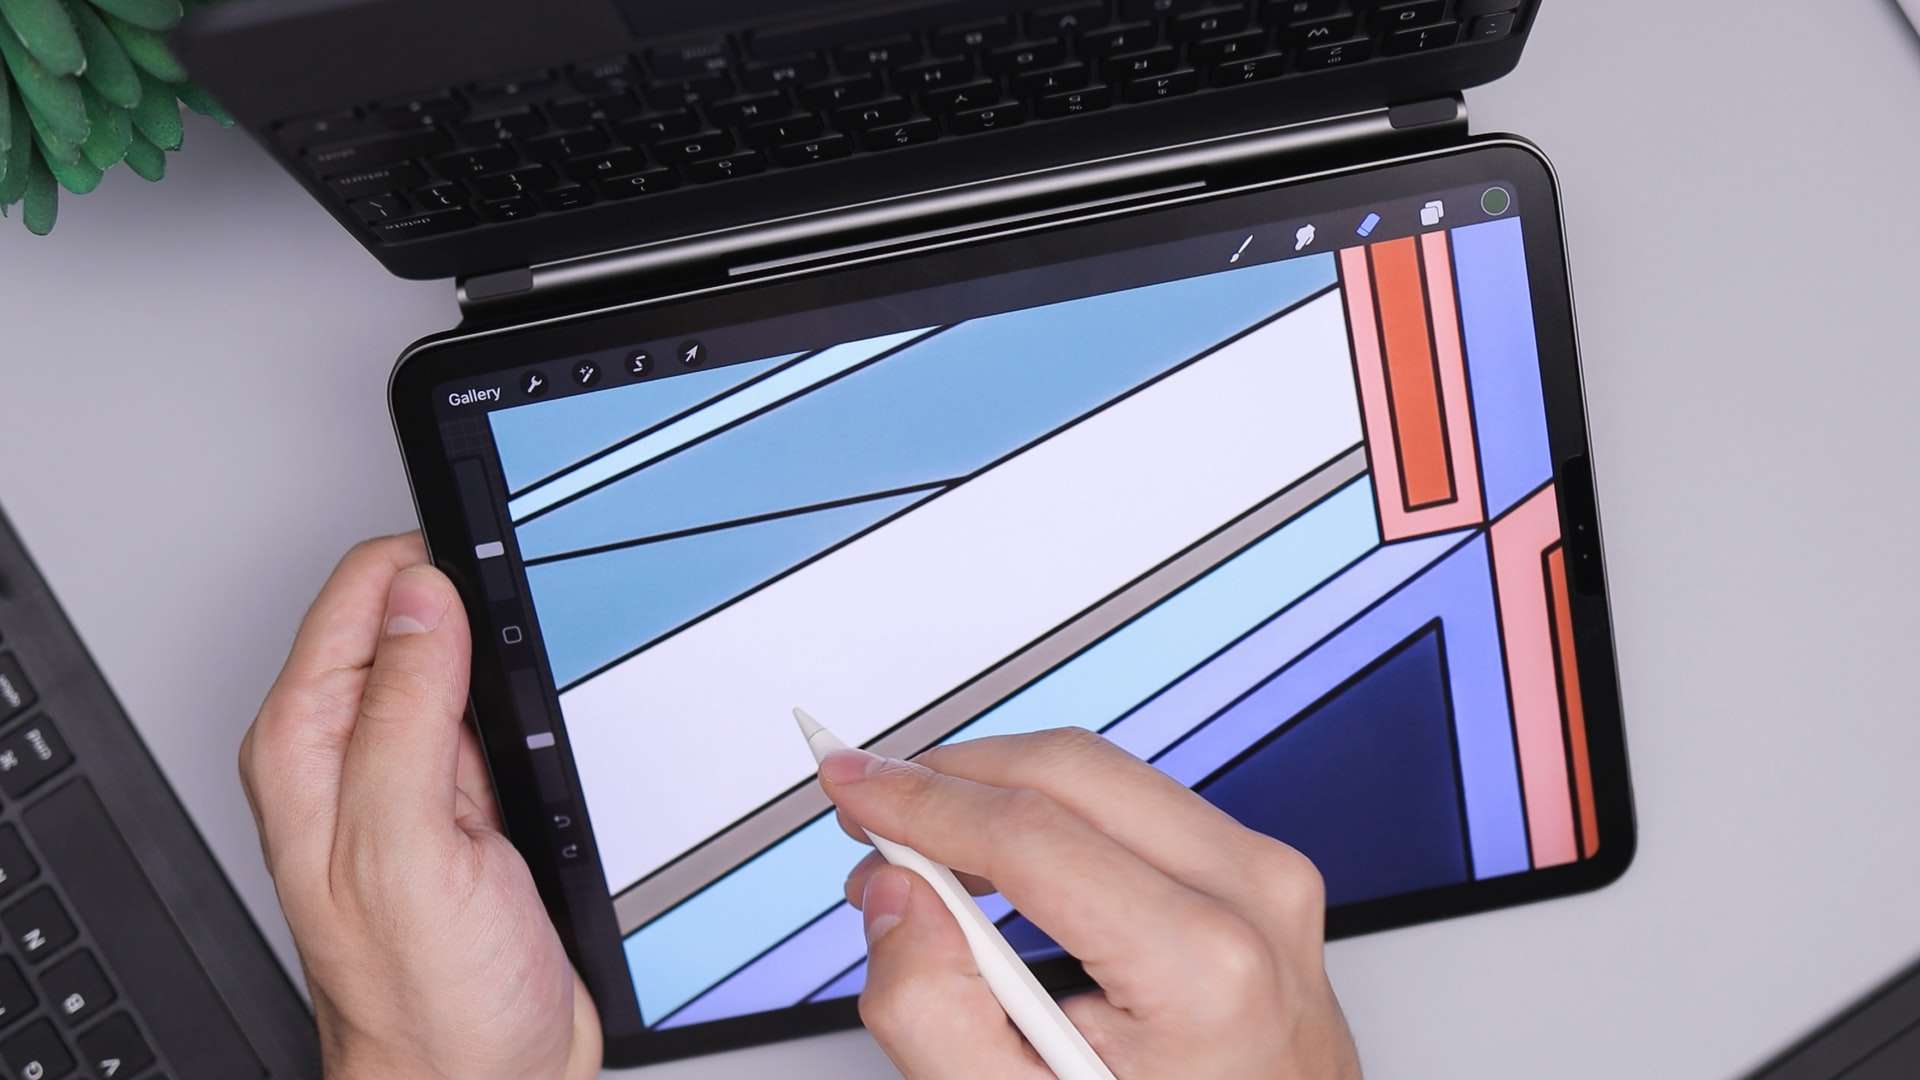
If you’re a creative artist or designer using the popular digital drawing app Procreate, you may have found yourself wondering how to make a straight line in this powerful software. Whether you’re working on a precise illustration or trying to maintain clean lines in your digital artwork, the ability to create straight lines is essential for achieving the desired level of accuracy and professionalism.
In this article, we will explore different techniques and tools that you can use in Procreate to effortlessly draw straight lines. From using the Drawing Guides feature to leveraging the QuickShape feature, we will cover a range of methods that will help you streamline your workflow and enhance your digital artwork. Whether you’re a novice or an experienced Procreate user, this guide will provide you with the knowledge you need to create precise and polished straight lines in your digital drawings.
Inside This Article
- Choosing the Brush
- Adjusting the Canvas Size
- Using the Line Tool
- Utilizing the Quickline Feature
- Conclusion
- FAQs
Choosing the Brush
When creating a straight line on Procreate, selecting the right brush is crucial. Procreate offers a wide range of brushes with different textures and qualities to choose from. Take your time to explore the various options and find a brush that suits your desired line style.
If you prefer a clean and precise line, opt for a solid brush with minimal texture. Brushes like “Monoline” or “Studio Pen” are excellent choices for creating straight lines with sharp edges.
On the other hand, if you want to add some texture or variation to your lines, consider using a brush with a natural or textured feel. Brushes such as “Pencil” or “Ink Wash” can add a unique and artistic touch to your straight lines.
Additionally, Procreate allows you to customize and adjust the brush settings to achieve the desired line thickness and smoothness. Experiment with the brush settings, such as size, opacity, and pressure sensitivity, to find the perfect combination that suits your style and project requirements.
Remember, the choice of brush will significantly impact the final result of your straight line, so don’t hesitate to explore and experiment with different options until you find the one that best matches your vision.
Adjusting the Canvas Size
When working on Procreate, adjusting the canvas size is an essential step in creating your masterpiece. The canvas size determines the dimensions and the aspect ratio of your digital artwork. Whether you are creating a small sketch or a large illustration, having the right canvas size ensures that your work is displayed correctly.
To adjust the canvas size in Procreate, follow these simple steps:
- Open the Procreate app and select the artwork you want to resize.
- Tap on the wrench icon located at the top right corner of the screen to access the Actions menu.
- From the Actions menu, select the Canvas tab.
- In the Canvas tab, you will find options to adjust the canvas size, resolution, and orientation.
- To change the canvas size, tap on the ‘Resize Canvas’ option.
- You will be presented with a pop-up window where you can manually input the dimensions or choose from the preset options.
- Once you have entered the desired width and height, tap on the ‘Done’ button.
- Your canvas size will now be adjusted according to the dimensions you chose.
It is important to note that when adjusting the canvas size, you may need to consider the aspect ratio. The aspect ratio affects the proportions of your artwork and can impact how it is viewed on different devices. Procreate offers various preset canvas sizes, including square, portrait, and landscape options, to help you achieve the desired aspect ratio for your artwork.
By adjusting the canvas size in Procreate, you have the flexibility to create artwork in any size or format you desire. Whether you are working on a small sketch or a large illustration, Procreate provides the tools and features to bring your artistic vision to life.
Using the Line Tool
The Line Tool is a powerful feature in Procreate that allows you to create straight lines with precision and ease. Whether you are working on digital illustrations, concept art, or graphic designs, mastering the Line Tool can significantly enhance your artwork.
To access the Line Tool, open Procreate and select the desired canvas or create a new one. Once you have your canvas ready, follow these simple steps:
- Select the Brush icon from the toolbar located at the top right corner of the screen.
- Tap on the “Inking” category and choose the “Line” brush or any other brush you prefer for creating straight lines.
- Once you have selected the brush, go to the canvas and tap anywhere to set the starting point of your line.
- While keeping your finger or stylus on the canvas, drag it in the direction you want the line to go. The Line Tool will automatically snap the line to a straight path.
- If you want to create a perfectly horizontal, vertical, or diagonal line, simply drag the line in that direction. The Line Tool will help you maintain the angle accurately.
- To change the length of the line, pull your finger or stylus further away or closer to the starting point.
- Release your finger or stylus to complete the line.
The Line Tool in Procreate offers additional features to enhance your line drawing abilities:
- Adjusting Line Thickness: After creating a line, you can adjust its thickness by selecting the “Properties” option on the toolbar and sliding the “Size” slider to increase or decrease the line’s thickness.
- Rotating Lines: To rotate a line, select the “Transform” icon on the toolbar and use the rotation gesture (two-finger rotation) to change the angle of the line.
- Mimicking Traditional Tools: Procreate’s Line Tool also offers the option to mimic traditional drawing tools like calligraphy pens and brushes. Explore the different brushes available in the Line category to add unique styles to your artwork.
With the Line Tool, you can achieve precise and flawless lines to bring your creative vision to life. Experiment with different brushes, line thicknesses, and angles to create stunning illustrations and designs that showcase your artistic talent.
Utilizing the Quickline Feature
The Quickline feature is an incredibly useful tool in Procreate for creating straight lines with precision and ease. Whether you’re drawing architectural designs or creating intricate patterns, this feature will save you time and effort. Here’s how you can make the most out of the Quickline feature:
1. Select the Quickline tool: To access the Quickline feature, first, tap on the wrench icon located on the top toolbar. This will open the Actions menu. From there, select the Quickline option.
2. Set the line properties: Once you have activated the Quickline tool, you can adjust various settings to customize the line to your liking. You can choose the color, thickness, and opacity of the line, allowing you to match the style and theme of your artwork.
3. Draw the line: With the Quickline tool selected and the desired properties set, it’s time to draw the straight line. Simply tap and hold on the canvas at the starting point of the line. While holding, drag your finger or stylus to the endpoint of the line. Procreate will automatically create a perfectly straight line between the two points.
4. Adjust the line post-drawing: Procreate allows you to make adjustments to the line after you’ve drawn it. You can tap and drag the endpoints of the line to reposition it, change its length, or even rotate it. Additionally, you can use the Transform tool to resize or reshape the line as needed.
5. Experiment with the Quickline options: Procreate offers additional options within the Quickline feature to further enhance your line creation experience. You can enable the “Snap Straight Lines” option in the Actions menu to ensure that your lines are perfectly straight. You can also enable the “Snap to 45 degrees” option for creating diagonal lines or perfect right angles.
By utilizing the Quickline feature in Procreate, you can easily create precise and professional-looking straight lines in your artwork. Whether you’re a beginner or an advanced artist, this tool will undoubtedly enhance your drawing experience on Procreate.
Conclusion
Creating straight lines on Procreate is a straightforward process that can elevate your digital artwork to new heights. By utilizing the brush tools, the symmetry features, and adjusting the pen pressure settings, you can achieve smooth and precise lines with ease. Remember to experiment with different techniques and brush configurations to find what works best for you and your artistic style.
With the ability to create straight lines, your artwork will have a polished and professional look, whether you are sketching, inking, or coloring. Take advantage of Procreate’s powerful software and explore all its features to enhance your digital art skills. So, dive into your creative process, experiment with line variations, and let your imagination run wild!
Now that you have learned how to make straight lines in Procreate, it’s time to put your skills to the test. So, grab your stylus, open up Procreate, and start creating stunning artwork with perfectly straight lines that will captivate your audience.
FAQs
1. Can I make straight lines in Procreate?
Yes, Procreate provides various tools and features that allow you to create straight lines. With the help of the drawing guides and the assistance of tools like the QuickLine feature, you can easily achieve straight lines in your artwork.
2. How do I enable the drawing guides in Procreate?
To enable the drawing guides in Procreate, simply tap on the wrench icon at the top left corner of the interface. From there, select “Canvas” and then enable the “Drawing Guide” option. You can adjust the settings of the guide, such as the grid or the symmetry settings, to align with your requirements.
3. What is the QuickLine feature in Procreate?
The QuickLine feature in Procreate allows you to create perfectly straight lines effortlessly. To activate the QuickLine feature, simply enable it from the toolbar. Then, while drawing, simply hold and pause your stylus or finger at the desired starting point and then drag it towards the ending point. Procreate will automatically create a straight line connecting the two points.
4. Can I adjust the thickness of the straight lines in Procreate?
Absolutely! Procreate offers various brushes and adjustment options that allow you to customize the thickness of your lines. With the Brush Library or Brush Studio, you can choose a brush that suits your desired line thickness. Additionally, you can adjust the brush size, opacity, and other settings to further refine the appearance of your straight lines.
5. Is it possible to create curved lines in Procreate as well?
Yes, besides straight lines, Procreate offers a wide range of tools and brushes that allow you to create curved lines as well. The freehand drawing tool, the pressure sensitivity of your stylus, and the ability to manipulate brush stroke settings all facilitate the creation of smooth and curved lines in your artwork.