
Procreate is a powerful digital art software that has gained immense popularity among artists, illustrators, and designers. With its extensive range of tools and features, Procreate allows users to unleash their creativity and create stunning artworks on their digital devices. One of the key functionalities of Procreate is the ability to create shapes effortlessly.
In this article, we will explore the step-by-step process of creating shapes in Procreate. Whether you are a beginner looking to learn the basics or an experienced artist seeking new techniques, this guide will provide you with the knowledge and skills to effortlessly incorporate shapes into your digital artwork. Let’s dive in and discover the magic of shape creation in Procreate!
Inside This Article
- Getting Started- Choosing the Right Canvas- Understanding the Brush Tools- Navigating the Procreate Interface
- Drawing Basic Shapes: Creating Circles and Ovals, Constructing Squares and Rectangles, Crafting Triangles and Polygons
- Advanced Shape Creation
- Adding Depth and Dimension
- Conclusion
- FAQs
Getting Started- Choosing the Right Canvas- Understanding the Brush Tools- Navigating the Procreate Interface
When it comes to creating shapes in Procreate, getting started may seem intimidating at first, but with a little guidance, you’ll be creating stunning artworks in no time. This article will walk you through the process of creating various shapes using Procreate’s intuitive tools and interface.
The first step in creating shapes is to choose the right canvas size. Procreate offers a wide range of canvas options, allowing you to select the dimensions that best suit your project. Whether you’re working on a small design or a large illustration, Procreate has you covered.
Once you’ve chosen your canvas, it’s time to familiarize yourself with the brush tools. Procreate offers an extensive collection of brushes, each with its own unique properties. From smooth and precise brushes to textured and expressive ones, you’ll find everything you need to bring your shapes to life.
Understanding the brush tools is crucial when creating shapes in Procreate. Experiment with different brushes to see how they affect the stroke thickness, texture, and opacity. This will give you the flexibility to create shapes with different visual styles and effects.
Now that you have a good grasp of the brush tools, it’s time to navigate the Procreate interface. The interface is designed to be intuitive and user-friendly, allowing you to focus on your creativity. Explore features such as layers, blending modes, and transform tools to enhance your shape creations.
With Procreate’s powerful layering system, you can easily build up complex shapes by stacking multiple layers on top of each other. Use blending modes to add depth and texture to your shapes, and utilize the transform tools to resize, rotate, or distort your shapes with ease.
As you explore the Procreate interface, don’t be afraid to experiment and play around with different settings and tools. The more you practice, the more comfortable you’ll become with creating shapes in Procreate.
Remember, creating shapes in Procreate is all about letting your imagination run wild. Whether you’re creating simple geometric shapes or intricate organic forms, Procreate provides a seamless and enjoyable experience for artists of all levels.
So, get started today, and let your creativity soar with Procreate’s powerful shape creation tools!
Drawing Basic Shapes: Creating Circles and Ovals, Constructing Squares and Rectangles, Crafting Triangles and Polygons
When it comes to drawing, understanding how to create basic shapes is essential. Whether you’re an artist, designer, or simply enjoy playing with digital tools, learning how to create circles, squares, triangles, and custom shapes in Procreate can open up a world of possibilities. In this article, we’ll explore the step-by-step process of creating these shapes using Procreate.
Creating Circles and Ovals
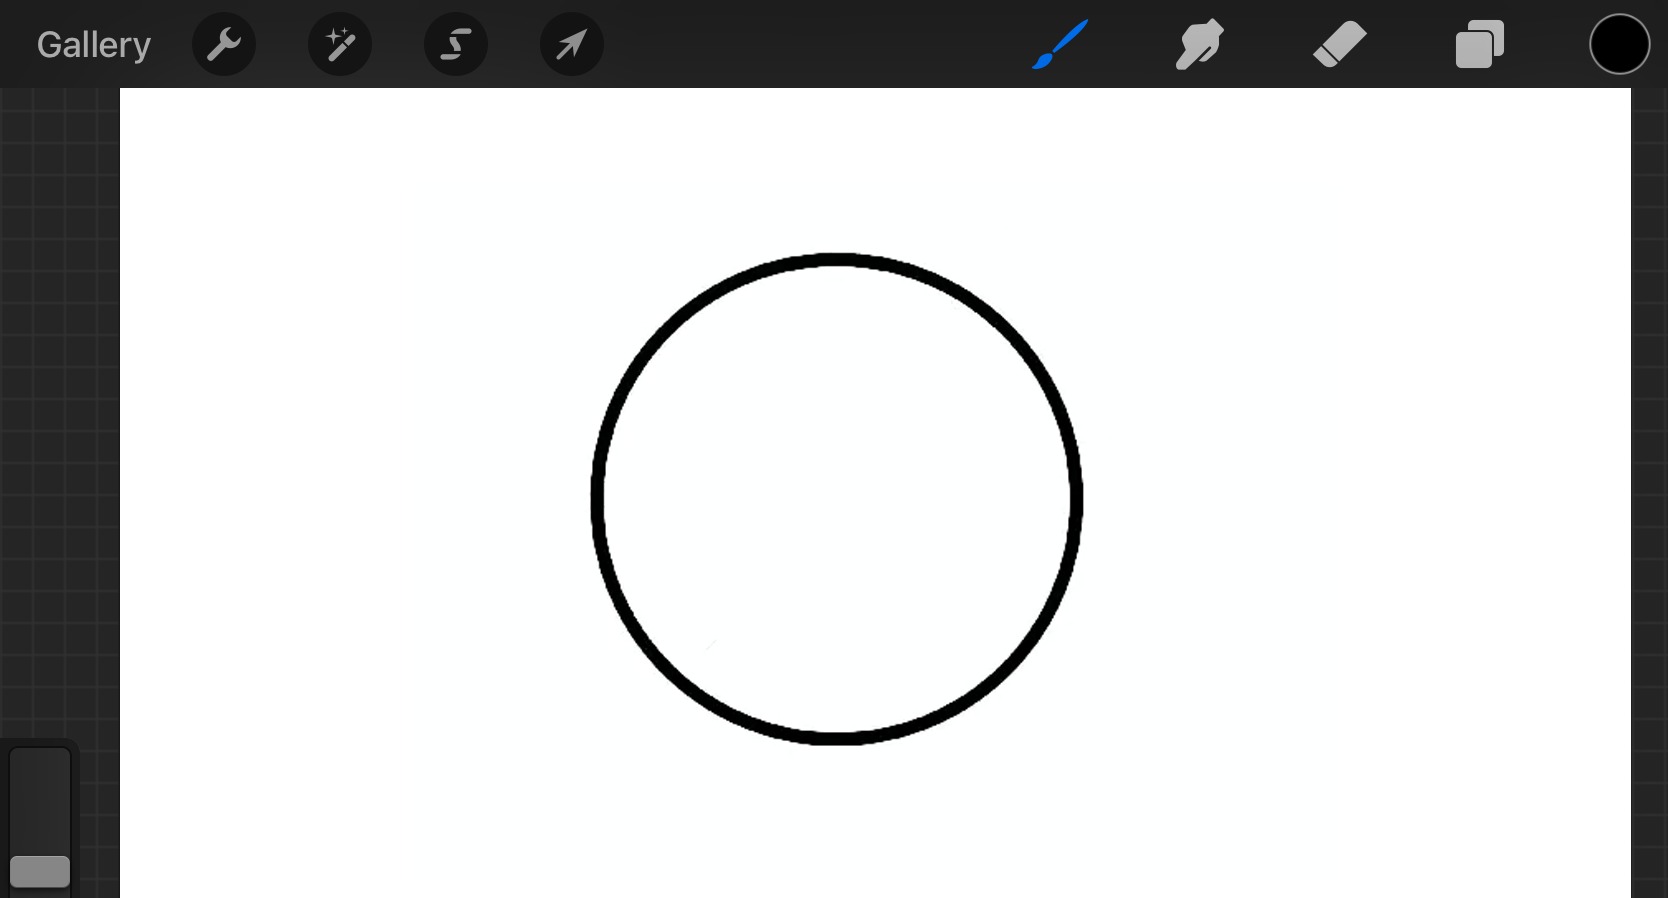
Let’s start with circles and ovals. Procreate offers a variety of tools that make it easy to draw perfect circles and ovals. To create a circle, select the Brush Tool from the toolbar, then choose a round brush from the brush library. With the desired brush selected, simply tap and drag on the canvas to draw a circle of your desired size.
If you want to create an oval shape, follow the same steps as above but instead of drawing a perfect circle, stretch it vertically or horizontally to achieve the desired oval shape. To maintain symmetry while stretching, consider enabling Assisted Drawing Guides in the Actions menu.
Constructing Squares and Rectangles
Next, let’s move on to squares and rectangles. Procreate offers several methods to create these shapes. One way is to use the Selection Tool to draw a rectangular selection by tapping and dragging on the canvas. Then, fill the selection with the desired color using the Paint Bucket Tool.
Another method is to use the Shape Tool in Procreate. To do this, select the Shape Tool from the toolbar and choose the square or rectangle shape. Tap and drag on the canvas to create the shape, and customize its size, rotation, and position using the transform controls.
Crafting Triangles and Polygons
Now, let’s explore how to create triangles and polygons in Procreate. To draw a triangle, you can use the Pen Tool or the Shape Tool. With the Pen Tool, simply tap on the canvas to place anchor points, and then connect them to form a triangle. Alternatively, with the Shape Tool, select the triangle shape and drag it onto the canvas, adjusting its size and position as needed.
For more complex polygons, you can use the Pen Tool to draw the desired shape by placing anchor points and adjusting their curvature. Another method is to import custom polygon shapes into Procreate using the Import function in the Actions menu. This allows you to create intricate polygons and experiment with different designs.
Custom Shapes
In addition to the basic shapes mentioned above, Procreate also provides the flexibility to create custom shapes. You can use a combination of the selection tool, freehand drawing, and transformation tools to create unique and abstract shapes. Let your imagination run wild and use Procreate’s powerful tools to bring your own creations to life.
Advanced Shape Creation
In Procreate, creating shapes goes beyond the basic circle, square, and triangle. With advanced shape creation techniques, you can take your artwork to the next level. Let’s explore three powerful techniques: using the Transform Tool, working with layers and masks, and combining and modifying shapes.
Using the Transform Tool
The Transform Tool in Procreate allows you to resize, rotate, and distort shapes with precision. To access it, select the shape layer and tap on the Transform Tool icon. In the Transform menu, you can adjust the size, rotation, and even apply perspective or warp transformations to your shapes. This tool gives you the freedom to create unique variations of your shapes.
Working with Layers and Masks
Layers and masks in Procreate enable you to enhance the versatility of your shapes. By separating shapes into different layers, you can modify and manipulate them individually. You can also use masks to control the visibility of certain parts of your shapes or apply complex blending effects. Experiment with layer opacity, blending modes, and mask adjustments to add depth and complexity to your artwork.
Combining and Modifying Shapes
One of the most exciting features of Procreate is the ability to combine and modify shapes. Using the selection tool, you can select multiple shapes and merge them into one, creating complex compositions. Furthermore, you can use the transformative power of the Warp and Liquify tools to reshape and refine your shapes. Play around with these tools to achieve unique and captivating designs.
With the advanced shape creation techniques in Procreate, you can elevate your artwork and bring your visions to life. Whether you’re a digital artist or a graphic designer, these techniques will undoubtedly provide you with endless creative possibilities. So, unleash your imagination and start exploring the world of advanced shape creation in Procreate!
Adding Depth and Dimension
When it comes to creating digital artwork, adding depth and dimension is essential to make your piece stand out. In Procreate, there are several techniques you can use to achieve this effect.
One of the ways to add depth is by applying shadows and highlights. Shadows create the illusion of depth by casting darkness on certain areas, while highlights bring attention to the brighter parts of your artwork.
Incorporating texture and patterns is another effective way to add depth. By adding texture, you can make your artwork look more realistic and visually interesting. Procreate offers a wide range of brushes and textures that you can use to achieve this effect.
Enhancing your artwork with gradients and blending modes can take it to the next level. Gradients allow you to smoothly transition between colors, creating a sense of depth and dimension. Blending modes, on the other hand, can be used to blend different layers together, creating unique and eye-catching effects.
Creating shapes in Procreate is a fun and versatile way to add depth, dimension, and creativity to your artwork. With the wide range of tools and features available, you can easily transform your digital canvas into a vibrant and dynamic masterpiece.
By utilizing basic shapes, such as circles, squares, and triangles, you can build complex compositions and designs with ease. Procreate’s intuitive interface and powerful selection tools make it a breeze to manipulate and transform these shapes, allowing for endless possibilities and experimentation.
Whether you’re a seasoned artist looking to add a new technique to your repertoire or a beginner eager to explore the world of digital art, creating shapes in Procreate offers a wealth of creative opportunities. So don’t be afraid to dive in, experiment, and let your imagination run wild. The possibilities are truly limitless!
FAQs
1. Can I create shapes in Procreate?
Yes, you can create shapes in Procreate. Although Procreate is primarily known as a digital painting and illustration app, it also offers powerful shape creation tools. These tools allow you to easily create precise shapes, such as circles, squares, triangles, and more, to enhance your artwork.
2. How do I create a shape in Procreate?
To create a shape in Procreate, follow these steps:
- Open Procreate and create a new canvas or open an existing one.
- Select the desired brush or pencil tool from the toolbar.
- Tap on the “Layers” icon to open the layer panel.
- Create a new layer by tapping on the “+” button.
- Use the brush or pencil tool to draw the outline of your desired shape.
- Once the outline is complete, tap on the “Actions” (wrench) icon.
- Select “Fill Shape” or “Make Selection” to fill the shape with a color or convert it into a selection respectively.
3. Can I edit the shape after creating it in Procreate?
Yes, you can edit the shape after creating it in Procreate. Procreate provides a variety of editing options to manipulate and refine your shapes. You can resize, rotate, distort, or reshape the shape using the transform and warp tools. Additionally, you can also adjust the color, opacity, and blending modes of the shape to achieve the desired effect.
4. Are there any additional shape creation features in Procreate?
Yes, Procreate offers several advanced shape creation features to enhance your designs. These include the ability to create perfect shapes using the QuickShape tool, which automatically corrects your shapes into smooth curves and precise angles. Furthermore, Procreate also provides a symmetry tool that allows you to create symmetrical shapes effortlessly.
5. Can I export the shapes created in Procreate to use in other software?
Yes, you can export the shapes created in Procreate for use in other software. Procreate supports various file formats, including PSD, JPEG, PNG, and TIFF, making it easy to share your creations with other digital art programs or applications.