
Are you a digital artist looking to add a unique and artistic touch to your Procreate designs? If so, then learning how to smudge on Procreate can take your creations to the next level. Smudging is a technique that allows you to blend colors and create smooth transitions between shades, giving your artwork a more realistic and polished look.
Whether you want to create soft gradients, add depth to your illustrations, or achieve a painterly effect, mastering the smudge tool in Procreate can be a game-changer. In this article, we will guide you through the process of smudging on Procreate, providing you with tips, techniques, and recommendations to make your artwork truly stand out. So, grab your stylus and let’s get smudging!
Inside This Article
- What is Procreate?
- Getting Started with Procreate
- Setting up your Canvas size and orientation
- Using the Smudge tool in Procreate
- Choosing the Perfect Brush for Smudging
- Adjusting the brush settings for smudging
- Smudging Techniques and Tips
- Creating depth and texture with smudging
- Smudging for Blending Colors
- Adding highlights and shadows using the Smudge tool
- Conclusion
- FAQs
What is Procreate?
Procreate is a powerful digital art application exclusively available for iOS devices. It is widely regarded as one of the best drawing and painting apps for mobile devices, offering a wide range of tools and features that cater to the needs of both professional artists and hobbyists.
Procreate offers a seamless and intuitive user interface, making it easy to create stunning digital artwork with just a few taps and gestures. It provides a vast variety of brushes, including realistic paint brushes, sketching pencils, and even specialized brushes for smudging and blending.
One of the standout features of Procreate is its ability to harness the full power of Apple’s hardware, such as the Apple Pencil, to provide an incredibly responsive and natural drawing experience. This allows artists to achieve precise and detailed artwork, mimicking traditional art mediums on a digital canvas.
In addition to its extensive brush library, Procreate offers a range of other tools and functionalities to enhance the creative process. These include layers, blending modes, selection tools, and various transform options, allowing artists to experiment and achieve their desired effects.
Procreate also supports the import and export of various file formats, making it easy to collaborate with other artists or transfer artwork to other digital platforms. Furthermore, Procreate offers a time-lapse recording feature, allowing artists to share their creative process with others.
Whether you are a professional artist looking for a versatile and portable digital art solution, or a beginner wanting to explore the world of digital art, Procreate is a powerful tool that can help you bring your imagination to life.
Getting Started with Procreate
If you’re new to the world of digital art and looking for a powerful tool to unleash your creativity, Procreate is the perfect choice. Whether you’re an experienced artist or just starting out, Procreate offers a wide range of features and tools that will help you bring your artistic vision to life.
Before diving into the amazing world of Procreate, you’ll need to download and install the app on your device. Procreate is available exclusively for iOS devices such as iPads, so make sure you have a compatible device before getting started.
Once you have Procreate installed on your device, it’s time to familiarize yourself with the interface. Upon launching the app, you’ll be greeted with a blank canvas and a plethora of tools and options at your disposal.
At first glance, the Procreate interface may appear overwhelming, but don’t worry – it’s intuitive and easy to navigate. The toolbar, located at the top of the screen, gives you access to various tools, such as brushes, erasers, smudge tools, and more.
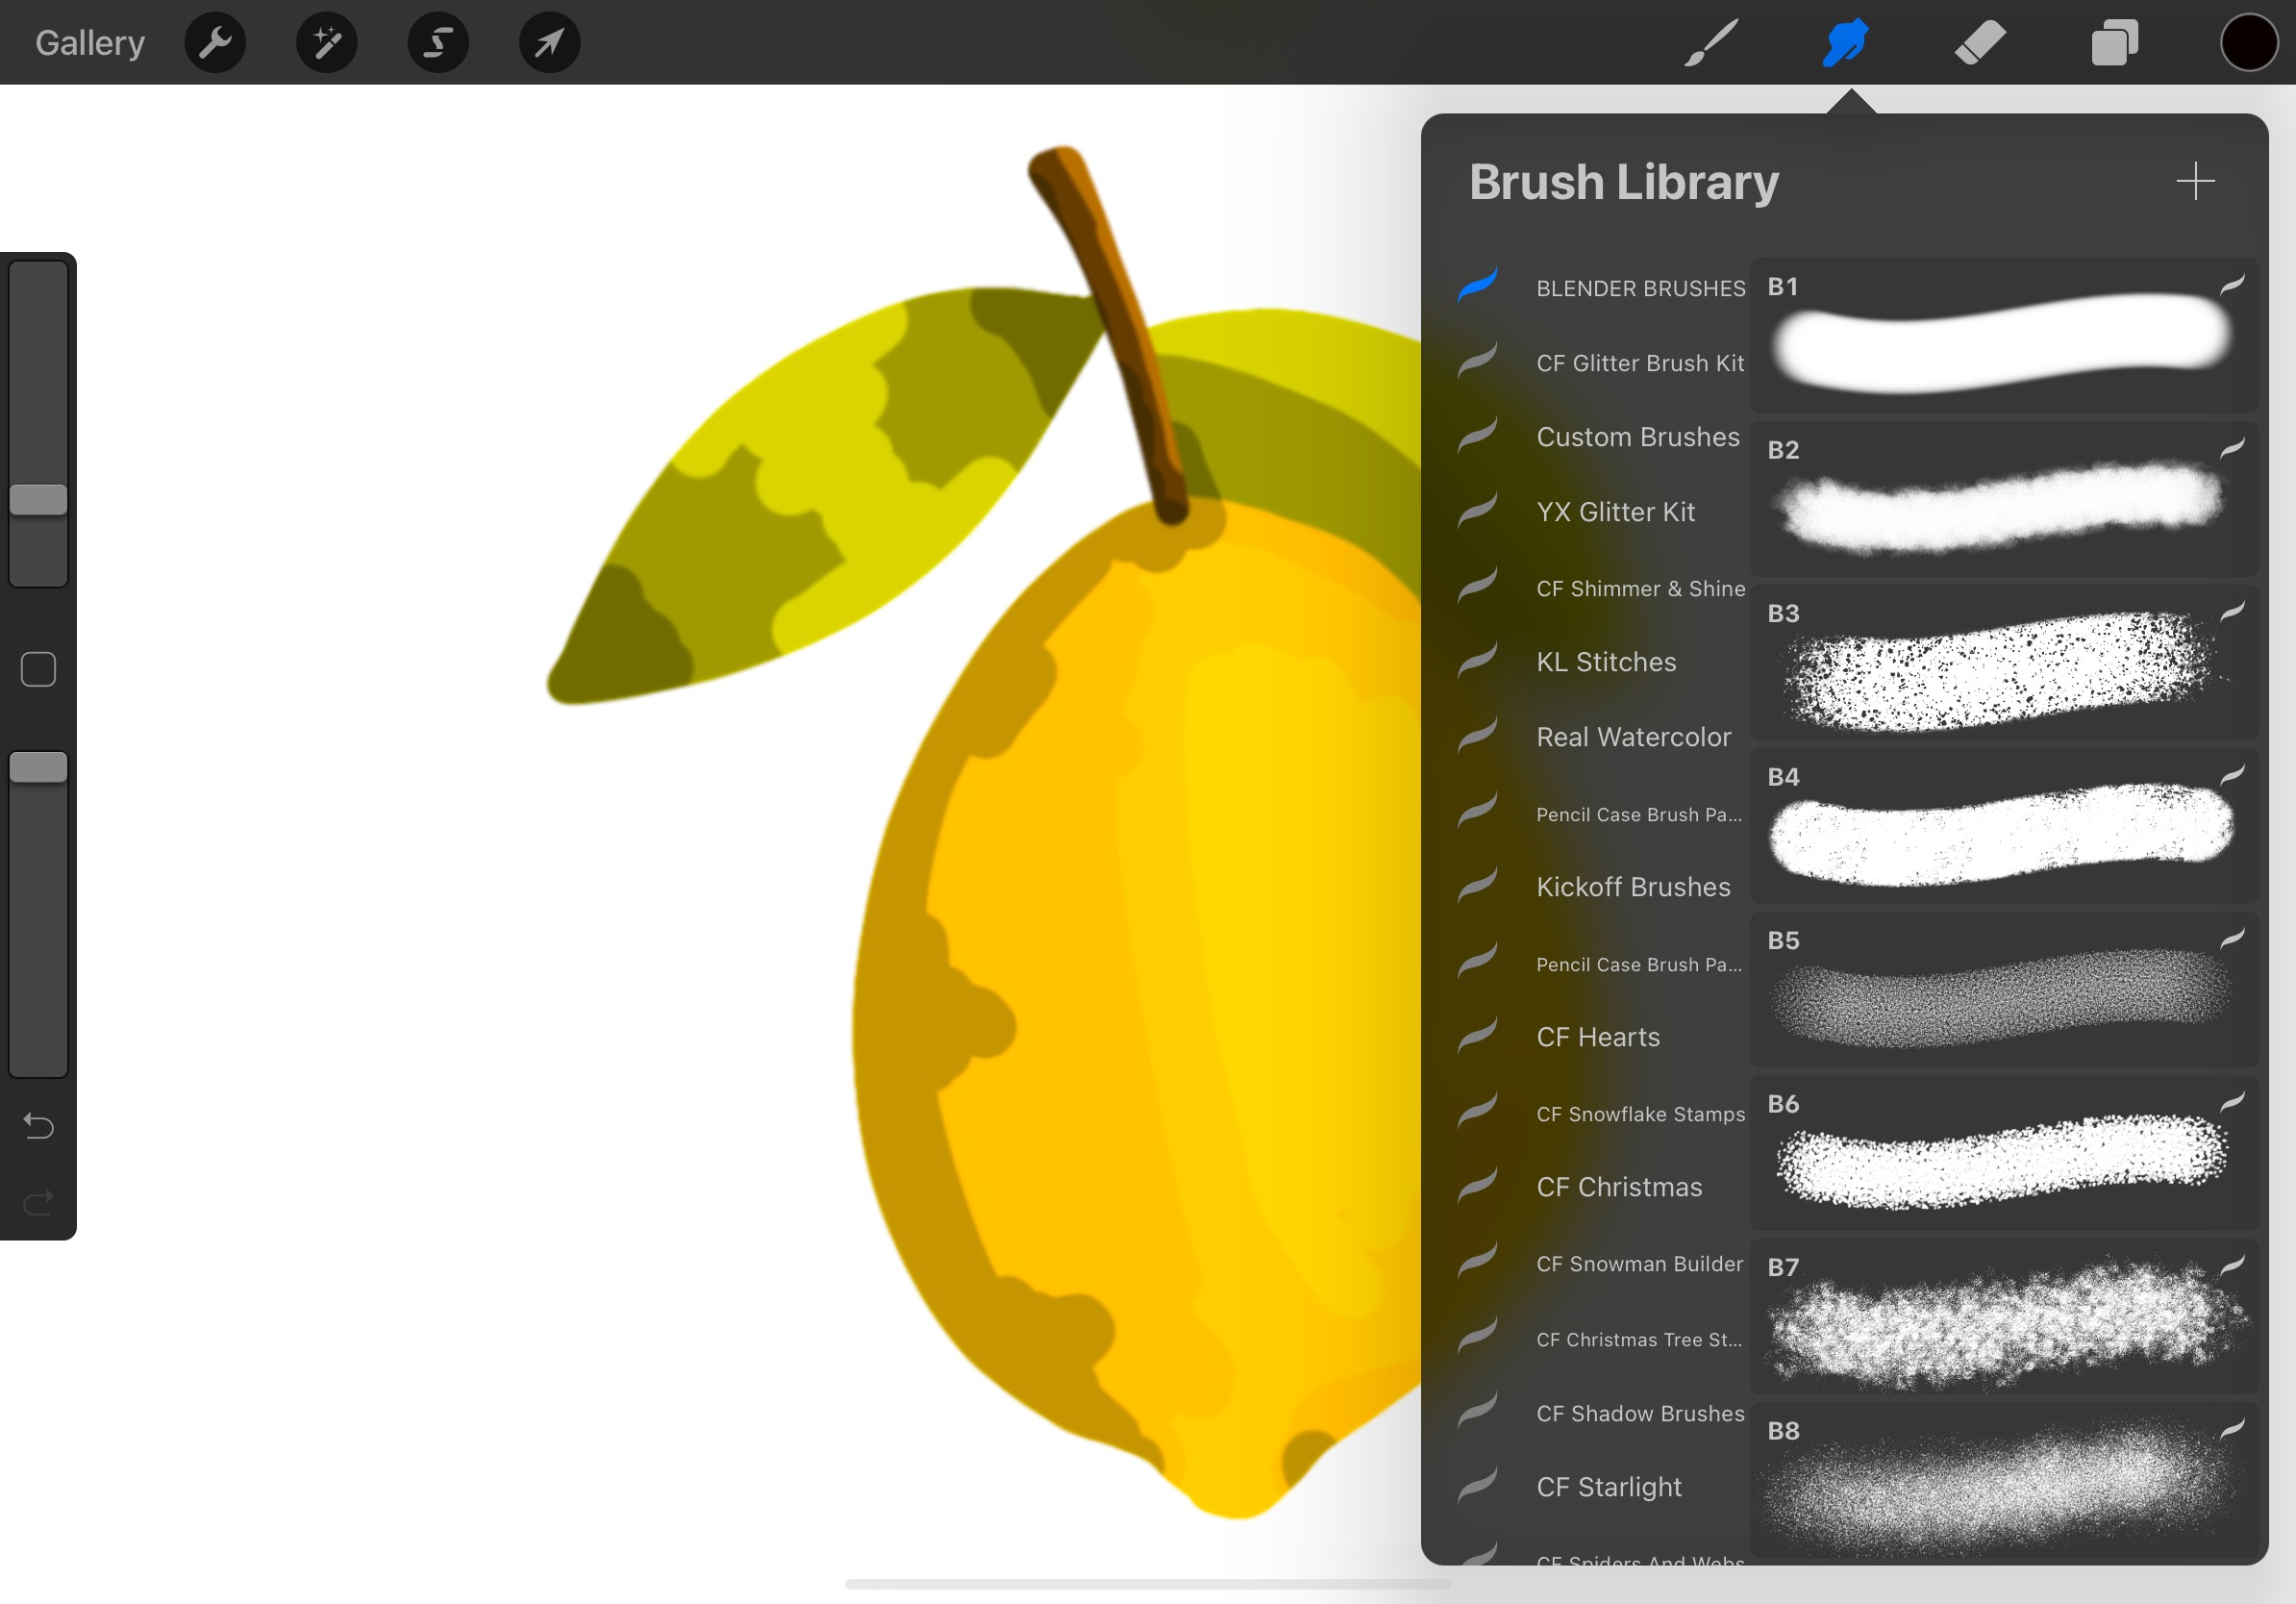
To begin, tap on the brush icon in the toolbar to open the brush library. Here, you’ll find a vast collection of pre-loaded brushes, ranging from pencils and paintbrushes to textures and special effects. Feel free to explore and experiment with different brushes to find the ones that suit your style.
Once you’ve selected a brush, you can start drawing or painting on the canvas. Procreate offers a wide range of gestures and shortcuts that make the drawing process efficient and seamless. For example, you can pinch and zoom to get a closer look at your artwork, or use two fingers to undo and redo your actions.
Remember to save your work regularly to avoid losing any progress. Procreate provides various options to save your artwork, including exporting it to your photo library, sharing it on social media, or exporting it as a PSD file for further editing in other software.
Procreate also offers a plethora of additional features and tools to enhance your creative process. From layering and blending modes to advanced selection and transformation tools, there’s no limit to what you can achieve with Procreate.
Now that you have a basic understanding of how to get started with Procreate, it’s time to unleash your creativity and start creating stunning digital artworks. Don’t be afraid to experiment, try new techniques, and push the boundaries of your imagination. Procreate is a powerful tool that will accompany you on your artistic journey and help you bring your visions to life.
Setting up your Canvas size and orientation
One of the first steps in creating a digital artwork on Procreate is setting up the canvas size and orientation. The canvas size determines the dimensions of your artwork, while the orientation determines whether it is a portrait (vertical) or landscape (horizontal) composition.
To set up your canvas size and orientation in Procreate, follow these steps:
- Open Procreate and create a new canvas by tapping the ‘+’ button.
- Choose your desired canvas size from the list of presets or enter custom dimensions.
- Select the orientation by toggling between portrait and landscape.
- Once you have set the size and orientation, tap “Create” to proceed to your new canvas.
Choosing the right canvas size is essential as it determines the level of detail you can achieve in your artwork. For smaller artworks or illustrations, a lower resolution canvas is usually sufficient. Conversely, for larger pieces or prints, a higher resolution canvas is recommended to ensure crisp and clear details.
The orientation of the canvas depends on the composition you have in mind for your artwork. Portrait orientation is ideal for capturing vertical scenes, such as portraits or tall buildings, while landscape orientation is suitable for wider, panoramic views.
Keep in mind that you can also rotate the canvas within Procreate if you need to switch between portrait and landscape orientations during your work process.
Additionally, Procreate allows you to change the canvas size and orientation even after you have started working on a project. Simply go to the “Canvas” menu and select “Resize” to modify the dimensions or “Rotate” to change the orientation. However, note that resizing the canvas may affect the quality of your existing artwork, so it’s best to determine the canvas size and orientation before you begin your project.
By setting up the canvas size and orientation correctly in Procreate, you can ensure that your digital artwork will be displayed in the optimal dimensions and proportions, allowing you to create stunning and professional-looking compositions.
Using the Smudge tool in Procreate
One of the most popular and versatile tools in the Procreate app is the Smudge tool. This powerful feature allows you to manipulate and blend colors, create stunning textures, and add depth to your digital artwork. Whether you are a professional artist or a beginner, understanding how to effectively use the Smudge tool can elevate the quality of your art.
When working with the Smudge tool in Procreate, it’s essential to have a basic understanding of how it works. The tool essentially “smudges” or blends adjacent pixels together, creating a smooth and seamless transition between colors. It mimics traditional art techniques like finger smudging or using a blending stump.
To begin using the Smudge tool, select the brush icon from the top toolbar of Procreate and choose a brush that is compatible with smudging, such as a soft brush or a blender brush. You can experiment with different brushes to find the one that works best for your desired effect.
Once you have selected your brush, you can adjust the Smudge tool settings. Procreate offers various options such as strength, brush size, and opacity. These settings allow you to customize the intensity and size of the smudging effect, giving you full control over your artwork.
When smudging, it’s essential to consider the direction and pressure of your strokes. By varying the angle and pressure, you can create different textures and effects. For example, a light touch can create a gentle blending effect, while a heavier stroke can create more pronounced textures.
Another useful technique with the Smudge tool is creating depth and texture. By smudging colors in different directions and layers, you can simulate the appearance of various materials, such as fur, water, or clouds. Experiment with different brushes and stroke techniques to achieve the desired result.
When blending colors, the Smudge tool is particularly valuable. You can use it to seamlessly blend two or more colors together, creating smooth transitions and gradients. Whether you’re working on a portrait or a landscape, the Smudge tool will help you achieve a realistic and cohesive color scheme.
To add highlights and shadows, try using the Smudge tool with a lighter or darker color than the base color. By gently smudging along the edges of your artwork, you can create soft highlights and shadows, adding dimension and depth to your piece.
It’s important to remember that practice is key when using the Smudge tool. Take the time to experiment with different brushes, techniques, and settings to find your preferred style. By mastering the Smudge tool in Procreate, you can take your digital artwork to the next level and unleash your creativity.
Choosing the Perfect Brush for Smudging
When it comes to smudging in Procreate, choosing the right brush is essential. The brush you use will greatly impact the outcome and overall effect of your smudging technique. Here are a few tips to help you choose the perfect brush for smudging:
1. Soft and Blending Brushes: Look for brushes with soft and smooth bristles that are specifically designed for blending and smudging. These brushes are usually found in the “Blenders” or “Soft” brush categories within Procreate. They are designed to create seamless transitions and blend colors effortlessly.
2. Size and Opacity: Consider the size and opacity of the brush. If you are working on a larger area, a larger brush size would be more efficient for smudging. On the other hand, if you are working on smaller details, a smaller brush size with lower opacity will give you more control over the smudging process.
3. Custom Brushes: Take advantage of the customization options in Procreate. Experiment with creating your own custom brushes specifically tailored for smudging. Adjusting the brush settings, such as shape, size, opacity, and scatter, can help you achieve the desired smudging effect.
4. Textured Brushes: Consider using textured brushes to add depth and dimension to your artwork. Textured brushes simulate real-life brush strokes and can create interesting smudging effects. Experiment with brushes that have a variety of textures, like rough grain, chalky texture, or watercolor effects.
5. Experiment and Explore: Don’t be afraid to try out different brushes and explore their capabilities. Procreate offers a wide range of brushes that can be used for smudging. Take the time to experiment and find the brushes that work best for your artistic style and the effect you want to achieve.
Remember, the perfect brush for smudging will vary depending on your preferences, the specific artwork you are creating, and the desired outcome. It may take some trial and error to find the brushes that work best for you. So, don’t hesitate to explore and experiment with different brushes until you find the perfect ones for your smudging technique in Procreate.
Adjusting the brush settings for smudging
When it comes to smudging in Procreate, adjusting the brush settings can make a significant difference in the outcome of your artwork. The brush settings allow you to fine-tune various aspects such as opacity, size, and pressure sensitivity, giving you full control over the smudging effect.
Here are a few key brush settings you can adjust to enhance your smudging experience in Procreate:
1. Opacity: The opacity setting determines how transparent or opaque the smudging effect will be. Lower opacity values will create a more subtle blend, while higher values will produce a more pronounced blending effect.
2. Size: Adjusting the brush size is crucial for achieving the desired level of detail in your smudging. A smaller brush size is ideal for precise blending in smaller areas, while a larger brush size is more suited for broader strokes and blending larger areas.
3. Pressure sensitivity: If you’re using a pressure-sensitive stylus, taking advantage of the pressure sensitivity feature can add a whole new level of control to your smudging. By adjusting the pressure sensitivity, you can vary the intensity of the smudging effect based on the pressure applied with your stylus.
4. Brush shape: Procreate offers a wide range of brush shapes to choose from, and selecting the right brush shape for smudging can greatly impact the outcome. Experiment with various brush shapes to find one that suits your desired smudging style.
5. Brush texture: Texture plays a vital role in creating realistic and visually appealing smudging effects. Procreate allows you to apply different textures to your brushes, enabling you to achieve various effects like rough blending, soft blending, or even simulate traditional media like oil or charcoal.
Remember, adjusting the brush settings is a highly customizable process, and it may take some trial and error to find the perfect settings for your specific artwork. Don’t be afraid to experiment and play around with different combinations until you achieve the desired smudging effect.
Once you’ve adjusted the brush settings to your liking, you’ll have the power to create stunning and seamless blends using the smudge tool in Procreate.
Smudging Techniques and Tips
When it comes to using the Smudge tool in Procreate, there are various techniques and tips that can help you achieve stunning results. Whether you’re looking to create realistic blending effects or add texture and depth to your artwork, these smudging techniques and tips will take your digital art to the next level.
1. Start with a light touch: When using the Smudge tool, it’s important to start with a light touch. This allows you to slowly build up the effects and control the amount of blending. Gradually increase the pressure as needed, but remember that a gentle touch can create smoother and more natural transitions.
2. Experiment with different brush sizes: The size of your smudge brush can greatly impact the results. Use larger brush sizes for broader and more general blending, while smaller brush sizes can be used for finer details and precise smudging. Explore the range of brush sizes available in Procreate to find the perfect fit for your artwork.
3. Vary the speed of your strokes: The speed at which you move your finger or stylus over the canvas can affect the intensity of the smudging. Slow, deliberate strokes create smoother blending, while faster strokes can produce more distinct and textured effects. Experiment with different speeds to achieve the desired outcome.
4. Combine smudging with other tools: Don’t limit yourself to using the Smudge tool alone. Combine it with other tools in Procreate, such as brushes or the Eraser tool, to create unique effects. For example, you can smudge colors together and then use an eraser to reveal certain areas, adding depth and interest to your artwork.
5. Use reference images: When practicing smudging techniques, it can be helpful to have reference images for inspiration. Study real-life objects, photographs, or other artwork to understand how different textures and materials blend together. This can provide valuable insights into achieving more realistic and compelling smudging effects.
6. Play with opacity and pressure settings: Procreate offers advanced settings for brush opacity and pressure sensitivity. Experiment with these settings to customize the smudging experience to your liking. Adjusting the opacity can control how much the colors blend, while tweaking pressure sensitivity allows for more control over the intensity of the smudging effect.
7. Take breaks and reassess: Sometimes, taking a step back and giving yourself a break from your artwork can offer fresh perspective. After a break, reassess your smudging techniques and make any necessary adjustments. This can help you identify areas where you may need to soften or strengthen the smudging effect to achieve the desired result.
8. Practice and experiment: Like any art technique, smudging requires practice to master. Don’t be afraid to experiment with different brushes, colors, and combinations of smudging techniques. Allow yourself to explore and discover new possibilities. The more you practice, the better you will become at harnessing the power of the Smudge tool in Procreate.
By incorporating these smudging techniques and tips into your digital art process, you can elevate your artwork to new heights. Embrace experimentation, push the boundaries, and enjoy the creative journey that smudging on Procreate can take you on.
Creating depth and texture with smudging
One of the most fascinating aspects of digital art is the ability to create depth and texture within your artwork. With Procreate’s Smudge tool, you can easily achieve these effects and breathe life into your digital paintings. Whether you’re aiming to add depth to a landscape or texture to a portrait, smudging can be a powerful technique in your artistic repertoire.
The key to creating depth with smudging is understanding how it interacts with the underlying colors and brush strokes. By blending and smearing the colors together, you can simulate the illusion of three-dimensional space in your artwork. This technique is particularly effective when used to enhance elements like clouds, water, foliage, or any other area that benefits from a sense of depth.
To start, select the Smudge tool from the toolbar in Procreate. Experiment with different brush types and sizes to find the one that best suits your desired effect. A softer brush with a larger size is typically ideal for creating deeper and smoother blending.
When you start smudging, pay attention to the direction and angle of your brush strokes. By following the natural flow of the objects or elements in your artwork, you can create a more realistic sense of depth. For example, in a landscape painting, smudging horizontally can simulate distant mountains, while vertical smudging can represent tall trees.
Keep in mind that smudging can also be used to add texture to your artwork. Experiment with different brush shapes, such as rough or textured brushes, to create interesting and organic textures in objects like rocks, fur, or even fabric. Varying the pressure and speed of your strokes can also contribute to the overall texture effect.
In addition, playing with the opacity of the Smudge tool can further enhance the sense of depth. Lowering the opacity will allow the underlying colors and brush strokes to peek through, creating a subtle blend. On the other hand, increasing the opacity can produce a more pronounced smudging effect, giving your artwork a bolder and more dramatic appearance.
Remember, practice makes perfect. Take the time to experiment with different smudging techniques, brushes, and settings until you find the style that resonates with you. Don’t be afraid to push boundaries and try new things. It’s through exploration and experimentation that you’ll uncover your unique artistic voice.
So go ahead, dive into the world of smudging in Procreate and unleash your creativity. Let the Smudge tool be your guide as you create depth and texture in your digital art. Enjoy the journey and watch as your artwork comes to life with every stroke.
Smudging for Blending Colors
One of the most powerful features of the Smudge tool in Procreate is its ability to blend colors seamlessly. Whether you’re working on a digital painting or adding shading to your artwork, mastering the art of smudging for blending colors can take your artwork to the next level. Here are some tips and techniques to help you achieve stunning color blends using the Smudge tool in Procreate.
1. Choose the Right Brush: The first step in smudging for blending colors is selecting the right brush. Procreate offers a wide variety of brushes, each designed with unique textures and blending capabilities. Experiment with different brushes to find the one that suits your style and the effect you want to achieve.
2. Adjust Brush Strength: The strength of the Smudge tool can greatly influence the blending effect. If you want a more subtle blend, reduce the brush strength. On the other hand, if you’re looking for a more pronounced blend, increase the strength. Play around with different strength levels to find the one that works best for your artwork.
3. Smudge in the Right Direction: The direction in which you smudge can greatly impact the blending result. Generally, it’s best to smudge in the direction of the object or shape you’re working on. For example, if you’re blending colors on a round shape, smudging in a circular motion can create a more natural blend.
4. Layering Colors: To create complex blending effects, consider layering multiple colors and then smudging them together. Start with the lighter color and gradually add darker shades, smudging as you go. This technique can create beautiful gradients and smooth transitions between colors.
5. Experiment with Opacity: Adjusting the opacity of the Smudge tool can yield interesting blending results. By reducing the opacity, you can create a more transparent and soft blend. Increasing the opacity, on the other hand, can result in a more intense and vibrant blend. Don’t be afraid to experiment and find the right balance for your artwork.
6. Vary Pressure and Speed: Another way to achieve realistic blending is by varying the pressure and speed at which you smudge. Light pressure can create gentle transitions, while heavier pressure can create more defined blends. Similarly, smudging at a slower pace can result in smoother blends, while faster smudging can create a more textured effect.
7. Use Layer Masks: Layer masks in Procreate allow you to mask certain areas of your artwork. This can be useful when smudging for blending colors, as you can selectively apply the effect to specific parts of your artwork. Use layer masks to control the blending and create precise and controlled color transitions.
8. Refine and Blend: After smudging, take a step back and assess your work. If you notice any harsh transitions or areas that need further blending, go back and refine them. The Smudge tool is a powerful tool, but sometimes, it requires a bit of tweaking and fine-tuning to achieve the desired result.
Blending colors using the Smudge tool in Procreate can bring life and depth to your artwork. It allows you to create smooth gradients, seamless transitions, and realistic shading. Practice these techniques, experiment with different brushes and settings, and soon you’ll master the art of smudging for blending colors in Procreate.
Adding highlights and shadows using the Smudge tool
One of the most powerful features of the Smudge tool in Procreate is its ability to add highlights and shadows to your artwork. With a few simple techniques, you can bring depth and dimension to your digital illustrations. Whether you’re working on a portrait, landscape, or any other type of artwork, mastering the art of highlighting and shading can take your creations to the next level.
To start, select a brush that is suitable for adding highlights and shadows. Brushes with soft, textured tips are particularly effective for blending colors and creating smooth transitions. Experiment with different brushes to find the one that achieves the desired effect for your artwork.
Once you have chosen the brush, adjust the brush settings to customize its size, opacity, and flow. For highlights, you may want to use a smaller brush size and lower opacity to create subtle, glowing effects. On the other hand, for shadows, you might opt for a larger brush size and higher opacity to achieve more dramatic and impactful results.
Now that you have your brush and settings in place, it’s time to start adding highlights and shadows. Begin by identifying the light source in your artwork. This will determine where the highlights should be placed and where the shadows should fall. For example, if the light source is coming from the upper left corner, the highlights should be on the top left side of the objects, while the shadows should be on the bottom right side.
With the Smudge tool selected, gently swipe or drag your brush over the areas where you want to add highlights or shadows. Use short, controlled strokes to blend the colors and create smooth transitions. Remember to consider the shape and form of the objects you are working on; highlights should follow the curves and contours, while shadows should emphasize the depth and volume.
As you work on adding highlights and shadows, take time to observe real-life references or study photographs to understand how light interacts with objects. This will help you create more realistic and convincing effects in your artwork. Experiment with different pressure levels and brush strokes to achieve the desired intensity and blending.
Keep in mind that adding highlights and shadows is not limited to a single layer. You can create multiple layers to build up the effects gradually, allowing for more control and flexibility in adjusting the intensity and placement of the highlights and shadows.
Finally, take a step back every now and then to assess your artwork. Make adjustments as needed and don’t be afraid to experiment and try different techniques. Adding highlights and shadows using the Smudge tool is a creative process that requires practice and experimentation to master. With time and patience, you will develop your own unique style and achieve stunning results.
Conclusion
In conclusion, smudging on Procreate is a fantastic tool for digital artists and designers looking to add depth, texture, and dimension to their artwork. With its array of brushes, blending modes, and opacity settings, Procreate provides a seamless and intuitive platform for creating stunning smudge effects.
Whether you’re a beginner or an experienced artist, the smudge tool in Procreate offers endless possibilities for exploring and experimenting. From creating realistic paintings to adding subtle touches of texture, smudging can elevate the overall quality of your artwork.
Remember to practice and experiment with different brush presets, blending techniques, and layer adjustments to unleash the full potential of the smudge tool. Don’t be afraid to push your creativity and think outside the box.
So go ahead, grab your Apple Pencil, open up Procreate, and start smudging! Unleash your artistic prowess and discover the amazing smudge effects you can achieve in the world of digital art.
FAQs
Q: What is Procreate?
Procreate is a powerful digital illustration app designed exclusively for the iPad. It offers a wide range of brushes, customizable settings, and a user-friendly interface, making it a favorite among artists and designers.
Q: Can I use Procreate on an iPhone?
No, Procreate is only available for iPad devices. Due to its advanced features and performance requirements, it is not compatible with iPhones or other smartphone devices.
Q: How much does Procreate cost?
Procreate is a one-time purchase app and is available on the App Store for $9.99. Unlike many other professional drawing tools, there are no hidden subscription fees or in-app purchases required.
Q: Is Procreate beginner-friendly?
Yes, Procreate offers a user-friendly interface and a vast selection of intuitive tools, making it suitable for both beginners and experienced artists. There are also numerous online tutorials and communities that provide guidance and support for those new to Procreate.
Q: Can I use Procreate without an Apple Pencil?
While Procreate does offer full compatibility with the Apple Pencil, it is not necessary to have one to use the app. Procreate supports touch input, allowing users to draw and paint with their fingers or other compatible stylus pens.