
In today’s digital age, capturing memories through photos has become an integral part of our lives. Whether it’s breathtaking landscapes, hilarious moments with friends, or precious family gatherings, our smartphones, particularly the iPhone 13, serve as our go-to devices for capturing these moments.
One of the most useful features of the iPhone 13 is the ability to add location information to your photos. By adding location data, you can easily remember where a photo was taken, reminisce about your travels, or simply organize your photo library.
In this article, we will dive into the ins and outs of adding location data to photos on your iPhone 13. We will explore both the manual approach and the automatic geolocation feature. Whether you’re a travel enthusiast, a professional photographer, or simply someone who loves documenting their everyday life, this guide will help you make the most of the iPhone 13’s location tagging capabilities.
Inside This Article
- How To Add Location To Photos On iPhone 13
- Enable Location Services
- Take Photos with Location Information
- Add Location to Existing Photos
- View and Edit Location Information
- Conclusion
- FAQs
How To Add Location To Photos On iPhone 13
Adding location information to your photos on your iPhone 13 can be a great way to remember where you took each shot and create a more detailed photographic memory. Fortunately, the process of adding location to photos on your iPhone 13 is simple and straightforward. In this article, we will guide you through the steps to enable location services for photos, manually add location to existing photos, automatically add location to newly captured photos, and view and edit location information for your photos.
1. Enabling Location Services for Photos
Before you can start adding location information to your photos, you need to make sure that the Location Services feature is enabled for the Photos app on your iPhone 13. Here’s how:
- Open the “Settings” app on your iPhone 13.
- Scroll down and tap on “Privacy.”
- Select “Location Services.”
- Scroll through the list of apps and locate the “Photos” app.
- Tap on “Photos” and select “While Using the App” or “Always” to enable location services for the app.
2. Adding Location Manually to Existing Photos
If you have photos on your iPhone 13 that were taken without location information, you can manually add the location to those photos. Here’s how:
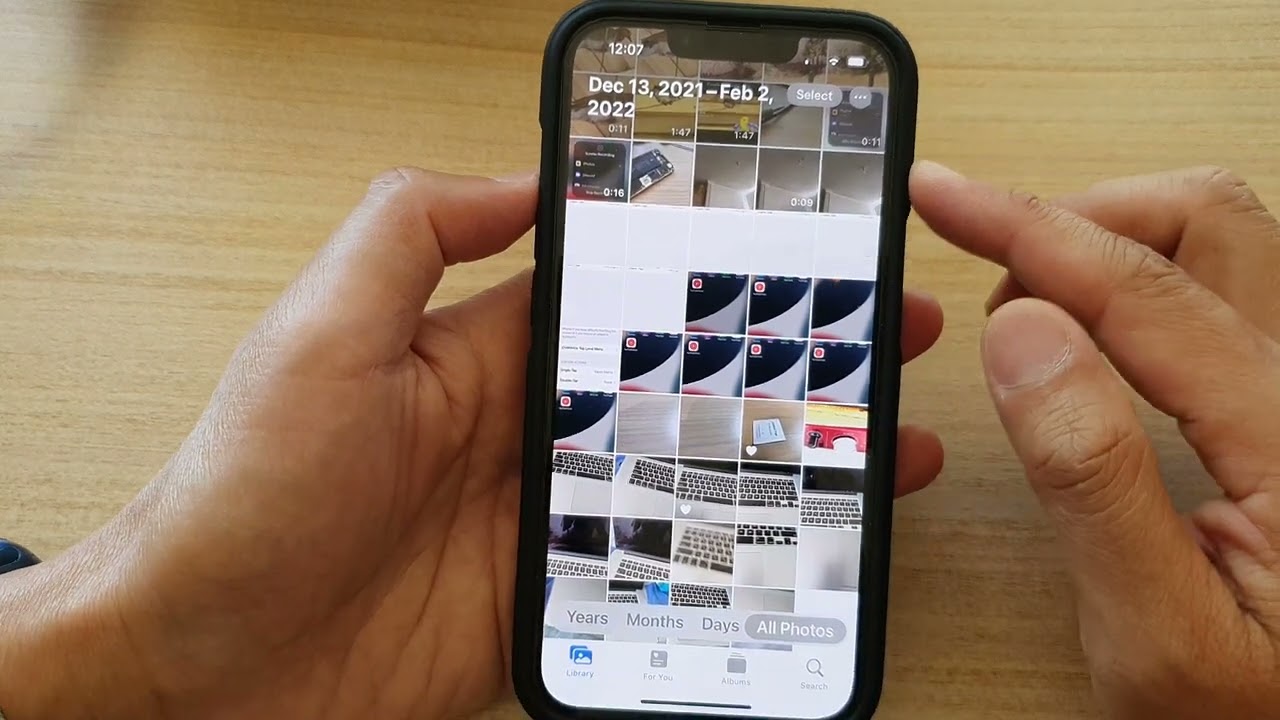
- Open the “Photos” app on your iPhone 13.
- Find the photo you want to add location information to and tap on it to open it.
- Swipe up on the photo to reveal the photo details.
- Tap on the “Add Location” option.
- Enter the location information in the search bar, or use the map to pinpoint the exact location.
- Select the correct location from the search results.
- Tap on “Done” to save the location to the photo.
3. Automatically Adding Location to Newly Captured Photos
If you want your iPhone 13 to automatically add location information to newly captured photos, you can enable the geotagging feature. Here’s how:
- Open the “Settings” app on your iPhone 13.
- Scroll down and tap on “Camera.”
- Toggle on the “Location” option to enable geotagging for photos.
4. Viewing and Editing Location Information for Photos
If you want to view or edit the location information of a photo on your iPhone 13, you can do so easily. Here’s how:
- Open the “Photos” app on your iPhone 13.
- Find the photo for which you want to view or edit the location information and tap on it to open it.
- Swipe up on the photo to reveal the photo details.
- Tap on the location information to open the map.
- On the map, you can view the exact location or make edits by dragging the pin.
- Tap on “Done” to save any changes you made.
By following these simple steps, you can easily add location information to your photos on your iPhone 13. Whether you want to manually add location to existing photos or enable automatic geotagging for new photos, your iPhone 13 makes it simple to capture and record the memories associated with each image.
Enable Location Services
Enabling location services on your iPhone 13 is the first step to adding location information to your photos. By turning on this feature, your device will be able to track your geographical location, allowing you to accurately tag your photos with the location where they were taken.
To enable location services for photos on your iPhone 13, follow these steps:
- Open the Settings app on your device.
- Scroll down and tap on “Privacy.”
- Tap on “Location Services.”
- Ensure that the toggle switch next to “Location Services” is turned on.
- Scroll down and locate the “Camera” app in the list.
- Tap on the “Camera” option and select “While Using the App” to allow the Camera app access to your location.
Once you have enabled location services for photos, your iPhone 13 will be able to geotag your photos with the location information. This means that when you capture a photo, the device will automatically record the location where the photo was taken, making it easier for you to organize and remember the places you’ve visited.
Now that you have enabled location services, let’s discover how you can add location information to your existing photos manually.
Take Photos with Location Information
One of the handy features of the iPhone 13 is the ability to automatically add location information to the photos you capture. This can be particularly useful for organizing and reminiscing about your memories. Here’s how you can take photos with location information on your iPhone 13.
1. Enable Location Services for Photos: Before you can start adding location information to your photos, you need to make sure that Location Services are enabled for the Camera app. To do this, go to the “Settings” app on your iPhone, then tap on “Privacy” and select “Location Services.” Scroll down and find “Camera” in the list, then make sure it is set to “While Using the App” or “Always.” This will allow your iPhone to record your location when you take photos.
2. Capture Photos with Location Information: Once you have enabled Location Services for the Camera app, you can start taking photos with location information. Simply open the Camera app on your iPhone, frame your shot, and tap the shutter button to capture the photo. The iPhone will automatically record the location where the photo was taken and embed it in the photo’s metadata.
3. View and Share Photos with Location: After capturing photos with location information, you can easily view and share them with others. Open the Photos app on your iPhone and locate the photo you want to view. Tap on the thumbnail to open the photo, then swipe up on the screen to reveal additional details, including the location information. You can also tap on the “Share” button to share the photo with others, and the location will be included if you choose to share it.
4. Edit or Remove Location Information: If you want to edit or remove the location information from a photo, you can do so easily. Open the photo in the Photos app, swipe up to reveal the details, and tap on “Edit Location.” You can then move the pin to a different location on the map or tap on “Remove Location” to completely remove the location information from the photo. Tap “Done” when you are finished making changes.
With the ability to capture photos with location information, your iPhone 13 becomes a powerful tool for organizing and reliving your memories. Whether you’re exploring new places or revisiting old ones, having the location information embedded in your photos adds another layer of context and nostalgia. So go ahead, snap away, and let your iPhone 13 capture your beautiful moments along with their special locations.
Add Location to Existing Photos
If you have photos in your iPhone 13’s gallery that were captured without location information or if you want to add a different location to them, you can easily do so using the built-in features of iOS.
Here’s how you can add location to existing photos on your iPhone 13:
- Open the Photos app on your iPhone 13 and locate the photo to which you want to add the location.
- Tap on the photo to open it in full view.
- At the bottom of the screen, tap on the “Edit” option.
- Next, tap on the information button (the “i” icon) located in the top right corner of the screen.
- Scroll down to the “Location” section and tap on it.
- If the photo already has location information, you can edit the existing location by tapping on “Edit Location” and entering the correct address or place name.
- If the photo doesn’t have any location information, you can add it by tapping on “Add Location” and entering the address or selecting a location from the suggestions.
- Once you’ve entered or edited the location details, tap on “Done” to save the changes.
- The location information for the photo is now added or updated, and you can view it in the photo’s details.
By adding location information to your existing photos, you can easily keep track of where each photo was taken, making it convenient when looking back at your photo collection or sharing them with others.
View and Edit Location Information
When it comes to capturing memories on your iPhone 13, adding location information to your photos can bring an extra layer of depth and context to your visual stories. Whether you want to keep track of where you took your photos or simply want to share the exact location with friends and family, the iPhone 13 makes it easy to view and edit location information for your photos.
To view the location information of a photo on your iPhone 13, simply open the Photos app and navigate to the desired photo. Once you’ve selected the photo, tap on the “Info” button that appears at the top of the screen. This will bring up a detailed view of the photo, including its location information if available.
If the photo does not have location information attached to it, you can manually add it by tapping on the “Add Location” button in the photo’s Info view. This will open up a search bar where you can enter the name of the location or browse through a list of suggested locations. Once you find the correct location, simply tap on it to add it to the photo.
If you need to edit the location information for a photo, you can do so by tapping on the existing location in the photo’s Info view. This will allow you to modify the location by either typing in a new location or selecting a different one from the suggested options. Once you’ve made the necessary changes, tap on the “Done” button to save the updated location information.
It’s worth mentioning that the iPhone 13 uses a combination of GPS, Wi-Fi, and cellular data to determine the location of your photos. This means that in areas with a weak GPS signal, the location information may not be as accurate. However, you can rest assured knowing that the iPhone 13 generally provides reliable and precise location information for your photos.
So whether you’re reminiscing about a memorable trip or sharing your adventures with others, take advantage of the iPhone 13’s ability to view and edit location information for your photos. Enhance the storytelling aspect of your visual memories by adding that extra touch of location detail. With just a few taps, you can make your photos truly come alive with the places they were taken.
Conclusion
The ability to add location to photos on iPhone 13 is a valuable feature that enhances the user experience and provides context to captured memories. With just a few simple steps, users can effortlessly tag their photos with the exact location where they were taken. This feature not only helps in organizing and categorizing photos but also adds an extra layer of personalization to each image.
By adding location to photos, iPhone 13 users can easily navigate through their photo library based on specific places or trips, making it easier to relive cherished memories. Additionally, this feature allows users to share their photos with friends and family, giving them a better understanding of where each photo was taken.
With the advanced technology and seamless integration of GPS, iPhone 13 opens up a world of possibilities for creative storytelling through photography. So, whether you’re documenting a beautiful vacation, a family gathering, or a special event, don’t forget to leverage the convenience and power of adding location to your photos on iPhone 13.
FAQs
1. Can I add location information to photos on iPhone 13?
Absolutely! The iPhone 13 comes equipped with built-in features that allow you to add location information to your photos. By enabling location services and granting access to your camera app, you can easily capture and save the location data with your images.
2. How do I enable location services on my iPhone 13?
To enable location services, go to the Settings app on your iPhone 13. From there, scroll down and tap on “Privacy”. Next, select “Location Services” and toggle the switch to enable it. You can also customize the location settings for individual apps using the options provided in this menu.
3. Can I add location information to existing photos on iPhone 13?
Yes, you can! If you have photos in your iPhone’s gallery that do not have location information, you can easily add it manually. Simply open the Photos app, select the photo you want to add location data to, tap on the “Edit” button, and then tap on the location icon. You can search for a specific location or manually enter the address.
4. Will adding location information to photos on iPhone 13 affect the privacy of my images?
No, adding location information to your photos on iPhone 13 does not compromise the privacy of your images. The location data is only embedded in the metadata of the photo and is not visible to anyone unless you explicitly share it. However, it is always a good practice to be mindful of the information you choose to share when posting or sending photos.
5. Can I remove or disable location information from my photos on iPhone 13?
Yes, you have full control over the location information attached to your photos on iPhone 13. If you want to remove or disable it, simply open the Photos app, select the photo you want to edit, tap on the “Edit” button, and then tap on the location icon to either remove the existing location or disable the feature altogether. This way, you can safeguard your privacy or comply with any preferences you may have.