
The iPhone 13 is a powerhouse of a smartphone, equipped with cutting-edge features and a stellar camera system that allows users to capture stunning photos. And what’s more, it offers a seamless and user-friendly experience when it comes to editing those photos right on the device. One of the most commonly used editing techniques is cropping, which allows you to adjust the composition and focus of your photos. In this article, we will walk you through the step-by-step process of how to crop a photo on iPhone 13. Whether you’re a seasoned photographer or just a casual snap-happy user, mastering this skill will take your iPhone photography to the next level. So, let’s dive in and explore the world of photo editing on your iPhone 13!
Inside This Article
- How to Crop Photo on iPhone 13
- Crop Using the Photos App
- Crop Using the Markup Tool
- Crop Using a Third-Party App
- # Crop Using the Edit Feature in the Camera App
- Conclusion
- FAQs
How to Crop Photo on iPhone 13
One of the most common tasks we perform on our iPhones is cropping photos. Whether you want to remove unwanted elements, adjust the composition, or focus on a specific subject, cropping can help you achieve the desired result. With the iPhone 13, cropping photos has become even easier and more intuitive. In this article, we will guide you through the different methods you can use to crop your photos on the iPhone 13.
There are several ways to crop photos on your iPhone 13. You can use the built-in Photos app, the Markup tool, or even third-party apps for more advanced cropping options. Let’s explore each method in detail.
Crop Using the Photos App
The Photos app on your iPhone 13 provides a straightforward and user-friendly way to crop your photos. Here’s how:
- Open the Photos app and select the photo you want to crop.
- Tap on the Edit button in the top right corner of the screen.
- At the bottom of the screen, you will see various editing tools. Tap on the Crop icon, which looks like two overlapping right angles.
- To adjust the crop, use your fingers to pinch and zoom within the frame. You can also drag the corners or edges of the frame to resize it.
- When you are happy with the crop, tap on Done.
- Finally, tap on Save to save your cropped photo.
Crop Using the Markup Tool
The Markup tool offers more precise control over the cropping process. Here’s how to use it:
- Open the Photos app and select the photo you want to crop.
- Tap on the Edit button in the top right corner of the screen.
- Tap on the three-dot icon at the top of the screen and select Markup from the dropdown menu.
- In the Markup editor, tap on the Crop icon at the bottom of the screen.
- Adjust the crop by dragging the corners or edges of the frame.
- Tap on Done when you are satisfied with the crop.
- Finally, tap on Save to save your cropped photo.
Crop Using a Third-Party App
If you need more advanced cropping features or want to explore different creative options, you can use third-party apps specifically designed for photo editing. Here are a few popular options:
- Adobe Lightroom: This powerful app offers professional-grade editing tools, including precise cropping options.
- VSCO: Known for its trendy filters, VSCO also provides cropping and adjustment tools.
- Snapseed: Google’s Snapseed app is free and has a wide range of editing features, including cropping.
Simply download and install your preferred app from the App Store, open the app, import the photo you want to crop, and follow the app’s instructions for cropping.
Crop Using the Edit Feature in the Camera App
If you want to crop a photo right after capturing it with your iPhone 13’s camera, you can use the Edit feature within the Camera app itself. Here’s how:
- Open the Camera app and take a photo.
- Tap on the preview thumbnail in the bottom left corner of the screen.
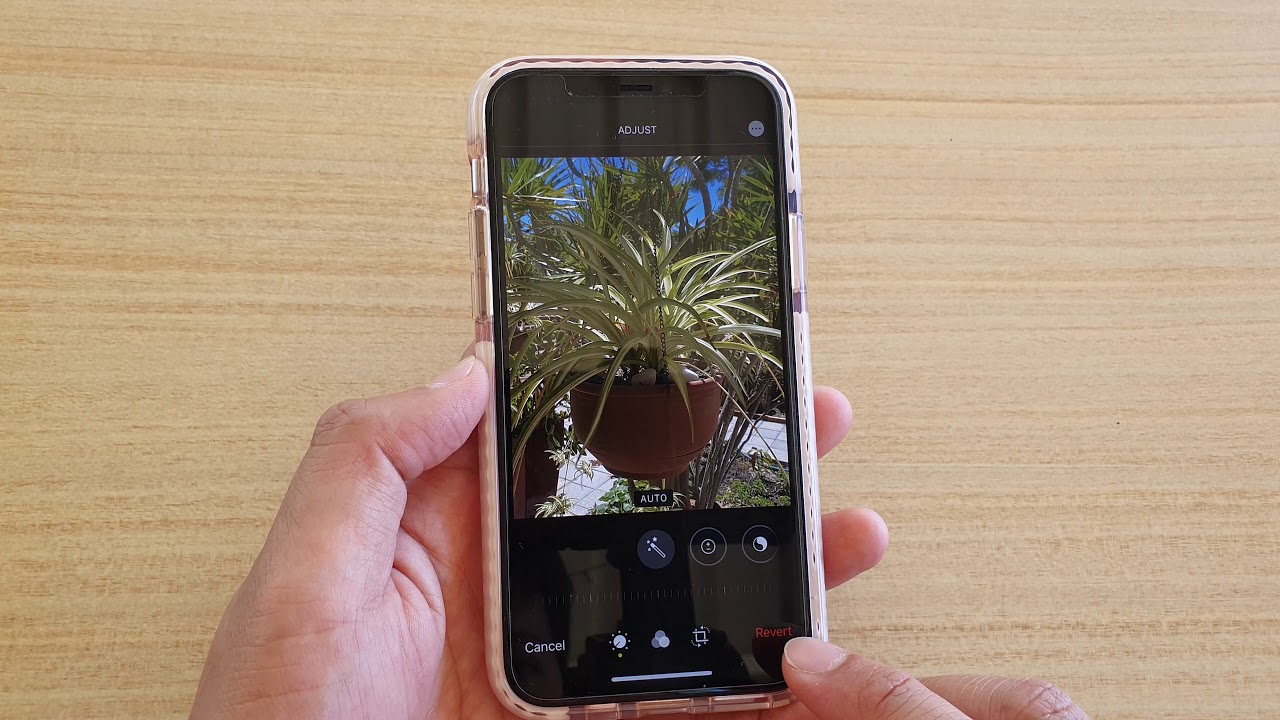
- Tap on the Edit icon (three overlapping circles) in the bottom right corner.
- Follow the same steps mentioned earlier to adjust and save the crop.
And there you have it – multiple methods to crop photos on your iPhone 13. Experiment with different techniques and find the one that suits your editing style and needs. So go ahead, unleash your creativity, and turn your ordinary photos into stunning masterpieces!
Crop Using the Photos App
The Photos app on your iPhone 13 offers an easy and efficient way to crop your photos. Whether you want to remove unwanted elements from the frame or simply adjust the composition, the Photos app has got you covered. Follow these steps to crop a photo using the Photos app:
- Open the Photos app on your iPhone 13 and select the photo you want to crop.
- Tap on the “Edit” button located at the top right corner of the screen.
- At the bottom of the screen, you’ll see a series of editing tools. Tap on the “Crop” icon, which looks like two overlapping rectangles.
- A grid overlay will appear on your photo, with handles on the corners and edges. You can use these handles to adjust the size and position of the crop.
- To maintain the original aspect ratio of the photo, tap on the padlock icon in the toolbar. This will lock the aspect ratio, allowing you to resize the crop while keeping the same proportions.
- You can also rotate the crop by using the dial at the bottom left corner of the screen. Drag it left or right to rotate the crop to your desired angle.
- Once you’re satisfied with the crop, tap on the “Done” button at the bottom right corner of the screen to save your changes.
That’s it! You’ve successfully cropped your photo using the Photos app on your iPhone 13. Now you can enjoy your perfectly framed and composed image.
Crop Using the Markup Tool
If you want to crop a photo on your iPhone 13, you can utilize the Markup Tool, which offers a simple and efficient way to make edits. The Markup Tool is a built-in feature that allows you to annotate images, draw, add text, and, of course, crop photos right from the Photos app. Here is a step-by-step guide on how to crop a photo using the Markup Tool:
- Open the Photos app on your iPhone and locate the photo you want to crop.
- Tap on the photo to view it in full screen.
- Tap the Edit button located at the top-right corner of the screen. It looks like three horizontal lines with circles at the ends.
- At the bottom of the screen, you will see various editing tools. Tap the three-dot icon (more options) to access additional editing features.
- From the options that appear, select the Markup tool. It is represented by a pen icon.
- Once you are in the Markup mode, tap the Crop tool in the lower-right corner. It looks like a square with arrows pointing outwards.
- Drag the handles on the edges of the photo to adjust the crop frame according to your desired dimensions. You can also use the grid lines to ensure straight lines and balanced composition.
- To crop the photo, tap Done at the bottom-right corner of the screen.
- If you are satisfied with the crop, tap Done again to save the changes. The cropped version of the photo will replace the original in your Photos library.
The Markup Tool provides a quick and convenient way to crop photos on your iPhone 13 without the need for third-party apps. It gives you the flexibility to customize the crop frame and ensure your photos appear exactly as you want them. Enjoy experimenting with different compositions and cropping options to enhance your images.
Crop Using a Third-Party App
If you’re looking for more advanced photo editing features and flexibility, you can use a third-party app to crop your photos on the iPhone 13. There are numerous apps available on the App Store that offer powerful editing tools for cropping and enhancing your images.
One popular third-party app for photo editing is Adobe Photoshop Express. With this app, you can crop your photos with precision. Simply open the app, import the photo you want to crop, and select the crop tool. You’ll be able to adjust the aspect ratio, rotate, and resize your photo before finalizing the crop.
Another great option is Snapseed, developed by Google. It offers a wide range of tools, including a cropping feature. To use it, import your photo into the app, open the Tools menu, and select the Crop tool. From there, you can adjust the crop boundaries, rotate, and even correct perspective distortion.
If you prefer a more intuitive and user-friendly interface, you can try out the VSCO app. Along with its popular filters, VSCO also provides a variety of editing tools, including cropping. After importing your photo, tap on the Edit icon, select the Crop tool, and make the necessary adjustments to crop your photo just the way you want it.
These are just a few examples of the third-party apps available for cropping photos on the iPhone 13. Each app offers unique features and interfaces, so feel free to explore different options to find the one that suits your editing style best.
# Crop Using the Edit Feature in the Camera App
The Camera app on the iPhone 13 comes equipped with a powerful editing feature that allows you to crop your photos right after you capture them. This feature is extremely handy when you want to remove unnecessary elements from the frame or adjust the composition of your image. Here’s how you can crop a photo using the edit feature in the Camera app on your iPhone 13.
1. Open the Camera app on your iPhone 13 and capture a photo.
2. Once the photo is taken, tap on the thumbnail that appears at the bottom left corner of the screen. This will open the Edit screen.
3. On the Edit screen, you will see a variety of editing tools at the bottom of the interface. Tap on the Crop tool, which resembles a square icon.
4. Now, you can adjust the crop by dragging the edges of the frame inward or outward. You can also rotate the photo by using the rotation wheel located at the bottom right corner of the screen.
5. To maintain the original aspect ratio of the photo, tap on the padlock icon located at the bottom right corner. This will lock the aspect ratio and ensure that your photo remains proportionate.
6. Once you are satisfied with the crop, tap on the Done button at the bottom right corner of the screen.
7. Finally, you will be prompted to either save the edited photo as a separate copy or replace the original photo with the cropped version. Choose the option that suits your preference.
And there you have it! You have successfully cropped a photo using the edit feature in the Camera app on your iPhone 13. Now, you can enjoy your perfectly framed image without any unwanted elements.
Conclusion
In conclusion, the iPhone 13 offers an intuitive and efficient way to crop photos directly on your device. With the powerful A15 Bionic chip, advanced camera technology, and a user-friendly interface, cropping photos has never been easier. Whether you’re resizing, adjusting the aspect ratio, or applying creative cropping techniques, the iPhone 13 provides you with a range of options to enhance your images.
By accessing the Edit feature in the Photos app, you can easily crop photos to your desired composition, making them visually appealing and ready to be shared with friends and family. Plus, with the added convenience of non-destructive editing, you can experiment with different cropping styles while preserving the original image.
So, next time you capture a photo that could use some cropping, remember that your iPhone 13 has the tools to help you do it quickly and with precision. Start exploring the cropping options and unleash your creativity to elevate your photography skills.
FAQs
Q: Can I crop a photo on my iPhone 13?
Yes, absolutely! The iPhone 13 comes equipped with powerful editing tools, including the ability to crop photos. This feature allows you to easily adjust the composition of your images, removing unnecessary elements and focusing on the subject.
Q: How do I crop a photo on my iPhone 13?
To crop a photo on your iPhone 13, follow these simple steps:
1. Open the Photos app on your iPhone 13.
2. Select the photo you want to crop.
3. Tap on the “Edit” button located at the top right corner of the screen.
4. Select the Crop tool, represented by a square icon.
5. Drag the corners of the crop box to adjust the size and position.
6. Use the handles on the sides to adjust the aspect ratio, if desired.
7. Once you are satisfied with the crop, tap on “Done” to save the changes.
That’s it! You have successfully cropped a photo on your iPhone 13.
Q: Can I maintain the original aspect ratio while cropping a photo on my iPhone 13?
Yes, you can maintain the original aspect ratio while cropping a photo on your iPhone 13. When you enter the Crop tool, simply tap on the lock icon located at the bottom right corner of the screen. This will ensure that the aspect ratio remains the same while you adjust the crop box.
Q: Can I rotate the crop box while cropping a photo on my iPhone 13?
Yes, you can rotate the crop box while cropping a photo on your iPhone 13. Once you have selected the Crop tool and adjusted the size and position of the crop box, simply place two fingers on the box and rotate them to the desired angle. This feature is incredibly useful when straightening an image or creating a more dynamic composition.
Q: Can I undo the changes if I am not satisfied with the crop?
Absolutely! If you are not satisfied with the crop and want to revert to the original photo, you can easily undo the changes on your iPhone 13. After cropping the photo and saving the changes, simply tap on the “Edit” button again, select the Crop tool, and tap on the “Reset” button located at the bottom right corner of the screen. This will restore the photo to its original state.