
So, you've upgraded from your trusty iPhone 8 to the shiny new iPhone 11, and now you're wondering how to seamlessly transfer all your precious data from one device to the other. Fear not, as I'm here to guide you through this process step by step. Whether it's your contacts, photos, apps, or settings, I'll show you how to effortlessly migrate everything to your new iPhone 11. By the end of this article, you'll be equipped with the knowledge to make this transition smooth and stress-free. Let's dive in and ensure that your new iPhone 11 feels just like home from the moment you power it on. Now, let's get started on this exciting journey of transferring your data to your new iPhone 11.
Inside This Article
- Step 1: Backup iPhone 8
- Step 2: Set up iPhone 11
- Step 3: Transfer Data Using Quick Start
- Step 4: Transfer Data Using iCloud Backup
- Conclusion
- FAQs
Step 1: Backup iPhone 8
Before transferring data from your iPhone 8 to iPhone 11, it’s crucial to create a backup of your iPhone 8 to ensure that none of your valuable data is lost during the transition. You can back up your iPhone 8 using iCloud or iTunes, both of which are reliable methods to safeguard your data.
To back up your iPhone 8 using iCloud, simply connect your device to a Wi-Fi network, navigate to “Settings,” tap on your name, select “iCloud,” then “iCloud Backup,” and finally, tap “Back Up Now.” Ensure that your iPhone is connected to a power source and connected to Wi-Fi until the backup process is complete.
If you prefer to use iTunes to back up your iPhone 8, connect your device to your computer, launch iTunes, and select your iPhone 8. From there, click “Back Up Now.” It’s essential to ensure that the backup process is successfully completed before proceeding to the next step of transferring data to your new iPhone 11.
Step 2: Set up iPhone 11
After backing up your iPhone 8, it’s time to set up your new iPhone 11. Unboxing the sleek packaging, you’ll be greeted by the stunning device, eager to be personalized and brought to life.
First, power on your iPhone 11 by pressing and holding the side button until the Apple logo appears. A warm glow will emanate from the screen, signaling the start of an exciting journey with your new device.
Next, select your preferred language and region. This ensures that your iPhone 11 is tailored to your linguistic and geographical preferences, setting the stage for a seamless user experience.
Then, connect your iPhone 11 to a Wi-Fi network. This step is crucial as it enables your device to access the internet and facilitates the seamless transfer of data from your iPhone 8.
Once connected, you’ll encounter the “Data & Privacy” screen. Here, you’ll have the opportunity to review and customize your privacy settings, ensuring that your personal information is safeguarded according to your preferences.
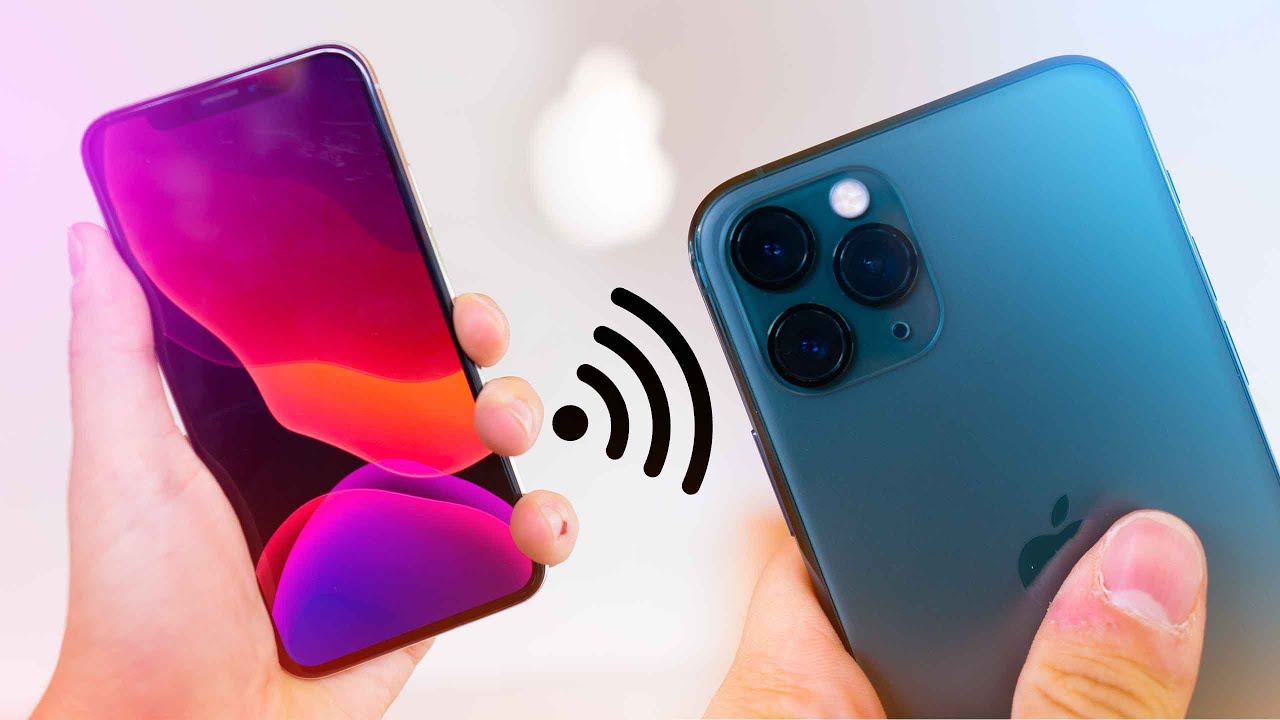
Step 3: Transfer Data Using Quick Start
When upgrading from an iPhone 8 to an iPhone 11, utilizing the Quick Start feature simplifies the data transfer process. This method ensures a seamless transition, allowing you to effortlessly migrate your data, settings, and preferences to your new device.
First, ensure that both your iPhone 8 and iPhone 11 have sufficient battery life or are connected to power sources. Next, place the devices close to each other. Upon turning on your new iPhone 11, a prompt will appear, inviting you to use your iPhone 8 to set up the new device. Follow the on-screen instructions to initiate the data transfer process.
Once the devices are paired, the Quick Start feature facilitates the transfer of your Apple ID, Wi-Fi settings, and preferences. Additionally, your apps, photos, and other data will be seamlessly transferred to your new iPhone 11. This method eliminates the need for manual data migration, saving you time and effort.
**
Step 4: Transfer Data Using iCloud Backup
**
Using iCloud Backup is a convenient way to transfer data from your old iPhone 8 to your new iPhone 11. It allows you to seamlessly transfer your photos, videos, contacts, and more without the need for a physical connection between the devices.
To initiate the transfer, ensure that your iPhone 8 is connected to a Wi-Fi network and plugged into a power source. Go to “Settings” on your iPhone 8, tap on your name, then select “iCloud” and “Backup.” From here, tap “Back Up Now” to create a current backup of your device to iCloud.
Once the backup is complete, turn on your new iPhone 11 and follow the on-screen instructions until you reach the “Apps & Data” screen. Choose “Restore from iCloud Backup” and sign in to your iCloud account using your Apple ID. Select the most recent backup from the list, and the data from your iPhone 8 will begin transferring to your new iPhone 11.
It’s important to keep your new iPhone 11 connected to Wi-Fi and plugged into a power source during the data transfer process. Depending on the size of your backup and the speed of your internet connection, the transfer may take some time to complete.
Once the transfer is finished, your new iPhone 11 will restart, and the data from your iPhone 8 will be available on your new device. This method ensures that your new iPhone 11 is set up with the same data, settings, and preferences as your old iPhone 8, providing a seamless transition to your new device.
Conclusion
Transferring data from your iPhone 8 to iPhone 11 can seem daunting, but with the right tools and guidance, it becomes a seamless process. Whether you opt for iCloud, iTunes, or Quick Start, ensuring that your new iPhone 11 contains all the essential data from your iPhone 8 is crucial for a smooth transition. By following the step-by-step instructions provided in this article, you can effortlessly migrate your contacts, photos, apps, and other valuable information to your new device. Embracing the latest technology while preserving your cherished memories has never been easier. With these methods at your disposal, you can embark on your iPhone 11 journey with confidence, knowing that your digital world is securely and efficiently transferred to your new device.
FAQs
**Q: Can I transfer data from my iPhone 8 to iPhone 11 without using iCloud?**
Yes, you can transfer data from your iPhone 8 to iPhone 11 without using iCloud. There are several methods to achieve this, such as using iTunes, Quick Start, or third-party apps.
Q: Is it possible to transfer data wirelessly from iPhone 8 to iPhone 11?
Yes, you can transfer data wirelessly from iPhone 8 to iPhone 11 using the Quick Start feature. This method allows you to transfer your data, settings, and preferences directly from one device to another over a Wi-Fi connection.
Q: Will my apps and app data be transferred when I switch from iPhone 8 to iPhone 11?
When you transfer data from iPhone 8 to iPhone 11, your apps and app data can be transferred if you use methods such as iCloud backup, iTunes backup, or Quick Start. However, some apps may require you to sign in again on the new device.
Q: Can I transfer my photos and videos from iPhone 8 to iPhone 11 without losing quality?
Yes, you can transfer your photos and videos from iPhone 8 to iPhone 11 without losing quality by using methods such as iCloud, iTunes, or a third-party app. These methods ensure that your media files are transferred in their original quality.
Q: What should I do if I encounter issues during the data transfer process from iPhone 8 to iPhone 11?
If you encounter issues during the data transfer process, ensure that both devices are running the latest iOS version, have sufficient battery life, and are connected to stable Wi-Fi. You can also seek assistance from Apple Support or refer to troubleshooting guides for specific transfer methods.