
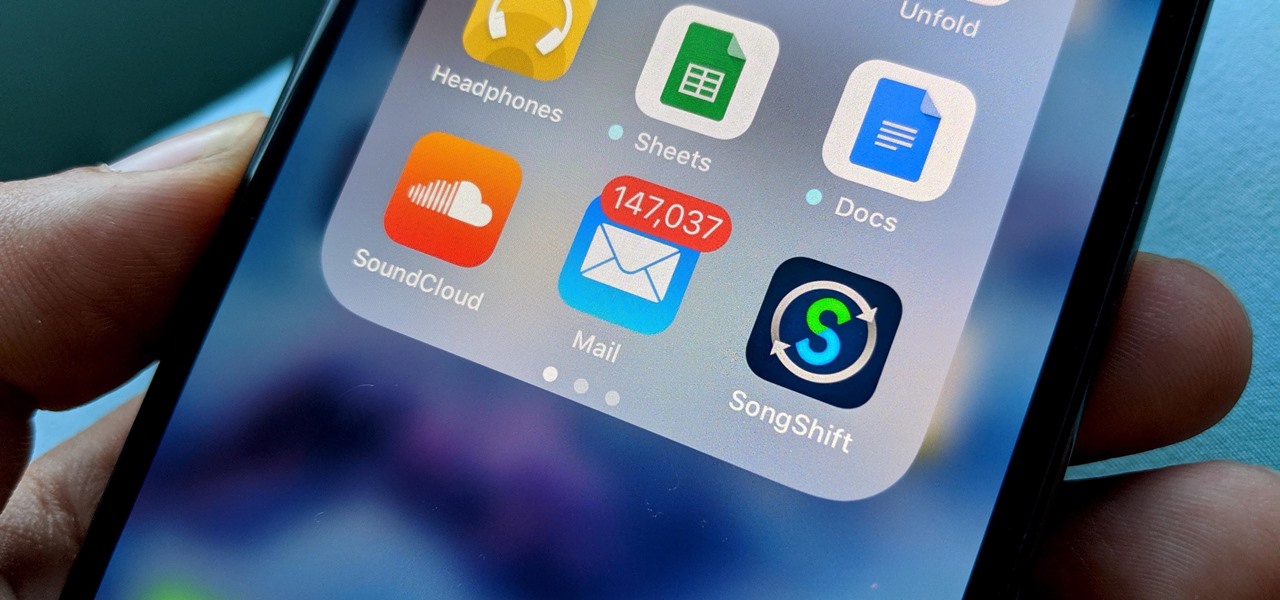
In today’s fast-paced world, staying connected and organized through our mobile phones has become crucial. One of the most common concerns for smartphone users is the overwhelming influx of notifications. Whether it’s emails, messages, or social media updates, constant notifications can be distracting and time-consuming. However, what if there was a way to filter and prioritize these notifications, ensuring that you only receive alerts from important contacts? Well, you’re in luck! In this article, we will explore how you can receive mail notifications for important contacts only. By taking advantage of some simple settings and customization options on your smartphone, you can regain control of your notifications and focus on what truly matters. So, let’s dive in and discover how to stay in the loop without being drowned in a sea of unnecessary alerts.
Inside This Article
- Overview
- Method 1: Custom Filter in Email Settings
- Method 2: Using a Third-Party Email Client
- Method 3: Smart Labels and Filters
- Method 4: Prioritizing Contacts in Mobile Email Apps
- Conclusion
- FAQs
Overview
In our modern world, staying connected via email is vital for both personal and professional communication. However, with the influx of emails we receive on a daily basis, it’s easy for important messages to get lost in the shuffle. To ensure that you never miss a critical email from your key contacts, it’s essential to set up mail notifications specifically for them.
Receiving mail notifications for important contacts only allows you to prioritize and stay updated on the messages that truly matter. By implementing this feature, you can streamline your email management and avoid the overwhelming feeling of being bombarded with countless notifications.
In this article, we will explore various methods to help you receive mail notifications for important contacts only. Whether you’re using a custom filter in your email settings, utilizing a third-party email client, leveraging smart labels and filters, or prioritizing contacts in your mobile email apps, we’ve got you covered with step-by-step instructions and insightful tips.
Method 1: Custom Filter in Email Settings
One way to receive mail notifications for important contacts only is by creating a custom filter in your email settings. This method allows you to specify certain criteria that will trigger a notification for incoming emails from specific contacts.
To set up a custom filter, follow these steps:
- Access your email settings by clicking on the gear icon or the “Settings” option in your email interface.
- Look for the “Filters” or “Rules” tab and click on it.
- Click on the “Create a new filter” button to initiate the setup process.
- In the filter creation form, you can specify different criteria to identify important contacts. For example, you can set the “From” field to a specific email address or domain.
- Once you’ve defined the criteria, you can choose what action to take for matched emails. In this case, you want to receive mail notifications, so select the option that sends a notification to your device or email account.
- Save the filter, and you’re all set.
With this custom filter in place, you will only receive mail notifications for emails that match your specified criteria. This ensures that you stay updated and alerted for important contacts without being overwhelmed by notifications for every single email.
Method 2: Using a Third-Party Email Client
If you want more control over your email notifications and prioritize important contacts, using a third-party email client is a great option. These applications offer advanced features and customization options that can help you receive mail notifications for only your important contacts.
One popular third-party email client is Spark. Spark is available for both iOS and Android devices, and it offers a smart inbox feature that automatically categorizes your emails into different sections, including personal emails, newsletters, and notifications. With Spark, you can create custom rules to ensure that you receive notifications only for emails from specific contacts.
Another option is Mozilla Thunderbird, a free and open-source email client available for Windows, Mac, and Linux. Thunderbird allows you to set up filters and message rules to manage your email notifications. You can create a filter that matches specific criteria, such as the sender’s email address or the subject line, and configure it to trigger a notification for those important emails.
If you prefer a minimalist email client, Newton Mail might be the right choice for you. Newton Mail offers a focused inbox feature that automatically filters out distractions and displays only important emails. By setting up a customized focused inbox, you can ensure that you receive notifications for emails from your important contacts while minimizing interruptions from less important emails.
One more third-party email client worth considering is Microsoft Outlook. Outlook provides powerful filtering options that allow you to create rules to manage your email notifications effectively. You can create a rule to forward emails from specific contacts to your mobile device, ensuring that you don’t miss any important messages.
Using a third-party email client not only gives you more control over your email notifications but also provides additional features and customization options. Depending on your preferences and device, there are various email clients available to help you prioritize email notifications from your important contacts.
Method 3: Smart Labels and Filters
Smart labels and filters are powerful tools that can help you manage and organize your email notifications effectively. By setting up smart labels and filters, you can ensure that you receive mail notifications only for important contacts.
The first step is to create a smart label for your important contacts. In your email settings, look for the option to create a new label. Name it something like “Important Contacts” or “VIPs.” Once the label is created, you can manually assign it to the contacts that you consider crucial.
Next, you will need to create a filter based on the smart label. Filters allow you to automatically manage incoming emails based on specific criteria. In this case, you want to filter emails from your important contacts and give them special treatment.
To create the filter, go to your email settings and look for the filter options. Set the filter to look for emails from the email addresses or domains of your important contacts. Once the filter identifies these emails, you can choose what action to take. You can make them skip the inbox and directly go to a specific folder, mark them as important, or apply the smart label you created earlier.
By setting up smart labels and filters, you can ensure that your inbox remains clutter-free while still receiving mail notifications for your important contacts. This method works across different email providers and can be customized according to your preferences and requirements.
Remember to periodically review and update your smart labels and filters to ensure that they are working effectively. As your list of important contacts changes, you may need to add or remove email addresses from the smart label or modify the filter criteria.
Using smart labels and filters is a proactive way to manage your email notifications and prioritize emails from your important contacts. With a few simple steps, you can stay on top of your inbox without being overwhelmed by unnecessary notifications.
Method 4: Prioritizing Contacts in Mobile Email Apps
In addition to using custom filters and third-party email clients, another method to receive mail notifications for important contacts only is by prioritizing contacts in mobile email apps. Most mobile email apps provide options to set specific contacts as VIP or prioritize their emails, ensuring that you receive immediate notifications when they send you a message.
To prioritize contacts in mobile email apps, follow these steps:
- Open your email app on your mobile device.
- Navigate to the settings or preferences section of the app. This may be accessible through a menu icon or an avatar.
- Look for an option like “VIP” or “Contacts Priority” and select it.
- Find the contact you want to prioritize and select it.
- Toggle the switch or checkbox to prioritize their emails or mark them as VIP.
- Save your settings or preferences.
Once you have prioritized a contact, their emails will be placed in a separate folder or highlighted in your inbox, making it easier to identify and respond to their messages promptly. Additionally, you can usually customize the notification settings to receive unique alerts for emails from VIP contacts.
By prioritizing important contacts in your mobile email app, you can ensure that you never miss an urgent email or important communication. This method allows you to separate important messages from the rest of your inbox, reducing the chances of overlooking critical information.
It’s worth noting that the steps to prioritize contacts may vary depending on the email app and the mobile device you are using. Some email apps may offer more advanced features, such as the ability to create custom rules or filters for specific contacts, providing even more flexibility in managing your email notifications.
Now that you have learned about different methods to receive mail notifications for important contacts only, you can choose the one that best suits your needs and preferences. Whether you opt for custom filters in email settings, third-party email clients, smart labels and filters, or prioritizing contacts in mobile email apps, these methods will help you stay on top of your inbox and ensure that you never miss crucial messages again.
Conclusion
Receiving mail notifications for important contacts only can greatly reduce the influx of unnecessary emails and help streamline your communication process. By implementing the tips and tricks outlined in this article, you can take control of your inbox and ensure that you are only alerted to the most critical messages.
Remember, setting up filters, creating VIP lists, and utilizing email management tools are all effective strategies to prioritize your incoming emails. Take advantage of these features offered by different email providers to customize your notification settings according to your specific needs.
By managing your email notifications effectively, you can save time, reduce stress, and focus on what truly matters in your personal and professional life. So, take the necessary steps today and experience the benefits of a more organized and streamlined email inbox.
FAQs
1. Can I customize my mail notifications to receive alerts for important contacts only?
Yes, you can definitely customize your mail notifications to receive alerts for important contacts only. This allows you to prioritize your communication and ensure you don’t miss any crucial emails.
2. How can I set up mail notifications for important contacts?
To set up mail notifications for important contacts, you can follow these steps:
- Open your email settings or preferences.
- Look for the option to manage notifications or alerts.
- Select the option to customize notifications for specific contacts.
- Add the email addresses of your important contacts to the designated list.
- Save your changes.
3. What happens when I receive an email from an important contact?
When you receive an email from one of your important contacts, you will receive a notification or alert based on your chosen preferences. This could be an audible sound, a pop-up notification, an email badge on your phone’s home screen, or any combination of these options. This ensures that you are immediately aware of the incoming email and can give it your attention.
4. Can I set different levels of importance for my contacts?
Yes, some email platforms allow you to set different levels of importance for your contacts. This means you can categorize your contacts into different priority levels and receive notifications based on those categories. For example, you can have a high-priority category for your most important contacts and a lower-priority category for less urgent emails.
5. How do I ensure that I don’t miss any important emails?
To ensure that you don’t miss any important emails, you can take the following steps:
- Regularly review and update your list of important contacts.
- Adjust your notification settings as needed, based on the importance and urgency of your emails.
- Stay alert and responsive to email notifications from your important contacts.
- Ensure that your notification preferences are enabled and properly configured.
- Regularly check your email inbox for any missed notifications or alerts.