
Sure, here's the introduction wrapped in HTML tags:
html
Are you tired of the default ringtones on your iPhone 12 and want to add a personal touch to your device? Creating custom ringtones can be a fun and creative way to personalize your iPhone experience. In this article, we’ll explore how to make ringtones for your iPhone 12, allowing you to set your favorite songs or sounds as custom ringtones. Whether you’re looking to stand out in a crowd or simply want to add a touch of individuality to your phone, custom ringtones can help you achieve just that. Let’s dive into the process of creating unique ringtones that reflect your personality and style.
Inside This Article
- Choosing the Right Song
- Editing the Song
- Converting the Song to a Ringtone
- Setting the Ringtone on iPhone 12
- Conclusion
- FAQs
**
Choosing the Right Song
**
**
When it comes to creating a custom ringtone for your iPhone 12, the first step is choosing the perfect song. Your ringtone should reflect your personality and style, so consider selecting a song that resonates with you. Whether it’s an upbeat pop hit, a classic rock anthem, or a soothing instrumental piece, the key is to pick a tune that you’ll be happy to hear every time your phone rings.
**
**
Additionally, it’s essential to choose a song with a strong and distinct opening, as this will ensure that your ringtone grabs attention right from the start. A memorable intro will make your ringtone instantly recognizable and prevent it from getting lost in the sea of generic tones. Keep in mind that the ideal ringtone is one that stands out and sets your iPhone 12 apart from the crowd.
**
**
Consider the length of the song as well. While most ringtones are around 30 seconds long, iPhone 12 allows for ringtones up to 40 seconds. However, it's best to aim for a duration that maintains the listener's interest without becoming repetitive. Ultimately, the goal is to find a song that not only represents your individuality but also translates well into a brief, attention-grabbing snippet.
**
Editing the Song
Once you’ve selected the song you want to use as a ringtone, it’s time to edit it to create the perfect snippet. You’ll need to focus on the most catchy and attention-grabbing part of the song, typically the chorus or a memorable instrumental section. This will ensure that your ringtone captures the essence of the song in a brief snippet.
When editing the song, it’s important to consider the length limitations for ringtones on the iPhone 12. The ideal length for a ringtone is around 30 seconds, so you’ll need to trim the song accordingly. You can use audio editing software or apps to precisely select the segment you want to use as your ringtone and trim the rest of the song.
Furthermore, you may want to adjust the volume levels of the selected segment to ensure that it’s not too loud or too quiet. This will help maintain the clarity and quality of the ringtone when it plays on your iPhone 12. Additionally, consider applying fade-in and fade-out effects to ensure smooth transitions at the beginning and end of the ringtone.
After editing the song to perfection, it’s time to convert it into a compatible ringtone format for your iPhone 12. This will involve converting the edited segment into a .m4r file, which is the standard ringtone format for iPhones. Once the song is in the correct format, you can proceed to the next step of setting it as your custom ringtone on your iPhone 12.
Converting the Song to a Ringtone
After editing your chosen song to perfection, the next step is converting it into a ringtone format compatible with your iPhone 12. Fortunately, there are several methods to achieve this, ensuring that your customized ringtone will seamlessly integrate with your device.
One of the most convenient ways to convert your edited song into a ringtone is by using iTunes. Simply open iTunes on your computer, select the song you wish to convert, and right-click to choose “Get Info.” Next, navigate to the “Options” tab, where you can set the start and stop times to create a 30-second snippet, ideal for a ringtone.
Once you have set the desired start and stop times, click “OK” and return to the main iTunes window. Right-click the song again and select “Create AAC Version.” This action will generate a shortened version of the song, perfect for a ringtone.
Now, locate the AAC version of the song on your computer, right-click, and select “Show in Windows Explorer” or “Show in Finder” on a Mac. Afterward, change the file extension from .m4a to .m4r. This step is crucial, as the .m4r format is specifically designed for iPhone ringtones.
With the file extension modified, simply double-click the .m4r file, and it will automatically be added to your iTunes library under the “Tones” section. From there, you can sync it to your iPhone 12 and set it as your custom ringtone, allowing you to enjoy a personalized audio experience with every incoming call.
Sure, here's the content for "Setting the Ringtone on iPhone 12" section:
Setting the Ringtone on iPhone 12
Once you’ve created or downloaded a custom ringtone for your iPhone 12, setting it as your default ringtone is a straightforward process. Here’s how you can do it:
1. Open the “Settings” app on your iPhone 12 and tap on “Sounds & Haptics.” This will take you to the sound settings for your device.
2. In the “Sounds and Vibration Patterns” section, tap on “Ringtone.” This will display a list of all the available ringtones on your iPhone 12.
3. Scroll through the list and tap on the custom ringtone you want to set as your default. You can preview the ringtone by tapping on it.
4. Once you’ve selected the desired ringtone, it will be set as your default ringtone. You can also customize other sound settings, such as text tones and vibration patterns, from the same menu.
Now, whenever you receive a call, your custom ringtone will play, adding a personal touch to your iPhone 12 experience.
Conclusion
Creating custom ringtones for your iPhone 12 is a fantastic way to personalize your device and add a touch of individuality to your incoming calls and notifications. With the right tools and a bit of creativity, you can craft unique ringtones that truly reflect your personality and style. Whether you opt to use your favorite song, a sound effect, or a recording of your own, the process is simple and rewarding. By following the steps outlined in this guide, you can elevate your iPhone experience and stand out from the crowd with a one-of-a-kind ringtone. Embrace the opportunity to express yourself through your device and enjoy the satisfaction of hearing your personalized tones whenever your iPhone rings or receives a message.
FAQs
-
Can I Make Ringtones for My iPhone 12 Without Using iTunes?
Yes, you can create custom ringtones for your iPhone 12 without using iTunes. There are various third-party apps and online tools available that allow you to easily make and set personalized ringtones directly from your iPhone.
-
What File Formats Are Supported for iPhone 12 Ringtones?
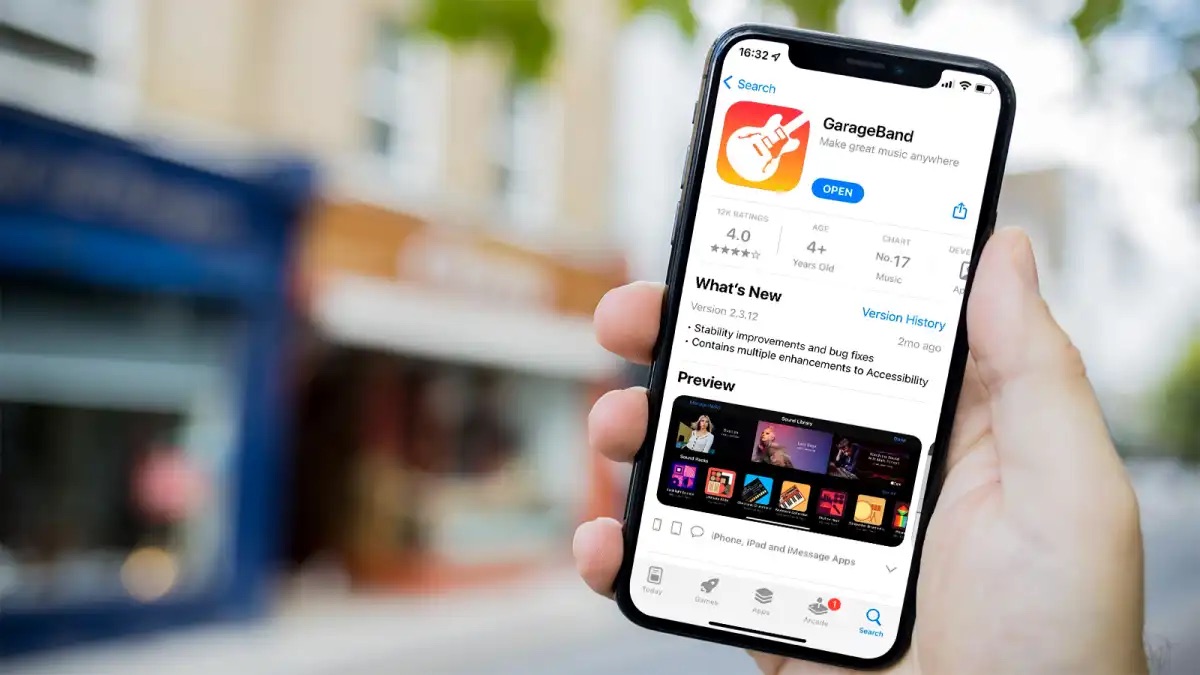
iPhone 12 supports ringtones in the M4R format, which is essentially a renamed AAC (m4a) file. You can convert your audio files to the M4R format using iTunes, GarageBand, or third-party software.
-
Can I Use Any Song as a Ringtone on My iPhone 12?
While you can use any song as a ringtone on your iPhone 12, you need to ensure that the song is in a compatible format and does not violate copyright laws. It's recommended to use songs that you have purchased or have the rights to use as ringtones.
-
How Long Can an iPhone 12 Ringtone Be?
iPhone 12 ringtones can be up to 30 seconds long. Keep in mind that shorter ringtones are often more effective, as they quickly grab your attention without being overly intrusive.
-
Can I Assign Different Ringtones to Different Contacts on My iPhone 12?
Yes, you can assign different ringtones to different contacts on your iPhone 12. This feature allows you to identify incoming calls without needing to check your phone, providing a personalized and efficient calling experience.