
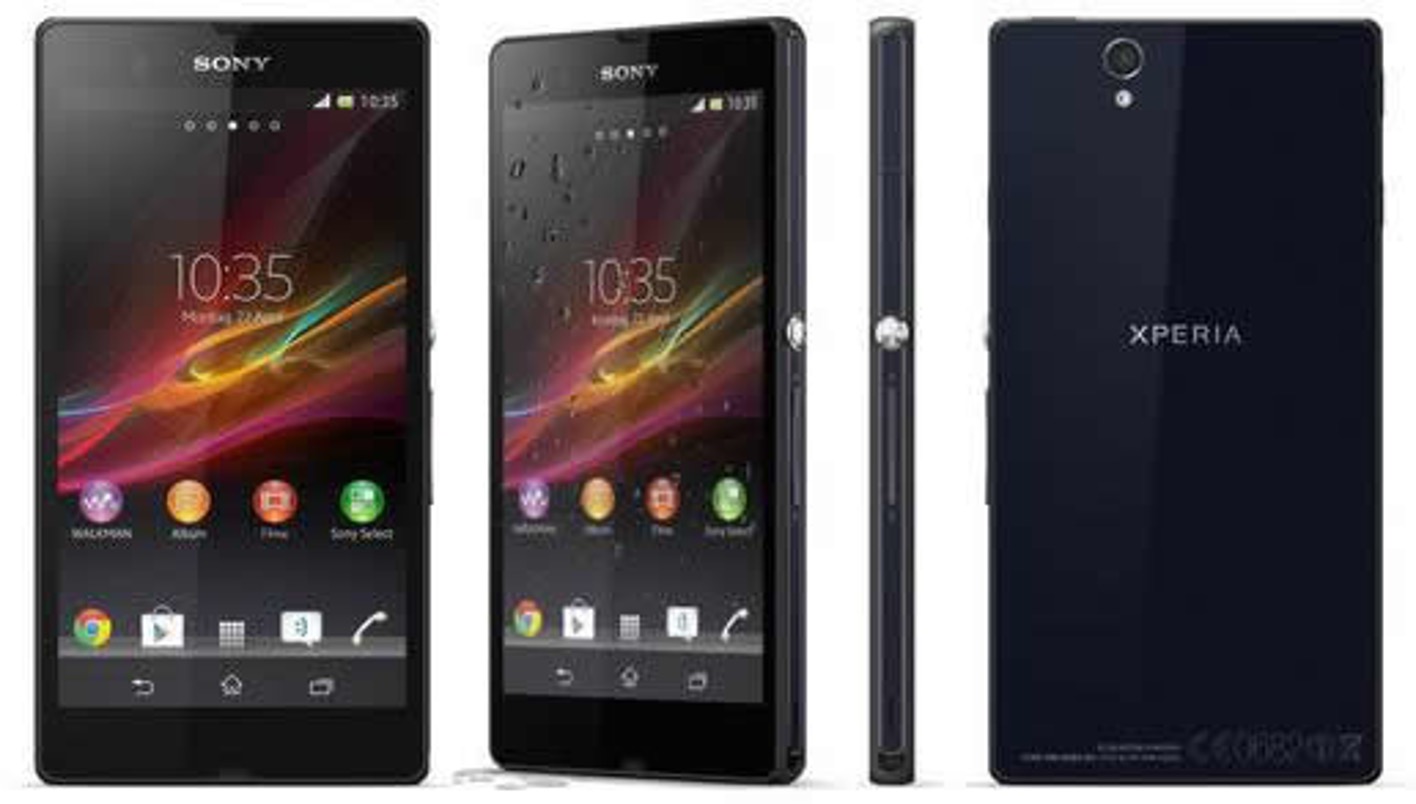
The Sony Xperia D6616 is a popular mobile phone that offers a wide range of features and functionalities. However, many users may find themselves limited by the phone’s pre-installed software and settings. Fortunately, there is a solution that can unlock the full potential of the Sony Xperia D6616 – rooting.
Rooting is the process of gaining administrative access to the Android operating system, allowing users to customize and optimize their devices to their liking. By rooting your Sony Xperia D6616, you can remove bloatware, install custom ROMs, overclock the processor, and enjoy a whole variety of other advanced features.
In this article, we will provide you with a comprehensive guide on how to root your Sony Xperia D6616. So, if you’re ready to take control of your device and experience the true power of your Sony Xperia D6616, read on!
Inside This Article
- Requirements for Rooting Sony Xperia D6616
- Step 1: Enabling Developer Options and USB Debugging
- Step 2: Unlocking the Bootloader
- Step 3: Installing a Custom Recovery
- Step 4: Rooting Sony Xperia D6616
- Troubleshooting Common Issues
- Conclusion
- FAQs
Requirements for Rooting Sony Xperia D6616
Before you proceed with rooting your Sony Xperia D6616, there are a few requirements you need to fulfill. These prerequisites ensure a smooth and successful rooting process. Here are the key requirements you should keep in mind:
1. USB Cable: Make sure you have a USB cable that is compatible with your Sony Xperia D6616. This cable will be used to connect your device to your computer during the rooting process.
2. Computer: You will need a computer to perform the rooting process. Ensure that your computer meets the minimum system requirements and has a stable internet connection.
3. Backup: It is highly recommended to back up all your important data before rooting your Sony Xperia D6616. This will protect your files and settings in case anything goes wrong during the rooting process.
4. Battery Level: Ensure that your Sony Xperia D6616 has sufficient battery level before starting the rooting process. A minimum of 50% battery is recommended to avoid any interruptions during the process.
5. Enable Developer Options: To enable developer options, go to Settings > About phone, and tap on the “Build number” 7 times. This will unlock the developer options on your device.
6. Enable USB Debugging: Once you have enabled developer options, go to Settings > Developer options and enable USB debugging. This allows your Sony Xperia D6616 to communicate with your computer during the rooting process.
7. Unlock Bootloader: Before rooting, you need to unlock the bootloader of your Sony Xperia D6616. This step is essential as it allows you to modify the system files on your device. Instructions for unlocking the bootloader can be found on the official Sony website.
8. Custom Recovery: Lastly, you will need to install a custom recovery on your Sony Xperia D6616. A custom recovery, such as TWRP, provides additional features and functionality for rooting and installing custom ROMs on your device. Instructions for installing a custom recovery can also be found on the official Sony website.
By fulfilling these requirements, you will be well-prepared to root your Sony Xperia D6616 and unlock its full potential. Remember to follow the instructions carefully and proceed with caution to ensure a successful rooting process.
Step 1: Enabling Developer Options and USB Debugging
Enabling Developer Options and USB Debugging on your Sony Xperia D6616 is the first step towards rooting your device. It allows you to unlock additional settings and grant your device permission to communicate with your computer for debugging and other advanced tasks.
To enable Developer Options, follow these steps:
- Go to the Settings menu on your Sony Xperia D6616.
- Scroll down and tap on “About phone.”
- Look for “Build number” and tap on it seven times in quick succession.
- You will see a notification that says, “You are now a developer!” This means that Developer Options have been successfully enabled.
Once you have enabled Developer Options, you need to enable USB Debugging:
- Go back to the main Settings menu on your device.
- Scroll down and tap on “Developer options.”
- Find the “USB Debugging” option and toggle it on.
- A warning message will appear, explaining the potential risks of enabling USB Debugging. Read through it and tap “OK” to proceed.
Now that you have enabled Developer Options and USB Debugging, your Sony Xperia D6616 is ready for the next step in the rooting process.
Step 2: Unlocking the Bootloader
If you want to gain full control over your Sony Xperia D6616, one crucial step is unlocking the bootloader. This process allows you to install custom ROMs, modify system files, and access advanced settings that are not available on a locked bootloader.
Before proceeding, it’s essential to understand that unlocking the bootloader will void your warranty and could potentially lead to bricking your device if not done properly. So, make sure you are fully aware of the risks involved and proceed at your own discretion.
Here are the steps to unlock the bootloader of your Sony Xperia D6616:
- First, ensure that you have enabled Developer Options on your device. To do this, go to Settings, then About Phone, and continuously tap on the Build Number until you see a notification that Developer Options is enabled.
- Now, go back to the main Settings menu and scroll down to find the newly enabled Developer Options. Tap on it.
- In the Developer Options menu, look for “OEM Unlocking” and “USB Debugging” options. Enable both of these options by toggling the switches.
- Next, connect your Sony Xperia D6616 to your computer using a USB cable.
- Open the command prompt on your computer and navigate to the directory where you have installed the Android SDK Platform Tools.
- In the command prompt, type the command “adb devices” and press Enter to ensure that your device is being recognized by the computer.
- Once you have confirmed that your device is connected, enter the command “adb reboot bootloader” to boot your Sony Xperia D6616 into fastboot mode.
- In fastboot mode, enter the command “fastboot devices” to verify that your device is still connected and recognized by the computer.
- Finally, to unlock the bootloader, use the command “fastboot oem unlock” and press Enter.
- A warning message will appear on your device’s screen. Confirm the bootloader unlock by pressing the Volume Up button, and your Sony Xperia D6616’s bootloader will be unlocked.
Once the bootloader is unlocked, your device is ready for custom ROMs, tweaks, and other modifications. However, keep in mind that unlocking the bootloader may lead to security risks, so exercise caution when installing third-party software or making system changes.
Remember to back up your data before proceeding with unlocking the bootloader, as the process may result in a factory reset and erase all your device’s data. Also, note that unlocking the bootloader may void your warranty, so it’s important to weigh the benefits against the potential risks.
Continue to the next step to install a custom recovery on your Sony Xperia D6616, which is essential for installing custom ROMs and other modifications.
Step 3: Installing a Custom Recovery
Once you have successfully unlocked the bootloader of your Sony Xperia D6616, the next step in the rooting process is to install a custom recovery. A custom recovery is a modified version of the stock recovery that allows you to perform advanced functions on your device. It is essential for gaining full control over your device and installing custom ROMs and other system modifications.
Before proceeding, make sure you have downloaded the appropriate custom recovery for your Sony Xperia D6616. There are several popular custom recoveries available, such as TWRP (TeamWin Recovery Project) and ClockworkMod (CWM). Choose the one that best suits your needs and make sure it is compatible with your specific device model.
To install a custom recovery on your Sony Xperia D6616, follow these steps:
- Connect your device to your computer using a USB cable.
- Open the command prompt or terminal on your computer.
- Navigate to the folder where you have stored the custom recovery file.
- Enter the following command:
adb reboot bootloader - Your device will reboot into bootloader mode.
- Once in bootloader mode, enter the command:
fastboot flash recovery [recovery_filename.img](replace [recovery_filename.img] with the actual filename of the custom recovery file) - The custom recovery will be flashed to your device.
- After the installation is complete, enter the command:
fastboot reboot - Your device will reboot with the newly installed custom recovery.
It is important to note that installing a custom recovery will void your device’s warranty. Additionally, improper installation or use of custom recovery can potentially brick your device. Proceed with caution and make sure you fully understand the risks involved.
Once you have successfully installed a custom recovery on your Sony Xperia D6616, you are one step closer to unlocking the full potential of your device. With a custom recovery in place, you can now proceed to the final step in rooting your device.
Step 4: Rooting Sony Xperia D6616
Now that you have unlocked the bootloader and installed a custom recovery on your Sony Xperia D6616, you are ready to root your device. Rooting your Xperia D6616 will give you administrative privileges, allowing you to access system files and make modifications that are not possible on a non-rooted device.
Rooting your phone comes with its advantages and disadvantages. On the positive side, you can enjoy the freedom to customize your device, install custom ROMs, and use powerful root-exclusive apps. However, rooting also involves certain risks, such as voiding your warranty and the potential for bricking your device if the rooting process goes wrong.
That being said, if you still want to proceed with rooting your Sony Xperia D6616, here is a step-by-step guide to help you:
- Make sure your device is charged to at least 50% to prevent any interruptions during the rooting process.
- Download the rooting tool specific to your Xperia D6616 model. You can find trusted rooting tools online, such as KingoRoot or SuperSU.
- Connect your Xperia D6616 to your computer using a USB cable.
- Open the rooting software you downloaded and follow the on-screen instructions to initiate the rooting process.
- Wait for the rooting tool to detect and recognize your Xperia D6616.
- Once your device is detected, click on the “Root” or “Start” button to begin the rooting process.
- During the rooting process, your Xperia D6616 may restart multiple times. Do not interrupt the process and allow it to complete.
- Once the rooting process is finished, the software will notify you that your device has been successfully rooted.
- Disconnect your Xperia D6616 from the computer and restart it.
- Congratulations! Your Sony Xperia D6616 is now rooted, giving you greater control and customization options.
Remember that rooting your device means taking full responsibility for any changes or modifications you make. Always backup your data before rooting, as there is a possibility of data loss during the process. Additionally, be cautious when granting root access to apps, as this can potentially compromise the security of your device.
Troubleshooting Common Issues
Rooting your Sony Xperia D6616 can sometimes encounter a few roadblocks along the way. Here are some common issues and their solutions to help you overcome any obstacles you may face during the process.
1. Bootlooping: If you find your device stuck in a bootloop after attempting to root it, don’t panic. This is a common issue and can be easily fixed. Start by entering the custom recovery mode and perform a factory reset. This will clear any conflicting files or settings that may be causing the bootloop.
2. Device not recognized: If your computer doesn’t recognize your Sony Xperia D6616 when connected via USB, try the following steps. First, make sure you have installed the necessary USB drivers for your device on your computer. If you have already installed the drivers, try using a different USB cable or port. Restart both your device and computer and try connecting again.
3. Failed root attempt: If your root attempt fails, it can be due to several reasons. Firstly, ensure that you have followed all the steps correctly, including unlocking the bootloader and installing the custom recovery. If you are still unable to root your device, it may be due to firmware or software updates that have patched the rooting method. In such cases, you may need to wait for a new rooting method specifically designed for the updated firmware.
4. Soft-bricking: Soft-bricking refers to a state where your device is not functioning properly but still has the potential to recover. If you encounter a soft-brick situation after root attempts, you can try using the custom recovery to restore your device to its previous state. Use the “Advanced” options in the recovery menu to wipe the cache partition and dalvik cache, and then reboot your device.
5. Loss of warranty: It’s important to note that rooting your Sony Xperia D6616 will void the warranty provided by the manufacturer. If you encounter any hardware or software issues after rooting, the manufacturer may refuse to provide support or warranty coverage. Keep this in mind before deciding to root your device.
By following the troubleshooting tips above, you can address common issues that may arise while rooting your Sony Xperia D6616. Remember to proceed with caution and carefully follow all the instructions to ensure a successful rooting process.
Conclusion
In conclusion, rooting your Sony Xperia D6616 can unlock a world of possibilities, allowing you to customize your phone, access advanced features, and optimize performance. With the right knowledge and precautions, rooting can be a great way to fully harness the potential of your device.
However, it is important to proceed with caution and follow instructions carefully to avoid any potential risks or damage to your phone. Make sure to research and choose a reliable rooting method, backup all important data, and understand the implications of voiding your device’s warranty.
By understanding the benefits, risks, and precautions associated with rooting, you can make an informed decision on whether or not to proceed. Always remember to weigh the advantages and disadvantages, and seek professional guidance if needed.
With the right approach and knowledge, rooting your Sony Xperia D6616 can open up a whole new world of customization, functionality, and optimization to take your mobile experience to the next level.
FAQs
-
Q: What is rooting and why would I want to root my Sony Xperia D6616?
A: Rooting is the process of gaining administrative access to your device’s operating system. By rooting your Sony Xperia D6616, you can unlock various possibilities such as customizing your device, installing unofficial software, and accessing advanced features that are not available on a stock device. -
Q: Is rooting my Sony Xperia D6616 safe?
A: Rooting can potentially void your device’s warranty and expose it to security risks if not done properly. It is crucial to follow reliable guides and use trusted rooting methods to minimize any potential risks. It is also advisable to backup your data before proceeding with the rooting process. -
Q: Can I unroot my Sony Xperia D6616 if needed?
A: Yes, it is possible to unroot your Sony Xperia D6616 if you decide that you no longer want root access. There are various methods available to unroot your device, such as using an unrooting app or flashing the stock firmware. However, it is important to note that unrooting does not always restore your warranty status. -
Q: Will rooting my Sony Xperia D6616 affect my device’s performance?
A: Rooting itself does not directly impact your device’s performance. However, certain modifications and customizations made after rooting, such as installing heavy apps or overclocking the device, can affect performance. It is crucial to use caution and be selective when making changes to your device to ensure optimal performance. -
Q: Do I need technical knowledge to root my Sony Xperia D6616?
A: While some technical knowledge can be helpful, there are user-friendly tools and step-by-step guides available that make rooting accessible to users with various levels of technical expertise. It is important to carefully follow the instructions and seek assistance from trusted sources if needed to ensure a successful rooting process.