
Are you tired of hastily taking pictures on your iPhone, only to find out that they’re blurry or poorly framed? Well, worry no more! With the feature of a picture timer on your iPhone, you can now take your time setting up that perfect shot and capture memorable moments with precision. Whether you’re taking a group photo or a selfie, the picture timer function will ensure that everyone is in position and ready before the photo is taken. In this article, we will guide you through the process of setting up the picture timer on your iPhone, so you can take beautiful and well-composed photos every time. So grab your iPhone, and let’s get started!
Inside This Article
- Understanding the Picture Timer Feature on iPhone
- Setting a Picture Timer on iPhone
- Adjusting Picture Timer Settings on iPhone
- Tips for Using the Picture Timer Feature on iPhone
- Conclusion
- FAQs
Understanding the Picture Timer Feature on iPhone
The picture timer feature on iPhone allows you to capture photos with a delay, giving you the freedom to be in the picture without rushing to press the shutter button. It is a helpful tool for taking group selfies, scenic shots, or any photo where you want to include yourself.
The picture timer feature works by setting a countdown timer before the camera captures the photo. You can choose different timer durations, typically ranging from 3 to 10 seconds, giving you enough time to get into position.
By using the picture timer, you no longer have to hassle with trying to reach the shutter button in time or relying on someone else to take the photo for you. It puts you in control and enables you to capture those precious moments without any rush or hassle.
The picture timer feature is available on various iPhone models, including the latest iPhone X, iPhone XR, iPhone 11, and iPhone 12. So, whether you have the latest model or an older version, you can take advantage of this handy feature to enhance your photography experience.
Now that you understand what the picture timer feature is all about, let’s move on to how you can set it up on your iPhone.
Setting a Picture Timer on iPhone
Setting a picture timer on your iPhone allows you to take photos or selfies without having to rush back into position before the shutter captures the image. Whether you want to include yourself in a group photo or capture a candid moment without any blurry hands, the picture timer feature comes in handy.
To set a picture timer on your iPhone, you can follow these simple steps:
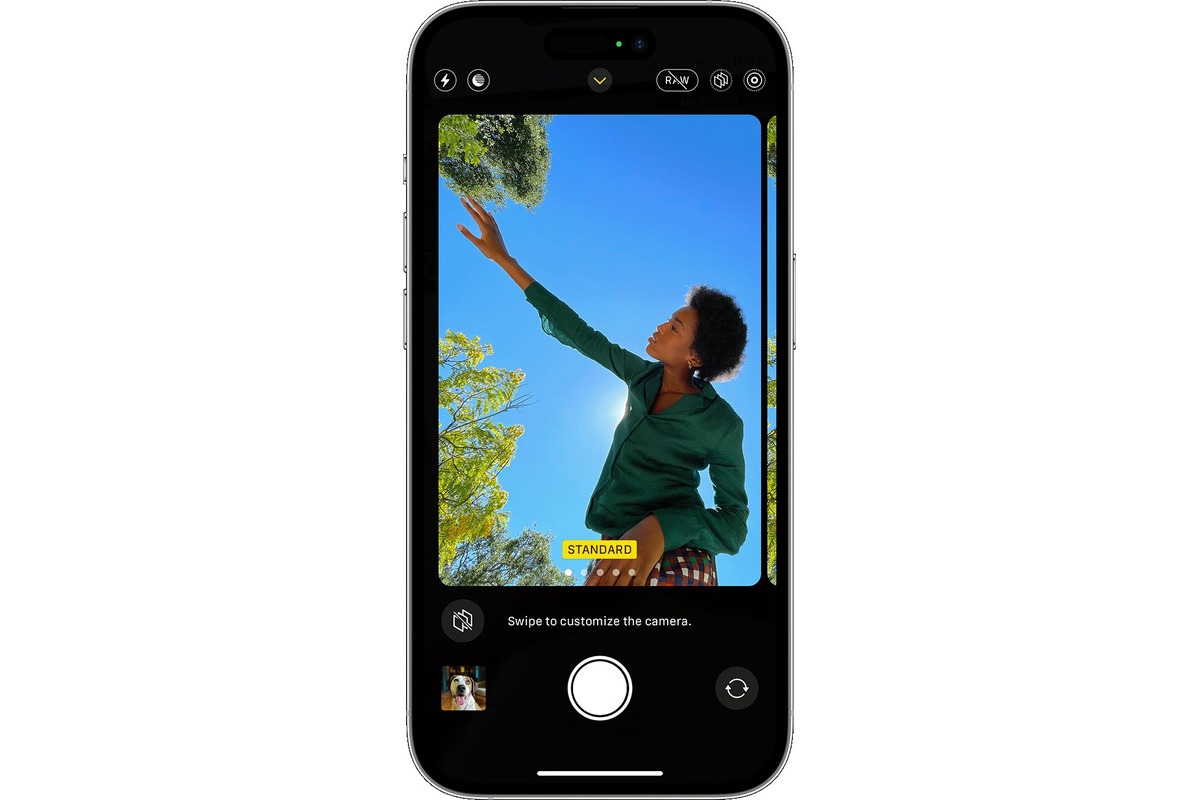
- Open the Camera app on your iPhone. You can find it on your home screen or by swiping left from the lock screen.
- Select the desired camera mode. You can choose between Photo, Portrait, Pano, Square, or other available options.
- Tap on the timer icon. It is located at the top of the screen, next to the flash and Live Photo options.
- A menu will appear with timer options. You can choose between 3 seconds, 10 seconds, or use the Custom option to set a specific timer duration.
- Select the desired timer duration for your photo. For example, if you want to give yourself enough time to get in position, choose 10 seconds.
- Once the timer is set, frame your shot, and tap on the shutter button.
- The countdown will begin, allowing you time to get ready before the camera captures the photo.
It’s important to note that the picture timer feature is available on most iPhone models, including the latest iPhone 12 series. However, older iPhone models may have slightly different steps or options for setting the timer.
Now that you know how to set a picture timer on your iPhone, you can capture memorable moments effortlessly, whether you’re alone or with a group of friends.
Adjusting Picture Timer Settings on iPhone
Adjusting the picture timer settings on your iPhone allows you to customize the details of your photos, ensuring you capture the perfect shot every time. Here are some simple steps to adjust picture timer settings:
1. Open the Camera app on your iPhone.
2. Tap on the timer icon located at the top of the screen. It looks like a clock with an arrow circling around it.
3. A menu will appear with different timer options. Choose the desired timer duration from the available options. You can select a timer delay of 3 seconds, 10 seconds, or use the custom option to set a specific time duration.
4. Once you have selected the desired timer duration, tap anywhere on the screen to close the menu.
5. Now, position your iPhone on a stable surface or use a tripod to avoid any blurriness caused by shaky hands. Make sure your subject is in the frame and ready to be photographed.
6. Tap the capture button or press the volume up button on your iPhone to start the timer.
7. The timer will begin counting down, and your iPhone will capture the photo automatically when the timer reaches zero.
Adjusting the picture timer settings gives you the flexibility to set up group shots or to capture self-portraits without the need for rushing to get in front of the camera. It allows you to create the perfect composition and ensures that everyone in the shot is ready when the photo is taken.
Note that the timer setting will remain in effect until it is manually changed or adjusted again. So, if you frequently use the timer feature, you don’t have to set it up every time you open the camera app.
Tips for Using the Picture Timer Feature on iPhone
1. Find a Stable Surface: To ensure that your photos come out crisp and blur-free, it’s important to place your iPhone on a stable surface. Use a tripod or find a flat surface to rest your device on. This will help eliminate any shaking or movement that could affect the image quality.
2. Use the Self-Timer: The self-timer feature on the iPhone allows you to set a delay before the photo is taken. This is particularly useful when you want to be in the photo yourself. Simply set the timer, position yourself in the frame, and let the iPhone capture the perfect shot.
3. Experiment with Different Pose Times: The picture timer feature on the iPhone offers various time options for capturing your photo. Take some time to experiment with different pose times to find what works best for you. Whether it’s a few seconds or a longer delay, you can create unique and interesting shots by adjusting the timer settings.
4. Utilize Burst Mode: If you’re trying to capture a moving subject or want to create a series of action shots, consider using the burst mode feature alongside the picture timer. This will allow your iPhone to capture a series of rapid-fire photos, giving you plenty of options to choose from and increasing the chance of capturing the perfect moment.
5. Make Use of the Gridlines: The gridlines feature on the iPhone camera helps you compose your shots more effectively. Enable the gridlines in the camera settings and align your subject along the gridlines to achieve better balance and symmetry in your photos.
6. Use the Volume Buttons as Shutter: Instead of tapping the on-screen shutter button, you can use the volume buttons on your iPhone as a physical shutter button. This can help you maintain a more stable grip on the device and reduce any accidental camera movement when taking a picture.
7. Consider Lighting and Composition: Don’t forget about the basic principles of lighting and composition when using the picture timer feature. Good lighting and thoughtful composition can greatly enhance the quality of your photos. Find a well-lit area and think about the positioning and arrangement of elements within your frame.
8. Edit and Enhance: Once you’ve captured your photos using the picture timer feature, take advantage of the editing tools available on your iPhone. Crop, adjust the exposure, tweak the colors, and make any other necessary edits to enhance your images further.
9. Practice Makes Perfect: As with any photography technique, practice is key. Spend some time experimenting with the picture timer feature on your iPhone, trying out different subjects, settings, and poses. The more you practice, the more comfortable and skilled you’ll become in utilizing this feature to its full potential.
10. Have Fun and Get Creative: Lastly, don’t forget to have fun and get creative with the picture timer feature. Use it to capture unique angles, candid moments, and artistic shots. Explore different styles and techniques to make your photos stand out.
Conclusion
In conclusion, setting a picture timer on your iPhone can be a valuable tool for capturing the perfect shot. Whether you’re using it to take a group photo, capture a scenic landscape, or snap a selfie, the picture timer feature allows you to frame and compose your shot without rushing to press the shutter button.
By following the easy steps outlined in this article, you can enable the picture timer function on your iPhone and take advantage of its timed capture capabilities. From choosing the timer duration to positioning your iPhone on a stable surface or using a tripod, these tips will help you achieve professional-looking photos with ease.
Remember, practice makes perfect, so don’t hesitate to experiment with different timer durations and composition techniques to find the optimal settings for your desired shot. With a little patience and creativity, the picture timer on your iPhone can elevate your photography skills to new heights.
FAQs
1. Can I Set a Picture Timer on My iPhone?
Yes, you can set a picture timer on your iPhone. The built-in Camera app allows you to set a timer before capturing photos, which can be a useful feature for taking self-portraits, group photos, or capturing moments when you want to be in the picture.
2. How Do I Set the Picture Timer on My iPhone?
To set the picture timer on your iPhone, follow these steps:
- Open the Camera app on your iPhone.
- Tap on the timer icon located at the top of the screen.
- Choose the desired timer duration – either 3 seconds or 10 seconds.
- Frame your shot and tap the capture button.
- The timer will start, allowing you enough time to get ready before the photo is taken.
3. Can I Adjust the Timer Duration on My iPhone Camera?
Yes, you can adjust the timer duration on your iPhone camera. The default options are 3 seconds and 10 seconds, but you can also choose to disable the timer if you prefer not to use it.
4. Can I Cancel the Timer After I’ve Set it on My iPhone?
Yes, you can cancel the timer after you’ve set it on your iPhone. To cancel the timer, tap on the timer icon again and select the option to disable the timer. This will prevent the camera from taking the photo with a set delay.
5. Are There Third-Party Apps Available for Picture Timers on iPhone?
Yes, there are third-party camera apps available on the App Store that offer more advanced features and customization options for picture timers. These apps often have additional functionalities like burst mode, time-lapse, and various shooting modes. You can search for camera apps with timer functions on the App Store and choose one that suits your preferences.