
Are you struggling to set up your wireless router and create a secure and reliable network connection? Look no further! In this comprehensive guide, we will walk you through the process of configuring your wireless router, step by step. Whether you’re a tech-savvy enthusiast or a complete beginner, you’ll find easy-to-follow instructions and valuable tips to make the setup process a breeze. We’ll cover everything from connecting your router to the modem, accessing the router’s settings, and optimizing your network for maximum performance. By the end of this article, you’ll have the knowledge and confidence to configure your wireless router like a pro, ensuring a seamless and efficient internet experience for all your devices. So grab your router and let’s get started!
Inside This Article
- Wireless Router Configuration Basics
- Step 1: Connecting to the Router
- Step 2: Accessing the Router’s Web Interface
- Step 3: Setting up Wireless Network
- Step 4: Configuring Wireless Security
- Conclusion
- FAQs
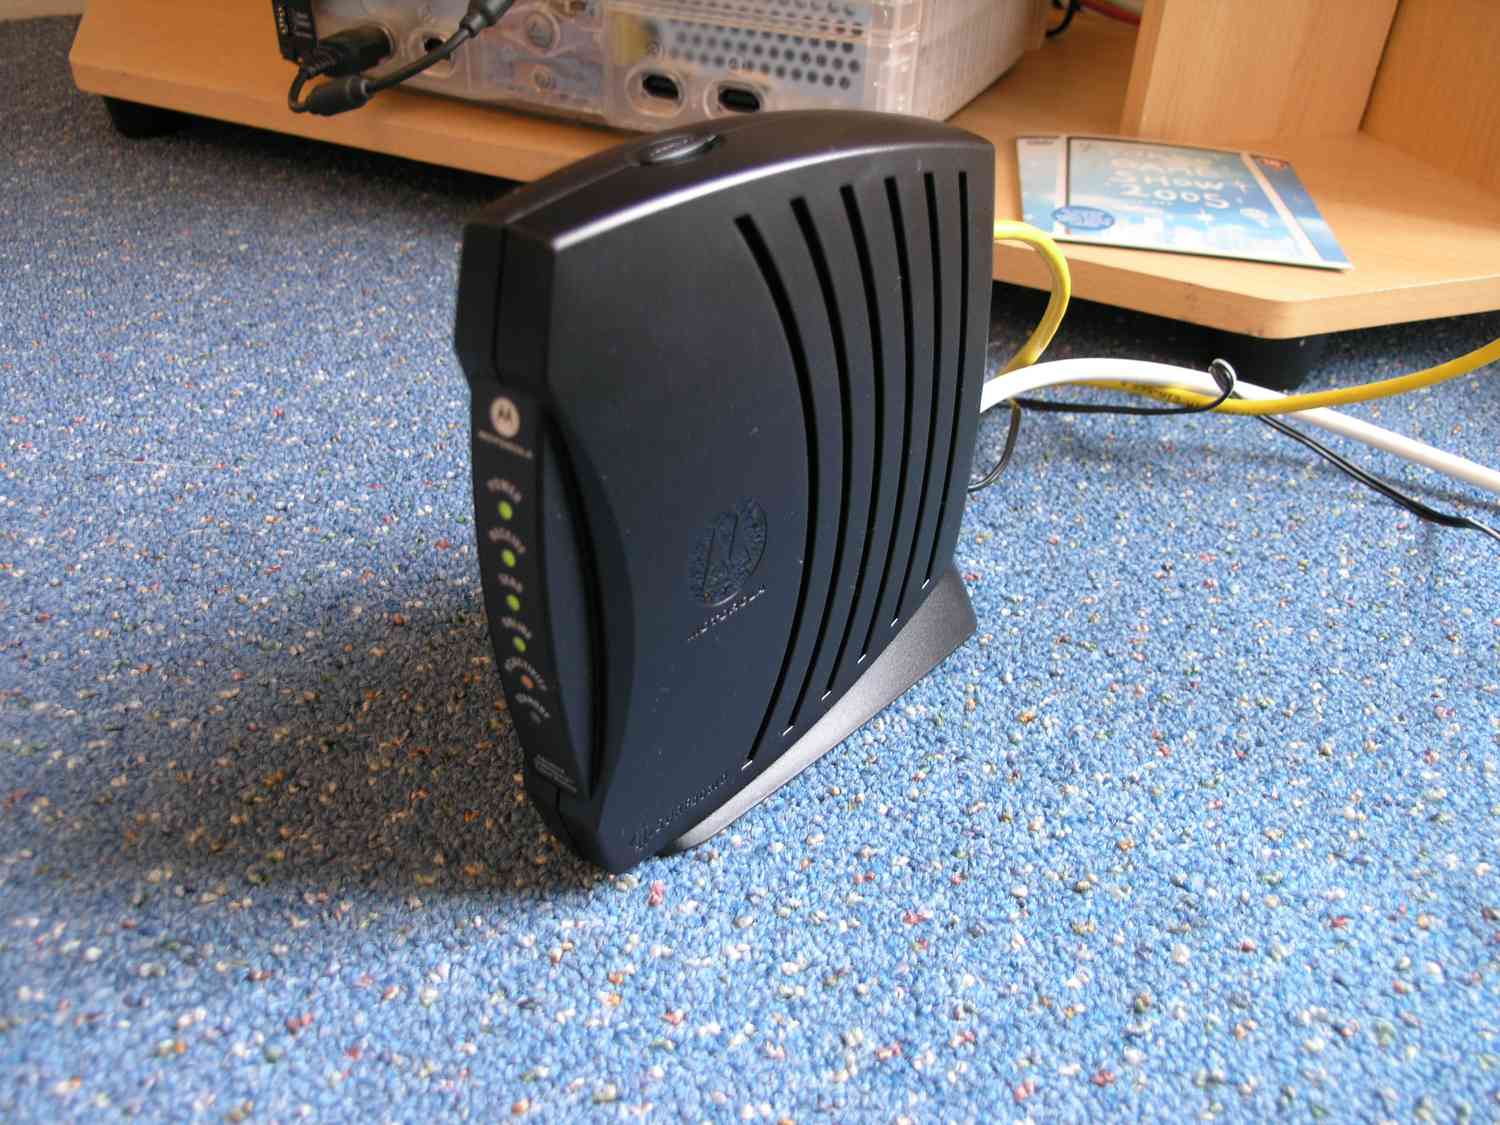
Wireless Router Configuration Basics
Configuring a wireless router may seem like a daunting task, but with the right guidance, it can be a straightforward process. By following a few simple steps, you’ll have your wireless network up and running in no time. In this article, we’ll walk you through the basics of wireless router configuration, from connecting to the router to configuring wireless security.
Before diving into the configuration process, it’s essential to understand the basics of a wireless router. A wireless router is a device that allows you to connect multiple devices to the internet wirelessly. It acts as the central hub for your home or office network, providing internet connectivity to your smartphones, tablets, laptops, and other devices.
The first step in configuring your wireless router is to physically connect it to your modem or internet source. This is usually done by connecting an Ethernet cable from the modem to the WAN (Wide Area Network) or internet port on the router. Ensure that all the connections are secure and properly plugged in.
Once the physical connections are set up, you need to access the router’s web interface. To do this, open a web browser on a device that is connected to the router. In the address bar, enter the default IP address of the router. The IP address can usually be found on the router itself or in the user manual. Common default IP addresses include 192.168.1.1 or 192.168.0.1.
After accessing the router’s web interface, you will be prompted to enter a username and password. This information is typically provided in the router’s documentation or can be found on the router itself. Once logged in, you will have access to the router’s settings and configuration options.
Now that you have successfully accessed the router’s web interface, it’s time to set up your wireless network. Navigate to the wireless settings section, where you can choose a network name (SSID) and a password for your Wi-Fi network. It’s recommended to choose a unique SSID to differentiate your network from others in the area and to select a strong password to secure your network.
Lastly, it’s important to configure the wireless security settings on your router. Wireless security ensures that only authorized devices can connect to your network and protects your data from unauthorized access. The most common and secure type of wireless security is WPA2 (Wi-Fi Protected Access 2). Enable WPA2 encryption and select a strong passphrase for your network.
Once you have completed these steps, save the settings on your router, and your wireless network should be up and running. You can now connect your devices to the Wi-Fi network using the chosen network name and password. Additionally, you may want to explore other advanced settings on your router, such as port forwarding or parental controls, for further customization.
Configuring a wireless router may seem overwhelming at first, but by following these basic steps, you’ll have a secure and reliable wireless network. Remember to keep your router’s firmware up to date for the latest security fixes and performance improvements. Now, go ahead and enjoy your newly configured wireless network!
Step 1: Connecting to the Router
Before you can begin configuring your wireless router, you need to establish a physical connection between your router and your computer. Here are the steps to connect to the router:
1. Start by turning off your modem and unplugging it from the power source.
2. Take an Ethernet cable and connect it to the Ethernet port on the back of your modem.
3. Connect the other end of the Ethernet cable to the WAN (Wide Area Network) port on the back of your wireless router.
4. Now, connect another Ethernet cable to one of the LAN (Local Area Network) ports on the back of your wireless router.
5. Plug the other end of the Ethernet cable into the Ethernet port on your computer.
6. Once the physical connection is complete, plug the modem back into the power source and wait for it to fully boot up.
7. Now, turn on your wireless router and wait for it to boot up as well.
8. Once both the modem and the router have fully booted up, open a web browser on your computer.
9. Type in the default IP address of your wireless router in the address bar of your web browser and hit enter.
10. This will take you to the login page of your wireless router’s web interface. Enter the default username and password to log in.
11. Congratulations! You have successfully connected to your wireless router and accessed the web interface.
Now that you are connected to the router, you can move on to the next step of configuring the router’s settings and setting up your wireless network.
Step 2: Accessing the Router’s Web Interface
After connecting your wireless router to a power source and your computer, the next step is accessing the router’s web interface. This is where you can configure various settings to customize your wireless network. Here’s how you can access the router’s web interface:
1. Open your preferred web browser (e.g., Chrome, Firefox, Safari) on your computer.
2. In the address bar, type in the default IP address of your router. Common default IP addresses include 192.168.1.1 or 192.168.0.1. Consult your router’s documentation to find the specific IP address.
3. Press Enter or click Go to proceed.
4. A login page will appear, prompting you to enter your router’s username and password. These credentials are usually provided in the router’s manual or on a sticker on the router itself. If you have changed the default login information, use the customized username and password instead.
5. Once you have entered the login details, click on the login or submit button to access the router’s web interface.
6. Congratulations! You have successfully accessed the router’s web interface. From here, you can explore the various configuration options and settings available for your wireless router.
It’s worth noting that different router manufacturers may have different interfaces, so the layout and specific options may vary. However, the basic steps to access the router’s web interface remain similar across various models.
Now that you have accessed the router’s web interface, you can proceed to the next step and set up your wireless network by configuring essential settings such as network name (SSID), password, and security protocols.
Step 3: Setting up Wireless Network
Once you have successfully connected to your wireless router and accessed its web interface, it’s time to set up your wireless network. This step is crucial as it enables your devices to connect to the internet wirelessly.
Here are the key steps to follow:
- 1. Locate the Wireless Settings: In the router’s web interface, navigate to the wireless settings section which might be labeled as “Wireless,” “Wireless Settings,” or something similar.
- 2. SSID (Network Name): Choose a unique name for your wireless network, known as the SSID (Service Set Identifier). It’s best to avoid generic names and use a combination of letters and numbers for security purposes.
- 3. Encryption: Enable encryption to secure your wireless network. The most commonly used encryption is WPA2-PSK (Wi-Fi Protected Access 2 with Pre-Shared Key) as it provides stronger security. Set a strong password that includes a mix of uppercase and lowercase letters, numbers, and special characters.
- 4. Channel Selection: Select an appropriate channel for your wireless network. In most cases, it’s best to choose either channel 1, 6, or 11 as they are non-overlapping channels. However, if you experience interference or slow speeds, you may need to experiment with different channels to find the optimal one.
- 5. Save and Apply: After configuring the wireless settings, don’t forget to save and apply the changes. This ensures that the settings take effect and your wireless network is properly configured.
By following these steps, you will be able to set up your wireless network efficiently and securely. It’s important to choose a strong password and regularly update it to prevent unauthorized access to your network. Additionally, consider enabling other security features offered by your router, such as MAC address filtering or a guest network, for added protection.
Step 4: Configuring Wireless Security
When setting up your wireless router, one of the most important steps is configuring wireless security. Ensuring that your wireless network is secure will help protect your data and prevent unauthorized access to your network.
Here are some key steps to follow when configuring wireless security for your router:
- Change the Default Administrator Password: The first step is to change the default administrator password of your router. Leaving the default password in place makes it easier for hackers to access your router’s settings and compromise your network security.
- Enable WPA2 Encryption: WPA2 (Wi-Fi Protected Access 2) is the most secure encryption method available for wireless networks. It provides strong encryption to protect your wireless communications. Enable WPA2 encryption on your router to ensure that your network is protected.
- Choose a Strong Network Name (SSID): The network name, also known as the SSID (Service Set Identifier), is the name that identifies your wireless network. It’s important to choose a unique and secure SSID that is not easy to guess. Avoid using your personal information or any easily identifiable information as your network name.
- Set a Strong Password: Along with the network name, you will need to set a strong password for your wireless network. Use a combination of uppercase and lowercase letters, numbers, and special characters to create a strong and robust password. Avoid using dictionary words or easily guessable passwords.
- Enable MAC Address Filtering: MAC address filtering allows you to specify which devices are allowed to connect to your wireless network based on their unique MAC addresses. This adds another layer of security to your network by preventing unauthorized devices from connecting.
- Disable Remote Management: Remote management allows you to access your router’s settings from a remote location. While it can be convenient, it also poses a security risk. Disable remote management unless you specifically need it, as it can be exploited by hackers to gain access to your network.
By following these steps and configuring the wireless security settings on your router, you can greatly enhance the security of your wireless network and protect your data from unauthorized access.
Conclusion
In conclusion, configuring a wireless router is an essential task for anyone looking to set up a reliable and secure home network. By following the step-by-step instructions provided in this guide, you can ensure that your wireless router is properly set up and optimized for optimal performance. Remember to choose a strong and unique password, enable encryption, update firmware regularly, and customize your network settings to suit your needs.
With a properly configured wireless router, you can enjoy seamless connectivity, fast internet speeds, and the ability to connect multiple devices wirelessly. Whether you’re streaming movies, playing online games, or simply browsing the web, having a well-configured wireless router is essential for a smooth and enjoyable online experience.
So don’t hesitate to follow the instructions in this guide and take control of your home network. With a little bit of know-how and the right configurations, you’ll be well on your way to enjoying a reliable and secure wireless network.
FAQs
Q: Why is it important to configure a wireless router?
A: Configuring a wireless router allows you to set up your network according to your preferences. It helps you secure your Wi-Fi connection, customize network settings, and manage connected devices efficiently.
Q: How do I access my router’s configuration settings?
A: To access your router’s configuration settings, you need to open a web browser on a device connected to your network and enter the router’s IP address (usually 192.168.1.1 or 192.168.0.1) into the address bar. This will take you to the router’s login page, where you can enter your credentials to access the configuration interface.
Q: What are some basic settings I should configure on my wireless router?
A: Some essential settings to configure on your wireless router include changing the default administrator password, setting up a unique Wi-Fi network name (SSID) and password, enabling encryption (such as WPA2), and disabling remote management for enhanced security.
Q: Can I connect multiple devices to my wireless router?
A: Yes, wireless routers are designed to support multiple devices simultaneously. They feature the ability to connect devices via wired Ethernet ports as well as wireless connections. This allows you to connect smartphones, tablets, laptops, smart TVs, gaming consoles, and other devices to your network.
Q: How can I troubleshoot common wireless router configuration issues?
A: If you encounter any issues during the configuration process, there are a few troubleshooting steps you can try. First, make sure you have the correct IP address for accessing your router’s settings. You can find this information in the router’s manual or on the manufacturer’s website. Additionally, power cycling your router by disconnecting it from the power source for a few seconds and then reconnecting it can often resolve connectivity issues. If problems persist, you may need to reset your router to its factory default settings and start the configuration process again.