
Creating beautiful mandalas is a popular art form that allows you to tap into your creativity while engaging in a calming and meditative process. And what better way to bring your mandala designs to life than by using Procreate, a powerful digital illustration software known for its versatility and user-friendly interface.
In this article, we will guide you through the step-by-step process of making your own mandala on Procreate. Whether you’re a beginner or an experienced artist, Procreate offers a range of tools and features that will help you design intricate and mesmerizing mandalas. By the end of this article, you’ll have all the knowledge and techniques you need to create stunning mandalas that reflect your unique artistic style.
So, grab your iPad and stylus, and let’s dive into the world of digital mandala art with Procreate!
Inside This Article
- Choosing the right canvas size
- Creating a base layer
- Drawing the main shape
- Adding intricate details
- Conclusion
- FAQs
Choosing the right canvas size
When creating a mandala on Procreate, one of the first steps is to choose the right canvas size. The canvas size determines the dimensions and resolution of the artwork, so it’s important to select an appropriate size for your project. Here are a few considerations to keep in mind when choosing the canvas size:
1. Intended Use: Think about how you plan to use the mandala. If you want to print it as a poster or use it for a large-scale project, choose a canvas size with higher dimensions to ensure optimal print quality. On the other hand, if you’re creating a mandala for social media or digital purposes, a smaller canvas size can work well.
2. Device Compatibility: Consider the device you’ll be using to create the mandala. If you’re working on a smaller tablet or smartphone, a larger canvas size may not be as practical. Opt for a size that fits comfortably on your screen and allows for easy navigation and detailing.
3. Level of Detail: The level of detail you want to incorporate into your mandala will also impact the canvas size. If you’re planning on adding intricate patterns and designs, a larger canvas will give you more space to work with. However, if you prefer a simpler and more minimalistic approach, a smaller canvas size may suffice.
4. Personal Preference: Ultimately, the choice of canvas size is subjective and depends on your personal preference and artistic vision. Experiment with different sizes to see which one feels most comfortable and allows you to express your creativity effectively.
5. Backup and Export Considerations: Keep in mind that larger canvas sizes may require more storage space, so ensure that you have sufficient memory on your device. Additionally, consider how you plan to export or share your mandala. If you need to resize or compress the artwork for specific platforms or purposes, it’s best to choose a canvas size that allows for easy manipulations.
By taking these factors into account, you can select the ideal canvas size for your mandala on Procreate. Remember, the canvas size sets the foundation for your artwork, so choose wisely to ensure the best possible outcome.
Creating a base layer
When it comes to making a mandala on Procreate, creating a solid base layer is crucial. This is the foundation upon which your entire design will be built. Here’s how you can create a strong base layer:
1. Select the appropriate canvas size: Before you start, choose the canvas size that suits your needs. Procreate offers a range of canvas sizes to choose from, so pick one that gives you enough space to work comfortably.
2. Choose your colors: Select the colors you want to use for your mandala. It’s a good idea to choose a color palette that complements each other and will enhance the overall visual impact.
3. Fill the background: Start by filling the background of your canvas with a solid color. This will serve as the backdrop for your mandala and can be any color you desire.
4. Create a new layer: Once you have filled the background, create a new layer on top of it. This new layer will be used to draw your mandala, ensuring that you can easily edit and modify it without affecting the base layer.
5. Use geometric shapes: Begin by using geometric shapes like circles, squares, or triangles to create the basic structure of your mandala. These shapes will act as a guideline for your design and help create symmetry and balance.
6. Adjust opacity: As you progress, you may find it helpful to lower the opacity of your base layer. This can make it easier for you to see your design and build upon it while still maintaining the underlying structure.
7. Experiment with brushes: Procreate offers a wide range of brushes that you can use to add depth and texture to your mandala. Play around with different brush styles to find the ones that best suit your vision.
8. Refine and build: Once you have your base layer set up, you can begin adding more intricate details to your mandala. This is where your creativity can truly shine, as you add patterns, lines, and motifs to enhance the overall look and feel.
Remember, creating a well-defined and solid base layer is the key to making a stunning mandala on Procreate. It sets the stage for the rest of your design and allows you to build upon it with confidence and creativity.
Drawing the main shape
When it comes to creating a mandala on Procreate, drawing the main shape is the crucial first step. This is the foundation upon which your entire mandala design will be built. To begin, select the appropriate brush size and type that suits your desired style and vision.
Start by visualizing the central shape you want for your mandala. It can be a circle, a square, a triangle, or any other geometric shape that resonates with you. Remember, the main shape will serve as the focal point of your mandala, so take your time to determine the perfect shape.
Using smooth and precise strokes, carefully draw the main shape in the center of your canvas. Ensure that the lines are clean and well-defined. Don’t worry if it’s not perfect at first – you can always make adjustments later.
Once you have drawn the basic shape, step back and evaluate its overall placement and size. Make any necessary adjustments to achieve a balanced and visually pleasing composition. Take your time during this process, as the main shape sets the tone for the entire mandala.
After you are satisfied with the placement and size of the main shape, consider adding some embellishments or decorative elements to enhance its appearance. You can experiment with different line styles, patterns, or textures to make the shape more visually interesting.
Remember to keep the overall design symmetrical, as symmetry is a fundamental aspect of mandala art. You can achieve this by duplicating and mirroring the main shape on different layers. This will create a harmonious and balanced composition.
Once you have completed the main shape and added any desired embellishments, take a moment to step back and admire your work. The main shape is the centerpiece of your mandala, and it sets the stage for the intricate details that will follow.
Now that you have successfully drawn the main shape, you are ready to move on to the next step – adding intricate details. This is where the true beauty and complexity of your mandala design will emerge.
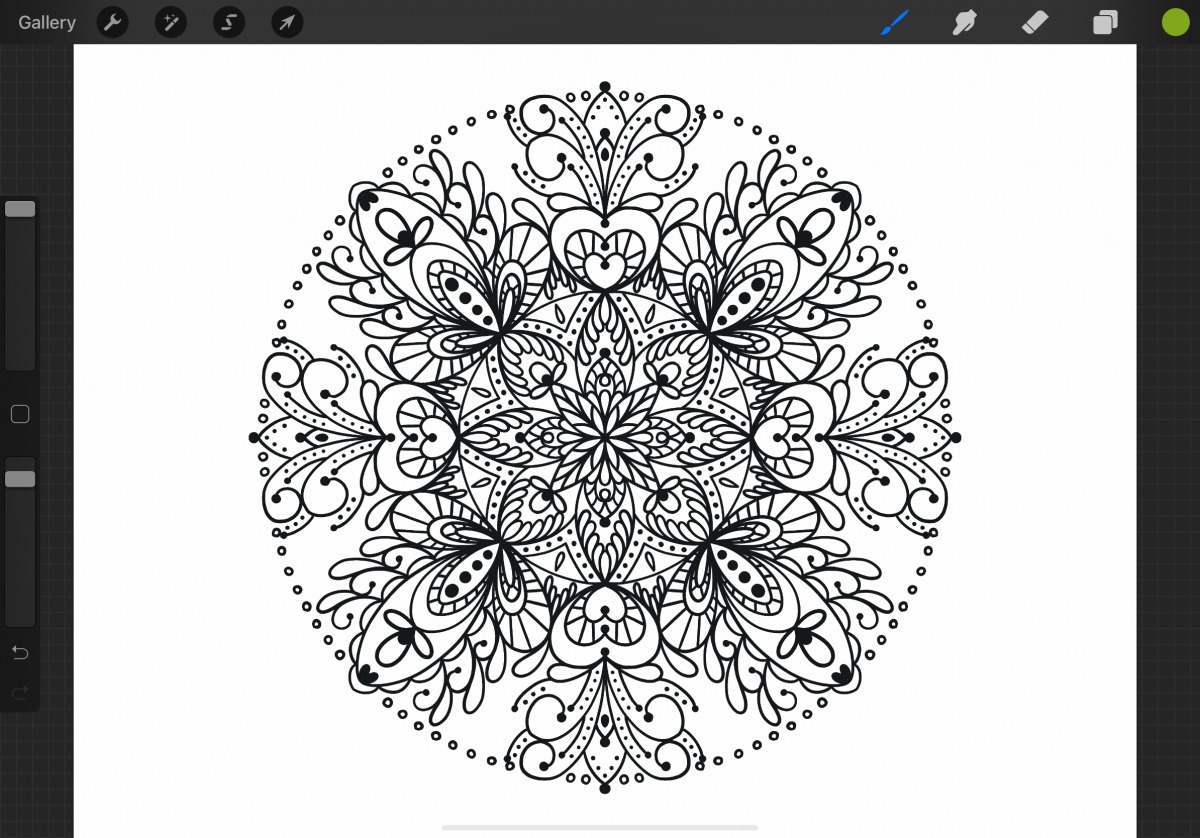
Adding intricate details
Once you have created the base of your mandala and have drawn the main shape, it’s time to add intricate details that will bring your design to life. This is where you can let your creativity soar and explore different patterns, motifs, and embellishments.
Start by selecting a smaller brush size to work on the intricate details. The smaller brush will allow you to add fine lines and delicate elements to your mandala. You can experiment with various brush types and textures to achieve the desired effect.
One technique you can use is to create repetitive patterns within your mandala. This can be done by drawing small shapes, such as dots, circles, or lines, and repeating them at regular intervals. This creates a sense of rhythm and harmony within the design.
Another way to add intricate details is by incorporating different textures. You can use brush strokes to create shading, stippling, or hatching effects, giving depth and dimension to your mandala. Play around with different brush opacities to achieve the desired level of contrast and shadows.
Don’t be afraid to experiment with different elements and styles. You can incorporate floral motifs, geometric patterns, or even incorporate symbols that hold personal meaning to you. Adding layers of symbolism to your mandala can make it even more meaningful and unique.
Remember to take breaks and step back to admire your work-in-progress. This will give you a fresh perspective and help you identify areas where you may want to add more intricate details or make adjustments.
Lastly, be patient and enjoy the process of adding intricate details. Creating a mandala on Procreate is a labor of love, and the journey is just as important as the final result. Embrace mistakes as learning opportunities and have fun experimenting with different techniques and styles.
Conclusion
Creating mandalas on Procreate is a fun and creative way to express your artistic side. With its vast array of tools and features, Procreate offers endless possibilities for designing stunning mandalas. Whether you are a beginner or an experienced artist, Procreate provides a user-friendly platform that allows you to bring your mandala visions to life.
By following the step-by-step process outlined in this article, you can confidently embark on your mandala-making journey. Remember to experiment with different brushes, layers, and effects to add depth and complexity to your designs. Let your imagination run wild as you explore the diverse color palettes and patterns available. With practice and patience, you’ll soon be creating intricate and captivating mandalas that showcase your unique creative style.
So what are you waiting for? Grab your iPad, open up Procreate, and let the mandala-making adventure begin!
FAQs
Q: Can I make a mandala on Procreate?
A: Absolutely! Procreate is a powerful digital art tool that gives you the flexibility and tools you need to create stunning mandalas. Its wide array of brushes and customizable options make it an ideal choice for mandala creation.
Q: Where can I find mandala brushes for Procreate?
A: You can find mandala brushes for Procreate on various creative marketplaces, such as the Procreate Brush Library, Gumroad, or Etsy. Many talented artists and designers offer their unique brushes for sale or even provide free downloads to help you get started with your mandala-making journey.
Q: Do I need to have drawing skills to create a mandala on Procreate?
A: While having drawing skills can certainly enhance your mandala creations, it is not a requirement to make beautiful mandalas on Procreate. The app offers various tools like symmetry guides, shape tools, and automatic lines to assist you in creating symmetrical and intricate designs. With a bit of practice and experimentation, anyone can produce stunning mandalas using Procreate.
Q: Can I import images or templates into Procreate to use as a reference for my mandala?
A: Absolutely! Procreate allows you to import images or templates that you can use as a reference for your mandala designs. You can import an image and lower its opacity so that you can trace or use it as a guide while creating your own unique mandala. This feature is especially helpful if you want to incorporate specific elements or patterns into your artwork.
Q: What are some tips to create a visually appealing mandala on Procreate?
A: Here are some tips to create visually appealing mandalas on Procreate:
- Experiment with different brushes and brush settings to achieve different textures and effects.
- Utilize symmetry guides or shape tools to maintain balance and uniformity in your mandala.
- Explore different color palettes and blending modes to add depth and dimension to your artwork.
- Incorporate intricate details and patterns to make your mandala stand out.
- Take breaks and step back from your work to gain a fresh perspective and make adjustments.
Remember, creating mandalas is a journey of self-expression, so don’t be afraid to experiment and let your creativity flow!