
If you’re an avid user of Procreate, you may already be familiar with its array of powerful features for digital artists. One of the more popular and visually captivating techniques in Procreate is swirling. Swirling allows you to create mesmerizing and dynamic effects by blending and manipulating colors and brushes. Whether you’re looking to add a touch of whimsy to your illustrations or create stunning abstract backgrounds, mastering the art of swirling in Procreate will certainly take your digital artwork to the next level. In this article, we will guide you through the process of swirling on Procreate, sharing tips, techniques, and step-by-step instructions to help you unlock this creative tool and unleash your imagination. So, grab your Apple Pencil and follow along!”
Inside This Article
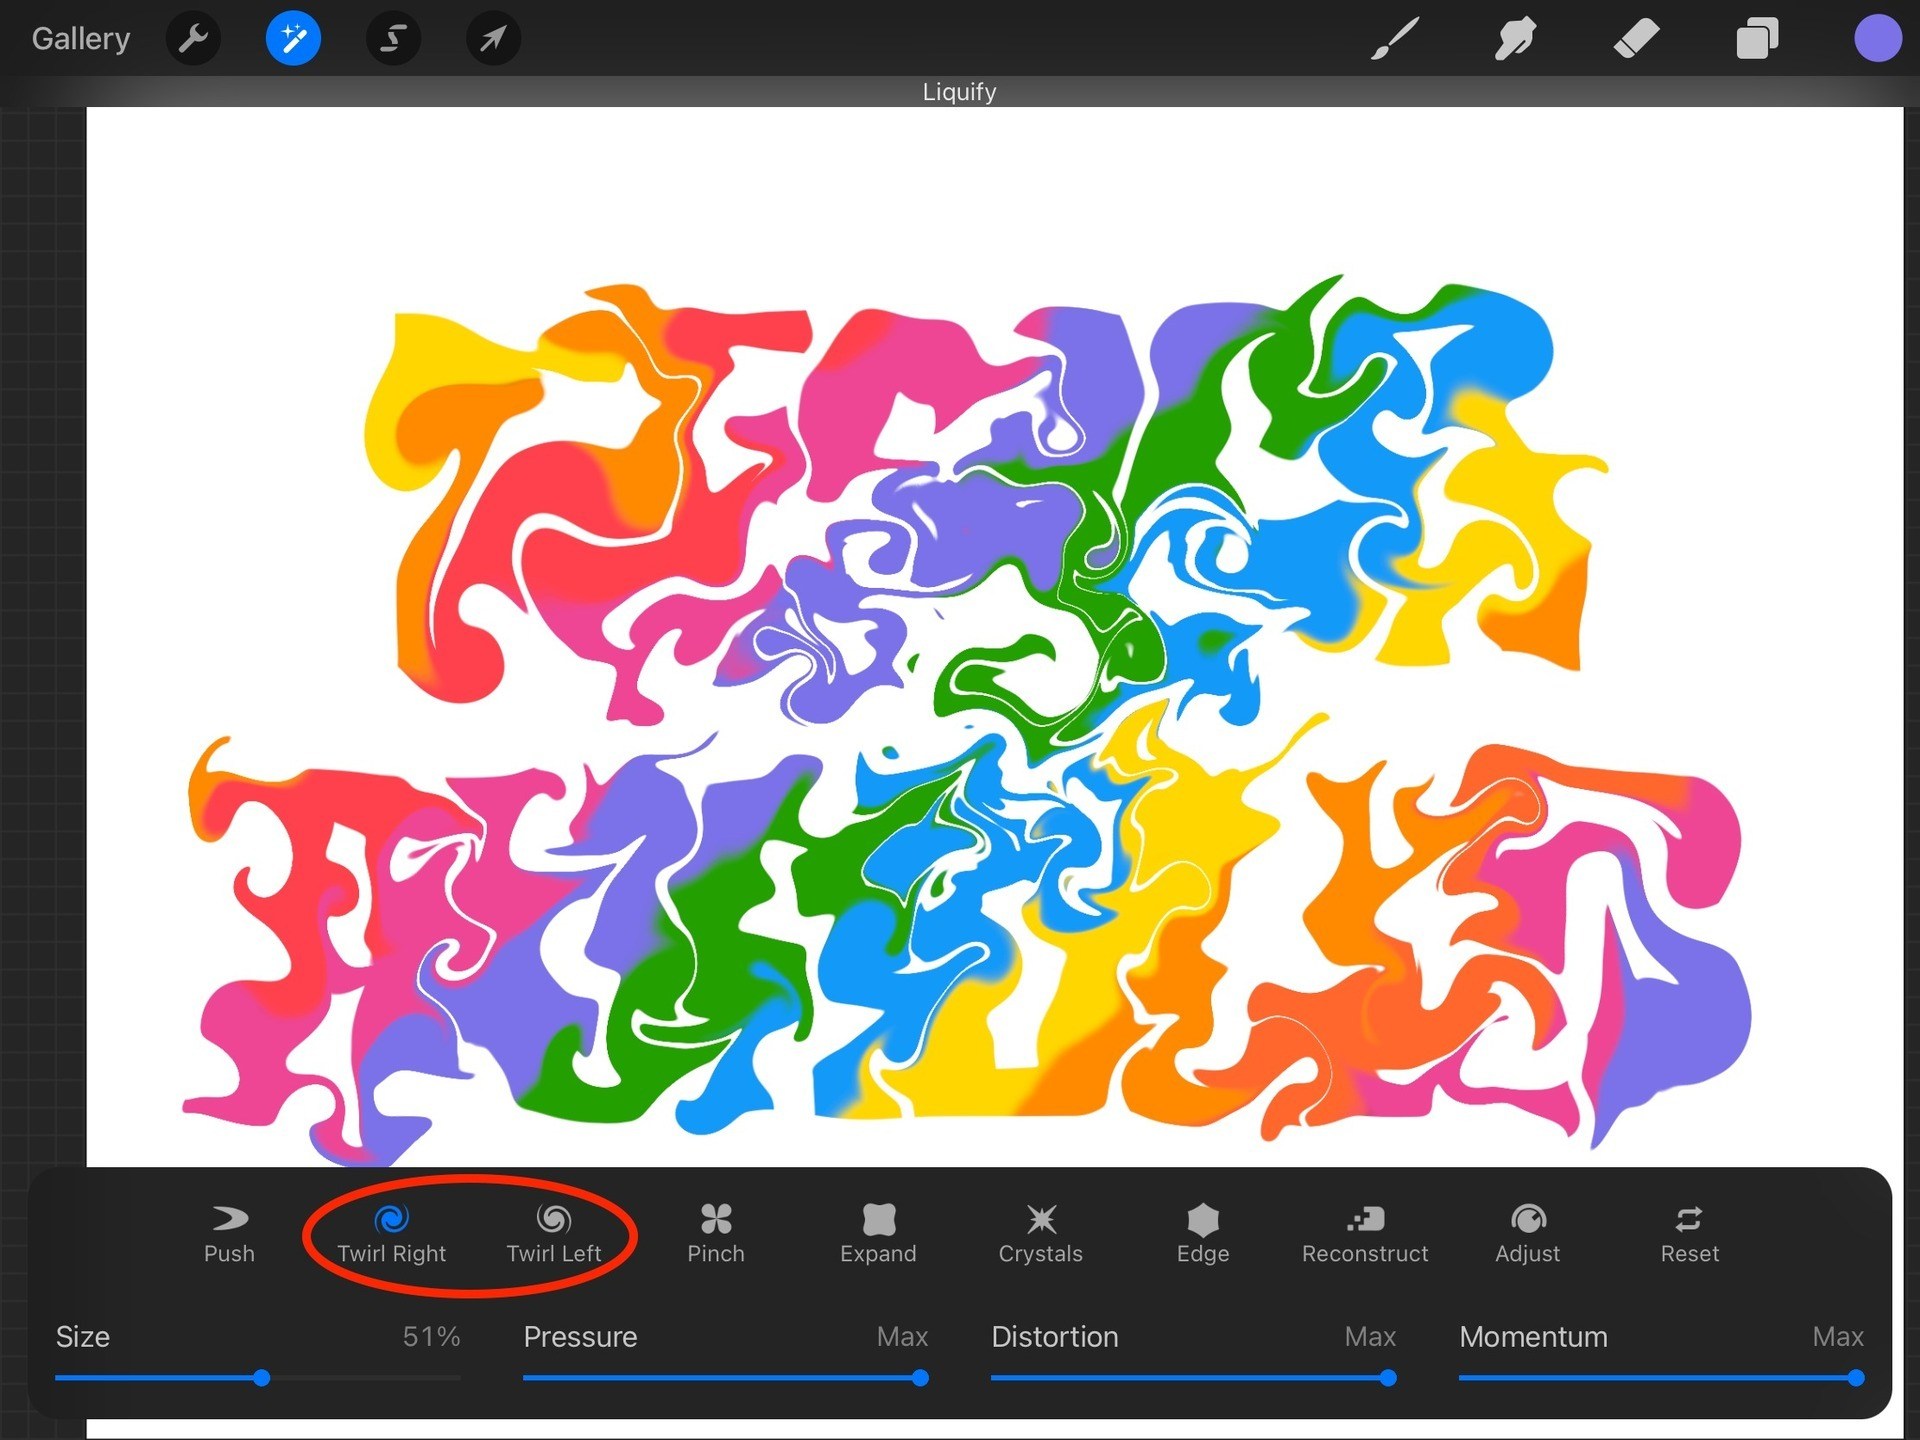
- Choosing the Right Brush for Swirling
- Adjusting the Brush Settings
- Creating the Base Swirl
- Enhancing the Swirl with Layers and Effects
- Conclusion
- FAQs
Choosing the Right Brush for Swirling
When it comes to creating captivating swirls in Procreate, selecting the right brush is key. The brush you choose will determine the texture, stroke quality, and overall appearance of your swirls. Here are a few factors to consider when choosing the perfect brush for swirling:
- Brush Shape: Look for brushes with tapered or pointed tips. These shapes allow for precise control and can create smooth, flowing swirls.
- Brush Opacity: Experiment with brushes that have varying opacity levels. Brushes with lower opacity can create subtle, transparent swirls, while brushes with higher opacity can produce bold and defined swirls.
- Brush Texture: Consider brushes with textured tips or brushes that mimic traditional art mediums, such as ink or watercolor. These brushes can add depth and visual interest to your swirls.
- Brush Size: Keep in mind that the size of the brush will affect the size and scale of your swirls. Larger brushes can create bold, impactful swirls, while smaller brushes are perfect for intricate and delicate designs.
Remember, the brush you choose will depend on your personal style and the specific effect you want to achieve with your swirls. Don’t be afraid to experiment with different brushes and settings until you find the perfect combination that suits your artistic vision.
Adjusting the Brush Settings
When it comes to creating mesmerizing swirls in Procreate, adjusting the brush settings is key. By fine-tuning the brush parameters, you can achieve the desired effect and add depth to your artwork. Here are some essential adjustments you should consider:
1. Brush Size: The size of your brush determines the thickness of the swirls. For larger, more prominent swirls, increase the brush size. Alternatively, for delicate and intricate swirls, decrease the brush size.
2. Opacity: Adjusting the opacity of the brush allows you to control the transparency of your swirls. Higher opacity will result in solid and bold swirls, while lower opacity will create more translucent and subtle swirls.
3. Flow: The flow setting determines the rate at which the brush applies color. A higher flow setting means the color will be applied more quickly, resulting in smoother and faster swirls. A lower flow setting will give you more control and allow for more gradual color application.
4. Brush Shape: Experimenting with different brush shapes can yield unique and varied swirl effects. Procreate offers a wide range of brush shapes, such as round, square, or textured brushes. Each shape will produce different textures and patterns in your swirls.
5. Brush Dynamics: Procreate provides a variety of brush dynamics that can add dynamic qualities to your swirls. Play around with settings like tilt, velocity, or spacing to create swirls that respond to the pressure and angle of your stylus, resulting in more organic and expressive designs.
Remember to experiment and play with these settings to find the perfect combination for your desired swirl effect. Each adjustment can have a significant impact on the overall look and feel of your artwork, so don’t be afraid to get creative and explore!
Creating the Base Swirl
Creating a base swirl in Procreate is a fun and exciting process that allows you to unleash your creativity. Here are some steps to help you get started:
Step 1: Choose the Right Brush
The first step in creating a base swirl is to choose the right brush in Procreate. Look for brushes that have smooth and flowing strokes, such as the “Ink” or “Watercolor” brushes. These brushes will give your swirl a fluid and organic look.
Step 2: Adjust the Brush Settings
Next, it’s important to adjust the brush settings to achieve the desired effect. Experiment with the brush opacity, size, and pressure sensitivity to create variations in the thickness and intensity of your swirl.
Step 3: Start Swirling
Now that you have the right brush and settings, it’s time to start swirling! Begin by making a light and loose circular motion on your canvas, gradually increasing the pressure to create a thicker stroke. Continue to swirl and overlap the strokes to build the base shape of your swirl.
Step 4: Refine and Customize
Once you have the basic shape of your swirl, take some time to refine and customize it. Use the brush eraser tool to clean up any stray marks or adjust the shape as needed. You can also experiment with different colors by selecting a new color from the color palette.
Step 5: Add Details and Highlights
To take your base swirl to the next level, consider adding some details and highlights. You can use a smaller brush size to add intricate patterns or lines within the swirl. Additionally, you can create highlights by using a lighter color and gently applying it to the edges of the swirl to create depth and dimension.
Step 6: Save and Share Your Swirl
Once you are satisfied with your base swirl, don’t forget to save and share your artwork. Procreate allows you to export your work in various formats, such as JPEG or PNG, making it easy to share on social media or print your swirl for physical display.
So go ahead and unleash your creativity by creating captivating base swirls in Procreate. Remember to experiment, explore different brush settings, and have fun with your artistic journey!
Enhancing the Swirl with Layers and Effects
Once you have created the base swirl using the brush and adjusted the settings, it’s time to take it to the next level by adding layers and effects. This will give your swirl a more dynamic and visually appealing look. Let’s explore some techniques to enhance your swirl:
1. Layering: One way to enhance your swirl is by adding multiple layers. You can create different variations of the swirl by duplicating the base layer and applying different transformations, such as scaling, rotating, or flipping. Experiment with different blending modes to achieve interesting effects.
2. Colorization: Apply different colors to your swirl to make it stand out. Create a new layer on top of the base layer and use the coloring tools in Procreate to add vibrant hues. You can also experiment with gradients or use the masking feature to create color variations within the swirl.
3. Texture and Pattern: Give your swirl an extra dimension by applying textures or patterns. You can import textures or create your own using Procreate’s brushes or image brushes. Overlay these textures on top of the swirl or experiment with different layer blending modes to achieve unique effects.
4. Lighting and Shading: Add depth and realism to your swirl by incorporating lighting and shading techniques. Use the brush tools to create highlights and shadows on different parts of the swirl, giving it a three-dimensional appearance. Experiment with different brush opacities and blending modes to achieve the desired effect.
5. Motion Blur: If you want to create a sense of movement in your swirl, consider applying a motion blur effect. This can be achieved by duplicating the swirl layer, applying a motion blur filter, and adjusting the opacity to create a subtle blur effect. This technique can add a dynamic and fluid look to your artwork.
Remember, the key to enhancing your swirl is to experiment and have fun with different layers and effects. Don’t be afraid to try new techniques and explore the creative possibilities that Procreate offers. By adding layers, colors, textures, lighting, and motion effects, you can take your swirl to a whole new level of artistic expression.
Conclusion
In conclusion, learning how to swirl on Procreate can add a dynamic and captivating element to your digital artwork. By utilizing the various brush settings, layers, and blending modes, you can create mesmerizing swirls that enhance the visual impact of your designs. Whether you want to create dreamy backgrounds, abstract patterns, or intricate details, mastering the art of swirling in Procreate can elevate your artistic abilities to new heights.
Remember, practice makes perfect. Don’t be afraid to experiment, play around with different techniques, and embrace the endless possibilities that Procreate offers. With dedication and creativity, you can become a skilled swirler, transforming your artwork into captivating masterpieces that leave a lasting impression on your audience.
So go ahead, dive into the world of swirling on Procreate, unleash your imagination, and let your creativity flow with these mesmerizing digital brushstrokes.
FAQs
1. What is Procreate?
Procreate is a powerful digital illustration app available exclusively for iOS devices. It provides artists, designers, and creative professionals with a wide range of tools and features to create stunning artwork digitally.
2. Can I use Procreate on my Android device?
No, Procreate is only available for iOS devices, such as the iPad and iPhone. It is not compatible with Android devices.
3. Do I need a stylus or Apple Pencil to use Procreate?
No, you can use your finger to draw and paint in Procreate. However, using a stylus or an Apple Pencil can offer a more precise and natural drawing experience, as they provide pressure sensitivity and palm rejection features.
4. Is Procreate suitable for beginners?
While Procreate offers advanced tools and features, it is still accessible to beginners. The app provides a user-friendly interface and offers a wide range of tutorials and resources to help users get started and improve their skills.
5. Can I export my artwork from Procreate to other formats?
Yes, Procreate allows you to export your artwork in various formats, including PNG, JPEG, PDF, and even PSD (Photoshop) files. This flexibility enables you to easily share your work across different platforms or continue working on it in other software.