
Sure, here's the introduction in HTML format:
html
Are you drowning in a sea of emails on your iPhone 10 and wondering how to efficiently clear the clutter? Managing a barrage of emails can be overwhelming, especially on a device as integral to our daily lives as the iPhone 10. Fear not, as we delve into the intricacies of mass deleting emails on your iPhone 10. Whether it’s freeing up storage space or decluttering your inbox, we’ll explore the step-by-step process to streamline your email management. Let’s unravel the art of mass deleting emails on your iPhone 10, empowering you to reclaim control over your digital correspondence.
Inside This Article
- Method 1: Deleting Multiple Emails at Once
- Method 2: Using the Mail App to Mass Delete Emails
- Method 3: Using a Third-Party Email App to Mass Delete Emails
- Method 4: Using the Settings App to Mass Delete Emails
- Conclusion
- FAQs
Method 1: Deleting Multiple Emails at Once
If you find yourself drowning in a sea of emails on your iPhone 10, fret not! There’s a simple method to efficiently clear out your inbox by deleting multiple emails at once. This method can help you reclaim precious storage space and declutter your email app with just a few taps.
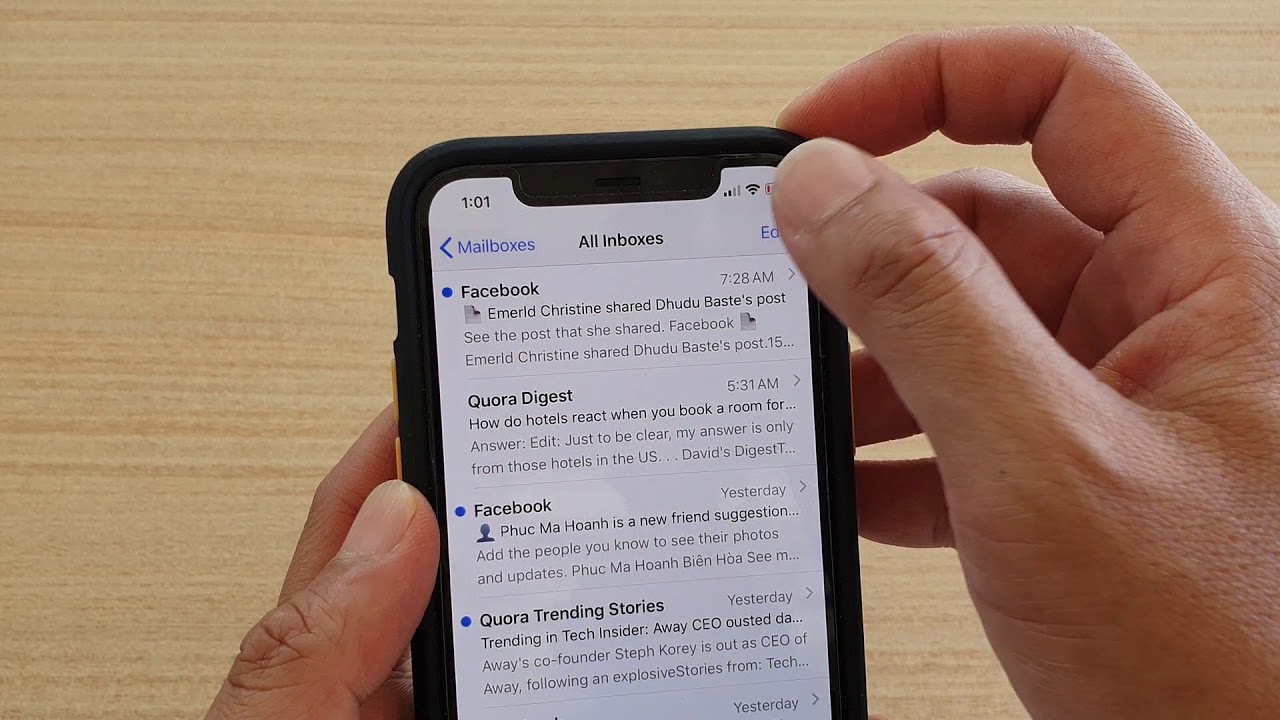
To begin, open the Mail app on your iPhone 10 and navigate to the inbox or folder containing the emails you wish to delete. Next, tap the “Edit” button located in the upper-right corner of the screen. This action will enable you to select multiple emails simultaneously, streamlining the deletion process.
Once in editing mode, simply tap the circular checkbox next to each email you want to delete. You can swiftly scroll through your inbox and mark all the emails you wish to remove in one go. After selecting the desired emails, locate the “Trash” or “Delete” icon and tap it. Voila! You’ve successfully mass deleted emails on your iPhone 10, saving time and effort.
Method 2: Using the Mail App to Mass Delete Emails
If you’re looking to streamline your email management on your iPhone 10, the Mail app offers a convenient method for mass deleting emails. With just a few simple steps, you can efficiently clear out your inbox and declutter your email interface.
To begin, open the Mail app on your iPhone 10 and navigate to the inbox or folder containing the emails you wish to delete. Once there, tap the “Edit” option located at the top-right corner of the screen. This will enable you to select multiple emails simultaneously, simplifying the deletion process.
After tapping “Edit,” you can select the emails you want to delete by tapping the circular icon next to each email. As you do so, a checkmark will appear in each circle, indicating the chosen emails. Once you’ve made your selections, tap the “Trash” or “Delete” icon, typically located at the bottom of the screen, to remove the chosen emails from your inbox.
It’s important to note that the specific interface and options may vary slightly based on the version of the Mail app you’re using, but the general process remains consistent. By utilizing this method, you can efficiently and effectively mass delete emails directly from the Mail app on your iPhone 10, saving time and streamlining your email management.
Method 3: Using a Third-Party Email App to Mass Delete Emails
If you find the default Mail app on your iPhone 10 limiting for mass deleting emails, consider using a third-party email app. These apps often offer advanced features, including the ability to efficiently manage and delete large volumes of emails. By leveraging the features of a third-party email app, you can streamline the process of mass deleting emails on your iPhone 10.
Several third-party email apps are available on the App Store, each with its unique set of features designed to enhance email management. Look for an app that offers intuitive email organization and efficient mass deletion capabilities. Once you’ve selected an app that meets your needs, download and install it from the App Store.
After installing the third-party email app, follow the app’s instructions to set up your email accounts. Once your accounts are linked to the app, you can begin using its advanced features to efficiently manage your emails. Look for options to select and delete multiple emails at once, streamlining the process and saving you valuable time and effort.
By utilizing a third-party email app with robust mass deletion capabilities, you can take control of your email management on your iPhone 10. These apps often offer a user-friendly interface and powerful features that simplify the process of mass deleting emails, allowing you to maintain a clutter-free inbox with ease.
Method 4: Using the Settings App to Mass Delete Emails
If you prefer a more systematic approach to managing your emails, the Settings app offers a convenient method for mass deleting emails on your iPhone 10. By adjusting the email account settings, you can streamline the process and regain control over your inbox.
To initiate this method, start by launching the “Settings” app on your iPhone 10. Once the app is open, scroll down and tap on “Mail” to access the email settings. From there, select the email account for which you want to mass delete emails.
After selecting the specific email account, tap on “Account” to reveal the account settings. Within the account settings, locate and tap on “Advanced” to access additional options for managing your emails.
Next, under the “Advanced” settings, tap on “Deleted Mailbox” to specify the mailbox where deleted emails will be moved. Here, you can choose a designated mailbox for deleted emails, such as the “Trash” or “Deleted Items” folder, depending on your email provider and preferences.
Once you have designated the appropriate mailbox for deleted emails, tap “Done” to confirm the changes. This action ensures that when you mass delete emails from your iPhone 10, they will be conveniently relocated to the specified deleted mailbox.
By utilizing the Settings app to configure advanced email settings, you can efficiently manage and mass delete emails on your iPhone 10, streamlining your inbox and optimizing your email management experience.
Conclusion
Mass deleting emails on your iPhone 10 is a simple yet powerful way to declutter your inbox and streamline your email management. By using the Mail app’s efficient features, you can swiftly remove unwanted emails and free up valuable storage space on your device. With the step-by-step guide provided, you can easily master the art of mass deleting emails, making your iPhone experience more organized and efficient. Embrace the convenience and simplicity of this process to maintain a tidy inbox and ensure that important emails are always within easy reach. By incorporating these techniques into your email management routine, you can optimize your iPhone 10’s performance and stay on top of your digital correspondence with ease.
FAQs
Q: Can I mass delete emails on my iPhone 10?
Yes, you can mass delete emails on your iPhone 10 using a few simple steps.
Q: Will mass deleting emails free up storage space on my iPhone 10?
Absolutely! Deleting a large number of emails at once will free up storage space on your iPhone 10, potentially improving its performance.
Q: Is there a way to recover accidentally deleted emails during the mass delete process?
If you accidentally delete emails during the mass delete process, you may be able to recover them from the "Trash" or "Deleted Items" folder, depending on your email provider.
Q: Can I set up filters to automatically delete certain types of emails on my iPhone 10?
Yes, you can create filters or rules within your email app to automatically delete specific types of emails, helping you manage your inbox more efficiently.
Q: Will mass deleting emails affect my email account's storage on the server?
When you mass delete emails on your iPhone 10, the changes are synced with your email account's server, freeing up storage space on both your device and the server.