
If you've recently acquired the sleek and powerful iPhone 12, you might be eager to explore its myriad features, including the screen recording function. Understanding how to access this feature can greatly enhance your user experience, allowing you to effortlessly capture and share moments from your device. In this article, we'll delve into the specifics of locating the screen recording option on your iPhone 12, providing you with a step-by-step guide to unlock this valuable capability. Whether you're an avid gamer, a content creator, or simply want to preserve a memorable conversation, knowing where to find the screen recording feature is essential. Let's embark on this journey to uncover the screen recording functionality on your iPhone 12!
Inside This Article
- How to Access the Screen Recording Feature on iPhone 12
- Customizing Screen Recording Settings on iPhone 12
- Saving and Sharing Screen Recordings on iPhone 12
- Conclusion
- FAQs
Sure, here's the content for "How to Access the Screen Recording Feature on iPhone 12" section:
How to Access the Screen Recording Feature on iPhone 12
Screen recording on your iPhone 12 allows you to capture and share moments from your device’s screen. To access this feature, start by opening the “Settings” app on your iPhone 12. Scroll down and tap on “Control Center.”
Next, select “Customize Controls.” Here, you’ll see a list of controls available in your Control Center. Look for “Screen Recording” and tap the green plus button next to it. This action adds the screen recording icon to your Control Center, making it easily accessible.
Once you’ve added the screen recording feature to your Control Center, swipe down from the top-right corner of the screen to open the Control Center. You’ll see the screen recording icon, which looks like a solid circle surrounded by a broken circle. Tap this icon to initiate screen recording.
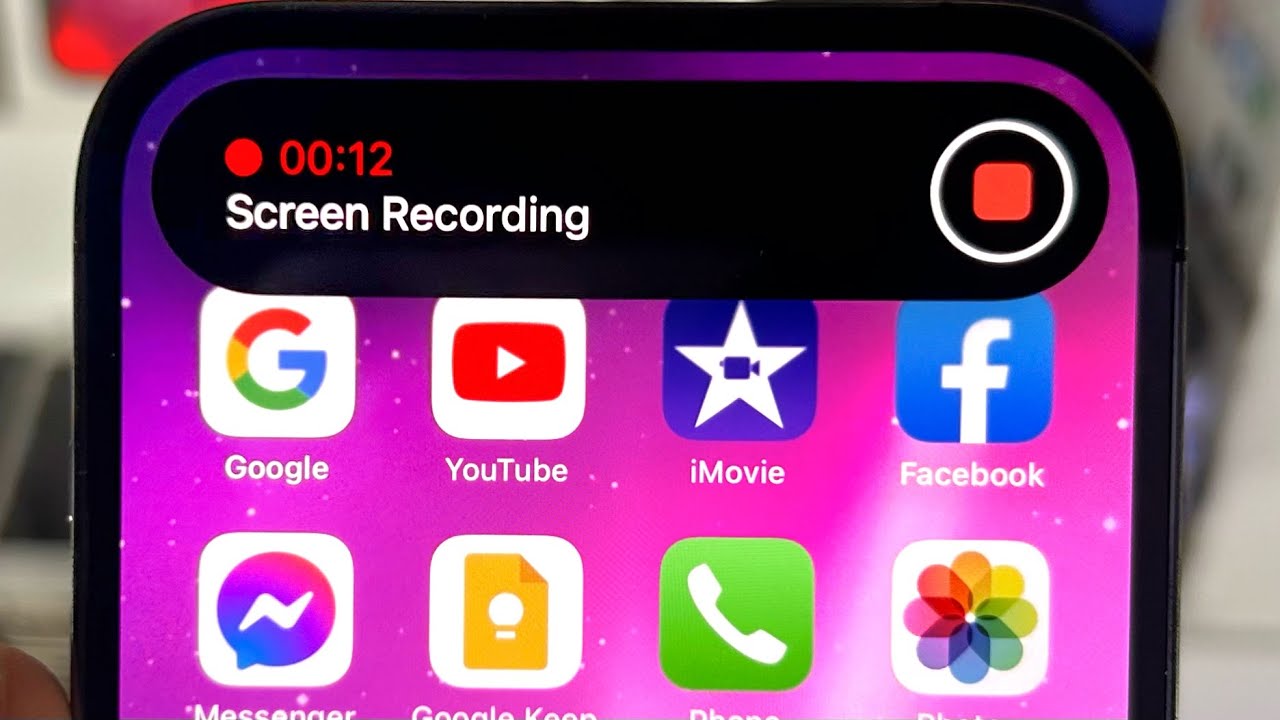
Upon tapping the screen recording icon, a countdown will appear, giving you a few seconds to prepare. After the countdown, the status bar at the top of your screen will turn red, indicating that the recording is in progress. To stop the recording, tap the red status bar and select “Stop.”
Accessing the screen recording feature on your iPhone 12 is straightforward and allows you to capture and share important moments, create tutorials, or troubleshoot issues with ease.
Customizing Screen Recording Settings on iPhone 12
Customizing the screen recording settings on your iPhone 12 allows you to tailor the recording experience to your specific needs and preferences. Whether you want to include audio from the microphone, adjust the video quality, or enable on-screen touches, the screen recording settings offer a range of options to enhance your recording sessions.
To access the screen recording settings, start by opening the “Settings” app on your iPhone 12. Scroll down and tap on “Control Center.” Next, select “Customize Controls.” Here, you can add the “Screen Recording” feature to your Control Center by tapping the green plus button next to it. Once added, you can access the screen recording settings by swiping down from the top-right corner of the screen to open the Control Center and tapping the “Screen Recording” icon.
Upon selecting the “Screen Recording” icon, you can long-press or 3D Touch the icon to reveal additional options. This includes the ability to toggle the microphone audio on or off, which allows you to record external audio such as your voice or ambient sound. You can also adjust the video quality by choosing between high or maximum resolution, and opt to show or hide on-screen touches during the recording.
Furthermore, the screen recording settings enable you to customize the frame rate of the recording, providing flexibility in capturing smooth motion or conserving storage space. By default, the iPhone 12 records at 30 frames per second, but you can switch to 60 frames per second for a higher frame rate. This is particularly useful when recording activities that involve rapid movements or require precise visual details.
Additionally, the screen recording settings allow you to designate where the recorded content is saved. You can choose to save the recordings to the Photos app or the Files app, making it convenient to organize and access your screen recordings based on your preferred storage location.
By customizing the screen recording settings on your iPhone 12, you can optimize the recording experience to align with your unique requirements, ensuring that each screen recording captures exactly what you intend with the desired audio, visual quality, and additional enhancements.
Sure, I can help with that. Here's the content for "Saving and Sharing Screen Recordings on iPhone 12" with each paragraph wrapped in
tags:
Saving and Sharing Screen Recordings on iPhone 12
Once you’ve recorded your screen on your iPhone 12, you may want to save and share the recording with others. The process of saving and sharing screen recordings is simple and can be done directly from your device.
To save a screen recording on your iPhone 12, simply navigate to the Photos app. Your screen recording will be saved as a video file in the Photos library. From there, you can access and view the recording at any time.
Sharing your screen recording on iPhone 12 is just as straightforward. After saving the recording in the Photos app, you can easily share it with friends, family, or colleagues. Simply select the recording, tap the share icon, and choose the desired sharing method, such as messaging, email, or social media.
Additionally, you can upload the screen recording to cloud storage services like iCloud, Google Drive, or Dropbox for easy access across multiple devices. This allows you to share the recording with others or access it from different platforms.
When sharing a screen recording, you can also utilize the editing tools within the Photos app to trim the recording, add annotations, or include captions before sharing it with others. This provides a way to customize the recording before sending it to your intended audience.
Conclusion
Screen recording on the iPhone 12 is a powerful feature that allows users to capture and share their device’s screen with ease. Whether you want to create tutorials, record gameplay, or save memorable moments, the screen recording function provides a convenient way to do so. With just a few taps, you can start recording and customize your settings to suit your needs. As technology continues to evolve, the iPhone 12 remains at the forefront of innovation, offering users a seamless and intuitive screen recording experience. By leveraging this feature, iPhone 12 users can enhance their communication, creativity, and productivity in various aspects of their digital lives.
FAQs
**Q: How do I access the screen recording feature on my iPhone 12?**
A: To access the screen recording feature on your iPhone 12, swipe down from the top-right corner of the screen to open Control Center. Then, tap the screen recording icon, which looks like a solid circle within a circle.
Q: Can I record audio while screen recording on my iPhone 12?
A: Yes, you can record audio while screen recording on your iPhone 12. To enable this feature, long-press or 3D Touch the screen recording icon in Control Center, and then tap the microphone icon to turn on audio recording.
Q: Where are the screen recordings saved on my iPhone 12?
A: By default, screen recordings on your iPhone 12 are saved to the Photos app. You can access them by opening the Photos app and navigating to the "Screenshots" album.
Q: How can I stop a screen recording on my iPhone 12?
A: To stop a screen recording on your iPhone 12, simply tap the red status bar at the top of the screen or open Control Center and tap the screen recording icon again.
Q: Can I edit or trim a screen recording on my iPhone 12?
A: Yes, you can edit or trim a screen recording on your iPhone 12 using the built-in editing tools in the Photos app. Simply open the screen recording in the Photos app, tap "Edit," and then use the trimming tool to adjust the length of the recording.