
With the busy and fast-paced lifestyle that most of us lead, it’s crucial to have a reliable system to keep track of important tasks and appointments. Fortunately, the iPhone provides a convenient and efficient solution for managing your reminders. Whether it’s a meeting, a deadline, or a simple task that you don’t want to forget, the Reminders app on your iPhone can help you stay organized and on top of your commitments. In this article, we will explore the various ways to add reminders on your iPhone, ensuring that you never miss an important event again. From creating simple reminders to setting recurring alerts and even adding location-based notifications, we will cover all the essential features of the Reminders app. So, let’s dive in and discover how to maximize the productivity of your iPhone!
Inside This Article
- Setting Up Reminders App on iPhone
- Creating a Reminder
- Adding a Due Date and Time
- Setting Reminder Priority
- Conclusion
- FAQs
Setting Up Reminders App on iPhone
The Reminders app on your iPhone is a powerful tool that helps you stay organized and never miss a task or event. Whether you need to remember to pick up groceries, pay bills, or complete an assignment, the Reminders app has got you covered. Setting up the Reminders app on your iPhone is a quick and straightforward process. Let’s walk through the steps together.
1. Open the Reminders app on your iPhone. You can find it on your home screen with an icon that looks like a checkbox inside a yellow circle.
2. If prompted, sign in to your iCloud account. The Reminders app syncs your reminders across all your Apple devices using iCloud, ensuring that you can access them anytime, anywhere.
3. Once you’re signed in, you’ll see the main screen of the Reminders app. Here, you can create new lists and reminders, view existing ones, and organize them according to your preference.
4. To create a new list, tap on the “Add List” button at the bottom of the screen. Give your list a name, such as “Groceries” or “Work Tasks.” Press “Done” when you’re finished.
5. To add a reminder to a list, tap on the list you want to add the reminder to. Then, tap on the “Add Reminder” button at the bottom of the screen. Enter the details of your reminder, such as the task or event you want to remember. Press “Done” when you’re finished.
6. You can also personalize your reminders by adding due dates, times, and priorities. To add a due date, tap on the reminder you want to edit and then tap on the “i” icon next to it. Select the “Due Date” option and choose the date from the calendar. Press “Done” to save the due date.
7. To add a due time, follow the same steps as adding a due date but select the “Due Time” option instead. Choose the time from the clock and press “Done” to save the due time.
8. To set a reminder priority, tap on the reminder you want to edit and then tap on the “i” icon next to it. Select the “Priority” option and choose from High, Medium, or Low. Press “Done” to save the priority.
Once you’ve set up the Reminders app on your iPhone, you’ll have a powerful tool to help you stay on top of your tasks and events. With the ability to create lists, add reminders, and customize due dates, times, and priorities, the Reminders app will become your go-to app for managing your daily life.
Creating a Reminder
Creating a reminder on your iPhone is a simple and convenient way to stay organized and never forget important tasks or events. Whether it’s a work deadline, a doctor’s appointment, or simply a grocery list, the Reminders app on your iPhone is designed to help you effortlessly keep track of everything you need to remember.
To create a reminder, follow these easy steps:
- Open the Reminders app on your iPhone. The app icon looks like a white square with a checkbox inside.
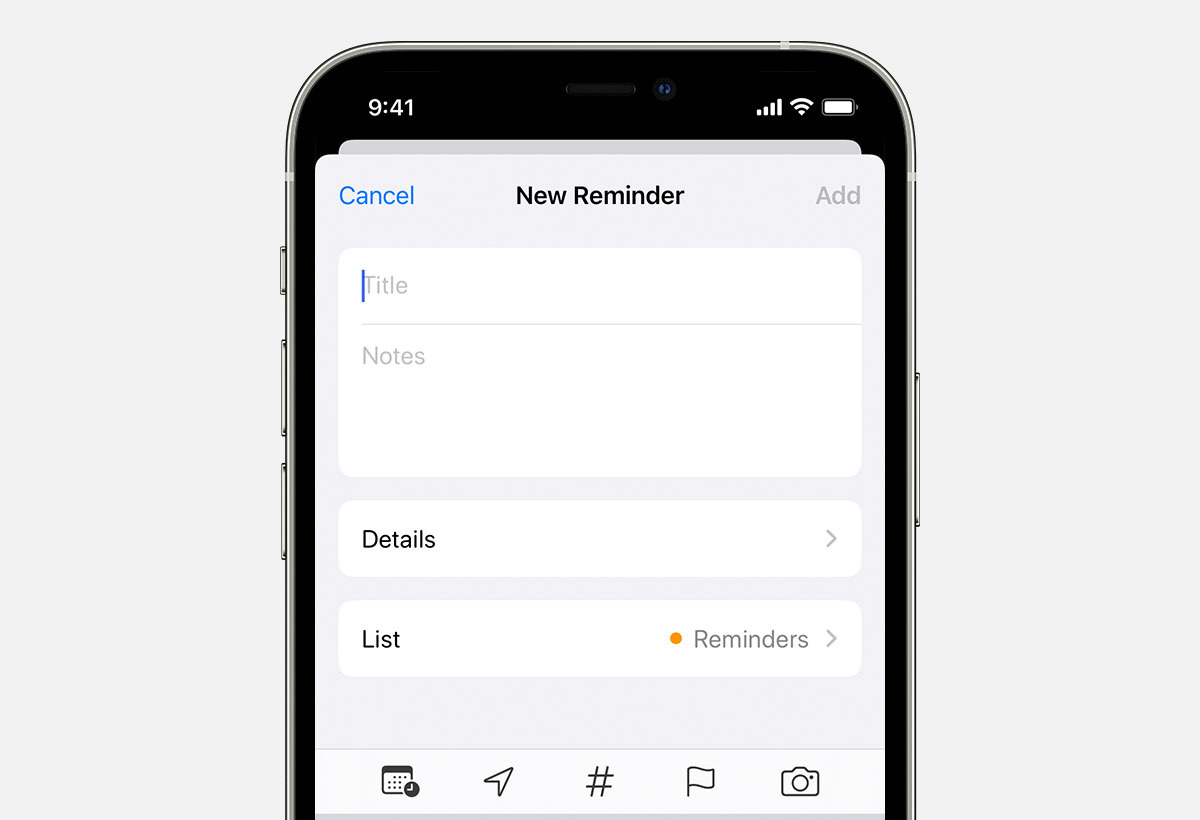
- Tap the “+” button in the top-right corner of the screen. This will open a new reminder.
- Type in a brief description of the reminder. For example, if you want to remember to buy milk, type “Buy milk” as the reminder title.
- Optionally, you can add more details to the reminder by tapping the “i” icon next to the title. This will allow you to set a due date, add notes, add attachments, and more.
- Once you’re done with the details, tap “Done” to save the reminder.
And that’s it! Your reminder is now created and will be added to your Reminders app. You can easily view and manage your reminders by opening the app and accessing the appropriate list.
Creating reminders on your iPhone is a fantastic way to stay organized and ensure that you never miss an important task or appointment. With just a few taps, you can set up reminders for all aspects of your life and have the peace of mind that you won’t forget a thing.
So go ahead, start creating your reminders on your iPhone today and enjoy a more organized and productive lifestyle!
Adding a Due Date and Time
One of the useful features of the Reminders app on your iPhone is the ability to add a due date and time to your reminders, ensuring you stay organized and on track. Here’s how you can easily add a due date and time to your reminders:
Step 1: Open the Reminders app on your iPhone. You can find it on your home screen or by swiping down on your screen and using the search function.
Step 2: Tap on the list that contains the reminder you want to add a due date and time to, or create a new list by tapping the “Add List” button at the bottom of the app.
Step 3: Once you are inside the desired list, tap on the reminder you want to add a due date and time to.
Step 4: At the bottom of the reminder details page, you will see an option that says “Remind Me On a Day.” Tap on it to proceed.
Step 5: The app will present you with a calendar where you can select the due date for your reminder. Scroll through the months and tap on the specific date you want the reminder to be due.
Step 6: After selecting the due date, you can further customize the reminder by adding a specific time. Tap on the “Time” option underneath the calendar.
Step 7: Using the picker wheel, select the desired time for your reminder. You can scroll through the hours and minutes and choose the precise time you want the reminder to be due.
Step 8: Once you have set the due date and time, tap “Done” to save your changes.
Step 9: The reminder will now appear in your list with the corresponding due date and time. You can easily view all your reminders by tapping on the list they belong to or by going to the “Scheduled” section in the Reminders app.
By adding a due date and time to your reminders, you can ensure that important tasks and commitments are not overlooked. Whether it’s a meeting, a deadline, or a personal event, the Reminders app on your iPhone makes it easy to stay organized and manage your to-do list effectively.
Setting Reminder Priority
When using the Reminders app on your iPhone, you have the ability to assign a priority to each reminder, helping you stay organized and focused on the most important tasks. Setting a reminder priority allows you to prioritize your tasks based on their importance and urgency.
To set a priority for a reminder, follow these simple steps:
1. Open the Reminders app on your iPhone.
2. Tap on the reminder you want to prioritize.
3. At the bottom of the reminder details screen, you will find the option to set the priority. Tap on the “i” button to access the reminder settings.
4. In the reminder settings, you will see the “Priority” option. Tap on it to open the priority settings.
5. Choose the priority level that best suits your needs. The available priority options are:
- Low: Use this priority for tasks that are not time-sensitive or have a lower level of importance.
- Medium: Assign this priority to tasks that are moderately important and require attention in the near future.
- High: Use this priority for tasks that are urgent, important, and require immediate attention.
6. Once you have selected the appropriate priority level, tap on the “Done” button to save the changes.
By setting reminder priorities, you can easily identify which tasks need to be completed first. The Reminders app will display the priority level next to each reminder, making it easier for you to focus on the most crucial tasks.
It’s important to note that setting a priority for a reminder is purely subjective and varies from person to person. You can adjust the priority levels based on your own preferences and requirements.
So, take advantage of the priority feature in the Reminders app on your iPhone and stay organized by giving importance to your tasks!
Conclusion
Adding reminders on iPhone is a simple yet effective way to stay organized and manage your daily tasks. With the built-in Reminders app, you can easily create and customize reminders to suit your needs. Whether it’s a work deadline, a personal appointment, or a grocery list, the Reminders app has got you covered.
By utilizing features like due dates, priority levels, and location-based reminders, you can ensure that your tasks are completed on time and in the right context. Furthermore, syncing your reminders with iCloud makes it convenient to access them across all your devices.
By following the steps outlined in this article, you can become a pro at adding reminders on your iPhone and never miss an important task again. So, take control of your schedule, stay organized, and boost your productivity with the power of iPhone reminders!
FAQs
– Can I add reminders on my iPhone?
Yes, you can add reminders on your iPhone using the built-in Reminders app. It is a handy tool that allows you to create, manage, and organize your tasks and appointments easily.
– How do I create a reminder on my iPhone?
To create a reminder on your iPhone, follow these steps:
1. Open the Reminders app on your iPhone.
2. Tap on the “+” icon to create a new reminder.
3. Enter a title for your reminder.
4. Select a due date and time if needed.
5. You can also add additional details or notes if necessary.
6. Finally, tap “Done” to save your reminder.
– Can I set a reminder location on my iPhone?
Yes, you can set a reminder location on your iPhone. To do this, follow these steps:
1. Open the Reminders app on your iPhone.
2. Create a new reminder or select an existing one.
3. Tap on the “i” button next to the reminder.
4. Toggle on the “Remind me at a location” option.
5. Choose a location from the list or enter a custom address.
6. Tap “Done” to save the location reminder.
– How can I prioritize my reminders on iPhone?
You can easily prioritize your reminders on your iPhone by following these steps:
1. Open the Reminders app on your iPhone.
2. Select the desired reminder.
3. Swipe left on the reminder and tap on the exclamation mark icon.
4. Choose the priority level – Low, Medium, or High.
5. The reminder will now be labeled with the selected priority level.
– Can I set recurring reminders on my iPhone?
Yes, you can set recurring reminders on your iPhone. Follow these steps:
1. Open the Reminders app on your iPhone.
2. Create a new reminder or select an existing one.
3. Tap on the “i” button next to the reminder.
4. Toggle on the “Remind me on a day” option.
5. Choose the desired recurrence pattern – Daily, Weekly, Monthly, or Yearly.
6. Set the frequency and other details for the recurring reminder.
7. Tap “Done” to save the recurring reminder.