
Are you looking to send an important document via email directly from your iPhone? Fret not, as in this article, we will guide you through the seamless process of scanning a document and emailing it on your iPhone. With the advancement of technology, our smartphones have become powerful tools that can handle various tasks, including scanning and sending documents. Gone are the days of relying on bulky scanners or running to the nearest print shop. Whether it’s a contract, receipt, or any other important paper, your iPhone can transform into a portable scanner, enabling you to digitize and share documents with ease. So, grab your iPhone and let’s dive into the world of document scanning and emailing on your device.
Inside This Article
- Overview
- Step-by-Step Guide: Scanning a Document to Email on iPhone
- Tips for Successful Scanning
- Troubleshooting Common Issues
- Conclusion
- FAQs
Overview
Scanning documents and sending them via email has become an essential task in today’s digital age. The convenience of being able to scan documents directly from your iPhone not only saves time but also eliminates the need for bulky scanners or copiers. Whether you need to send important business documents, signed contracts, or even just a simple handwritten note, your iPhone can handle it all. This article will provide you with a step-by-step guide on how to scan a document to email on your iPhone, along with some valuable tips for successful scanning and troubleshooting common issues.
Scanning a document to email on your iPhone has never been easier. With the advancements in smartphone technology, your iPhone now comes equipped with a built-in scanner feature, making it a breeze to digitize physical documents and share them instantly through email. This eliminates the need for external scanning apps or additional hardware, streamlining the entire process from start to finish.
The scanning process on an iPhone involves using the device’s camera to capture the document and convert it into a digital format. Once the document is scanned, you can easily attach it to an email and send it to the desired recipient. Whether you’re scanning a single page or multiple pages, your iPhone offers the functionality to handle both scenarios efficiently and effectively. So, let’s dive into the step-by-step guide on scanning a document to email on your iPhone.
Step-by-Step Guide: Scanning a Document to Email on iPhone
Scanning documents on your iPhone has become a convenient way to digitize and share important paperwork. Whether you need to email a contract, a receipt, or any other document, the built-in scanning feature on your iPhone makes it a breeze. Follow these simple steps to scan a document and send it via email.
- Open the Notes app: Locate the Notes app on your iPhone’s home screen and tap to open it.
- Create a new note: Once inside the Notes app, tap on the “New Note” button to create a new note.
- Tap on the camera button: Look for the camera icon within the note and tap on it. A menu will appear with options, select “Scan Documents”.
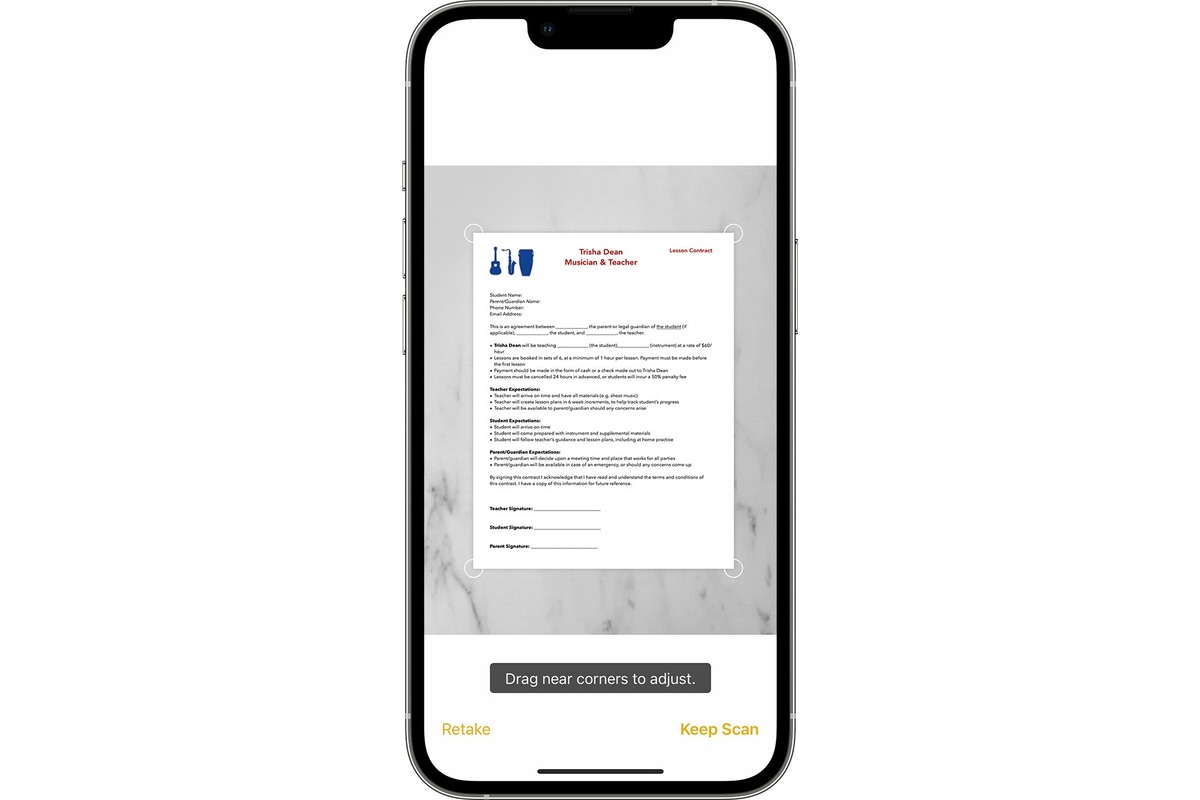
- Position the document: Hold your iPhone steady and align the document within the viewfinder. The app will automatically detect the edges of the paper and capture the image.
- Adjust the scan: After the initial scan, you can adjust the corners and edges of the document if needed. This ensures a clear and accurate scan.
- Scan additional pages: If you have multiple pages to scan, tap on the “Add” button to capture each page. The app will automatically append the pages, creating a single document.
- Finish scanning: Once you have scanned all the pages, tap on the “Save” or “Done” button to finish the scanning process.
- Email the document: To email the scanned document, tap on the share icon at the top right corner of the screen. From the sharing options, select “Mail”.
- Enter recipient and subject: A new email draft will open with the scanned document attached. Enter the recipient’s email address in the “To” field and add a subject for the email.
- Send the email: Review the email, make any necessary edits, and then tap on the “Send” button to send the email with the scanned document attached.
And there you have it! You have successfully scanned a document on your iPhone and sent it via email. This feature is not only convenient but saves you the hassle of finding a scanner or computer to complete the task.
Tips for Successful Scanning
Scanning documents on your iPhone can be a convenient way to go paperless and easily share important information. To ensure crisp and high-quality scans, here are some helpful tips to keep in mind:
- Choose a Well-Lit Environment: Good lighting is key to getting clear scans. Avoid scanning in dimly lit areas, as it can result in blurry or grainy images. Natural daylight or a well-lit room provide optimal conditions for scanning.
- Keep the Document Flat and Stable: Place the document on a flat and stable surface to prevent any blurring or distortion. A steady hand and positioning the phone parallel to the document can help maintain clarity.
- Fill the Frame: When scanning, ensure that the entire document fits within the frame of the camera. This helps to capture all the necessary details and prevents any important information from being cut off or excluded from the scan.
- Focus on the Document: Tap on the screen of your iPhone to adjust the focus on the document. This ensures that the text and images are sharp and legible, even if the document has intricate details.
- Avoid Glare and Reflections: Minimize the presence of glare and reflections on the document. Hold the phone at an angle to avoid any direct light sources that may cause unwanted reflections or shadows on the scan.
- Choose the Right Scanner App: There are various scanning apps available for the iPhone. Take the time to explore different options and choose a reliable and user-friendly app that suits your needs. Look for apps that offer features such as image enhancement, OCR (optical character recognition), and the ability to save scans in different file formats.
- Review and Edit: After scanning a document, take a moment to review the scan and make any necessary adjustments or edits. Some scanning apps allow you to crop, rotate, adjust brightness, or apply filters to enhance the quality of the scan.
- Organize and Name Your Scans: To easily find and manage your scanned documents, create a system for organizing them. Give each scan a clear and descriptive name or use folders to categorize them, making it quicker to locate specific scans when needed.
- Optimize File Size: Large file sizes can take up valuable storage space on your iPhone and may be difficult to share. Most scanning apps offer options to optimize the file size without compromising the quality of the scan. This is particularly useful when sending scans via email or uploading them to cloud storage.
- Practice and Experiment: Scanning documents on your iPhone is a skill that improves with practice. Take the time to experiment with different settings, angles, and lighting conditions to find the best approach that consistently delivers clear and professional-looking scans.
By following these tips, you can maximize the quality and usability of the scans you create on your iPhone. Whether you’re scanning business documents, receipts, or personal papers, achieving excellent results is just a few simple steps away.
Troubleshooting Common Issues
Scanning documents to email on your iPhone can be a convenient way to digitize important paperwork and send it instantly. However, like any technology, it’s not immune to the occasional hiccup. If you’re encountering issues while attempting to scan a document to email on your iPhone, don’t worry – you’re not alone. Here are some common issues and troubleshooting steps you can take to resolve them:
1. Poor Image Quality: If the scanned document appears blurry or pixelated, ensure that you’re placing the document on a flat and well-lit surface. Clean the camera lens of your iPhone to remove any smudges or dirt that can obstruct the image quality. Additionally, make sure you’re holding your iPhone steady while capturing the document to avoid any motion blur.
2. File Size Limitations: Sometimes, you may encounter issues when trying to send a large file as an email attachment. To overcome this, you can try compressing the scanned document using a file compression app before attaching it to the email. This will reduce the file size without compromising the document’s quality.
3. Email Sending Failed: If you’re experiencing difficulty sending the scanned document as an email, check your internet connection to ensure you have a stable and reliable network. If the problem persists, try closing the Mail app and reopening it. You can also restart your iPhone to refresh the device’s system and resolve any temporary glitches.
4. App Crashing or Freezing: If the scanning app crashes or freezes while you’re in the middle of the process, close the app completely and relaunch it. If the issue continues, check for any available updates for the scanning app in the App Store. Updating the app can often resolve any bugs or issues that may be causing it to crash or freeze.
5. Compatibility Issues: Ensure that you’re using a scanning app that is compatible with your iPhone model and iOS version. If you’re using an outdated app, it may not function properly on newer iPhone models or with the latest operating system updates. In such cases, consider switching to a different scanning app that is regularly updated and compatible with your device.
6. Incorrect Email Setup: Double-check your email account settings to ensure that they are correctly configured on your iPhone. Verify that the email address, password, and server settings are entered accurately. If you’re still unable to send the scanned document via email, you may need to remove and re-add your email account to fix any misconfigurations.
7. Insufficient Storage Space: If you’re unable to save or send the scanned document, check the available storage space on your iPhone. If the storage is full, you may need to delete unnecessary files, apps, or media to free up space. Alternatively, you can store the scanned document on a cloud storage service and provide a shareable link in the email instead.
Remember, troubleshooting can vary depending on individual device configurations and app settings. If the above steps don’t resolve your scanning issues, it’s advisable to consult the support documentation for your scanning app or contact the app developer for further assistance.
Conclusion
In conclusion, scanning a document to email on iPhone has become a convenient and efficient way to digitize paperwork and send it to others. The built-in Notes app and third-party scanning apps have made the process simple, allowing users to quickly capture high-quality scans and easily email them to recipients. Whether you’re a student, professional, or anyone in need of scanning and sharing documents on the go, the iPhone provides a powerful tool at your fingertips.
By following the steps outlined in this article, you can confidently scan documents to email on your iPhone and streamline your document management process. Say goodbye to the hassle of traditional document scanning methods and embrace the convenience of digital scanning with your iPhone.
So next time you need to send an important document, don’t reach for a bulky scanner. Instead, grab your iPhone, use the built-in scanning feature or a trusted third-party scanning app, and effortlessly share your documents with others via email.
FAQs
-
Can I scan a document to email on my iPhone?
Yes, you can easily scan a document to email on your iPhone using the built-in Notes app or third-party scanning apps available on the App Store. -
Do I need any additional equipment to scan a document on my iPhone?
No, you do not need any additional equipment to scan a document on your iPhone. The iPhone’s camera is all you need to capture the document and convert it into a digital format. -
Which app is best for scanning documents on iPhone?
There are several great scanning apps available for iPhone, such as Adobe Scan, Microsoft Office Lens, and CamScanner. These apps offer features like document cropping, OCR (Optical Character Recognition), and easy sharing options. -
How do I scan a document to email using the Notes app?
To scan a document using the Notes app, open a new or existing note, tap the “+” button, and select “Scan Documents” from the menu. Align the document within the frame and tap the shutter button. After capturing all the pages, tap “Save” or “Done”, and then tap the share icon to email the scanned document. -
Can I scan multiple pages into a single PDF on my iPhone?
Yes, you can easily scan multiple pages into a single PDF on your iPhone using scanning apps like Adobe Scan or Microsoft Office Lens. These apps allow you to capture additional pages and combine them into a single PDF document for easy sharing or storage.