
In this digital age, our smartphones have become powerful tools that can perform a multitude of tasks. One such capability is the ability to scan documents directly from our phones and send them via email. Gone are the days of bulky scanners and complicated setups. With just a few taps on your mobile phone screen, you can scan documents conveniently and quickly share them through email. Whether you need to send important work documents, receipts, or even handwritten notes, scanning from your phone to email offers a seamless and efficient solution. In this article, we will explore the step-by-step process of how to scan documents using your mobile phone and send them directly to your email inbox. Say goodbye to the hassle of traditional scanning methods and embrace the convenience of mobile scanning!
Inside This Article
- Step 1: Install a scanning app
- Step 2: Open the scanning app
- Step 3: Position the document and adjust settings
- Step 4: Capture the scan
- Step 5: Review and edit the scan if necessary
- Step 6: Save the scan as a PDF
- Step 7: Open your email application
- Step 8: Compose a new email
- Step 9: Attach the scanned PDF
- Step 10: Send the email with the attached scan
- Troubleshooting Tips
- Conclusion
- FAQs
Step 1: Install a scanning app
When it comes to scanning documents from your phone to email, the first step is to install a reliable scanning app. There are numerous scanning apps available for both Android and iOS devices that can turn your smartphone into a portable scanner. These apps use your phone’s camera to capture the document and convert it into a PDF or image file.
One popular scanning app is CamScanner, which offers a user-friendly interface and a range of features. With CamScanner, you can easily scan documents, crop or rotate them, adjust the brightness and contrast, and even enhance the text readability. Another widely used app is Adobe Scan, which integrates seamlessly with Adobe’s ecosystem and provides advanced scanning capabilities.
To install a scanning app, open the App Store (iOS) or Google Play Store (Android) on your phone and search for the desired app. Look for positive reviews and high ratings to ensure you choose a reliable app. Once you find the app, tap on the “Install” button and wait for the app to download and install on your device.
After the installation is complete, you’ll need to open the scanning app and follow the on-screen instructions to set it up. Typically, you’ll be asked to grant permissions for accessing your camera and gallery, as well as sign in or create an account with the app. Once the setup is done, you’ll be ready to start scanning documents directly from your phone.
Step 2: Open the scanning app
After setting up your email account, the next step is to open the scanning app on your phone. Most smartphones come preloaded with a scanning app, while others can be downloaded from your device’s app store. Look for apps with names like “CamScanner,” “Adobe Scan,” or “Office Lens.”
Once you’ve found and opened the scanning app, you will usually be greeted with a simple and intuitive interface. The scanning app will typically provide you with options such as scanning a document, scanning a photo, or scanning a QR code. For the purpose of scanning a document to email, select the “scan document” option.
When you choose the “scan document” option, your phone’s camera will activate. Position the document you want to scan within the camera’s viewfinder, making sure it is properly aligned and within the frame. Some scanning apps may automatically detect the edges of the document and prompt you to capture the image, while others may require you to manually capture the image by pressing a button.
Once you have captured the image of the document, the scanning app will process the image and make adjustments to enhance its clarity and legibility. This process may take a few seconds, depending on the complexity of the document. Once the image has been processed, you will be presented with options to edit the scanned document, such as cropping unwanted areas or adjusting the brightness and contrast.
After you have made any necessary edits, the scanning app will give you the option to save the scanned document. Choose a suitable name for the document and select the desired storage location, whether it is directly on your phone or in a cloud storage service such as Google Drive or Dropbox.
With the document saved, you can now proceed to the next step of attaching and sending the scanned document via email. This will be covered in the following section.
Step 3: Position the document and adjust settings
Now that you have your phone ready and the scanning app open, it’s time to position the document and adjust the necessary settings before capturing the image.
1. Place the document you want to scan on a flat surface. Make sure it is well-lit and there is no glare or shadows obscuring the text or images.
2. Align the document within the frame of your phone’s camera. Most scanning apps provide a visual guide or grid to help you position the document correctly.
3. Adjust the document to fit within the frame. You may need to move it closer or farther from the camera until the entire document is in view.
4. Take a moment to verify that the document is clear and legible within the camera preview. If needed, adjust the focus or exposure settings on the app to enhance the image quality.
5. Some scanning apps also offer additional settings such as color mode (color, grayscale, or black and white), resolution, or document size. Take a moment to explore these options and choose the settings that best suit your needs.
6. Once you are satisfied with the positioning and settings, tap the capture button to take the scan. Make sure to hold your phone steady to avoid any blurriness.
7. If you need to scan multiple pages, repeat the steps above for each document. Some scanning apps have a multi-page feature that allows you to capture multiple pages in one scan session.
Remember, it’s important to double-check the quality and readability of each scan before moving on to the next step of attaching and sending the scanned document via email.
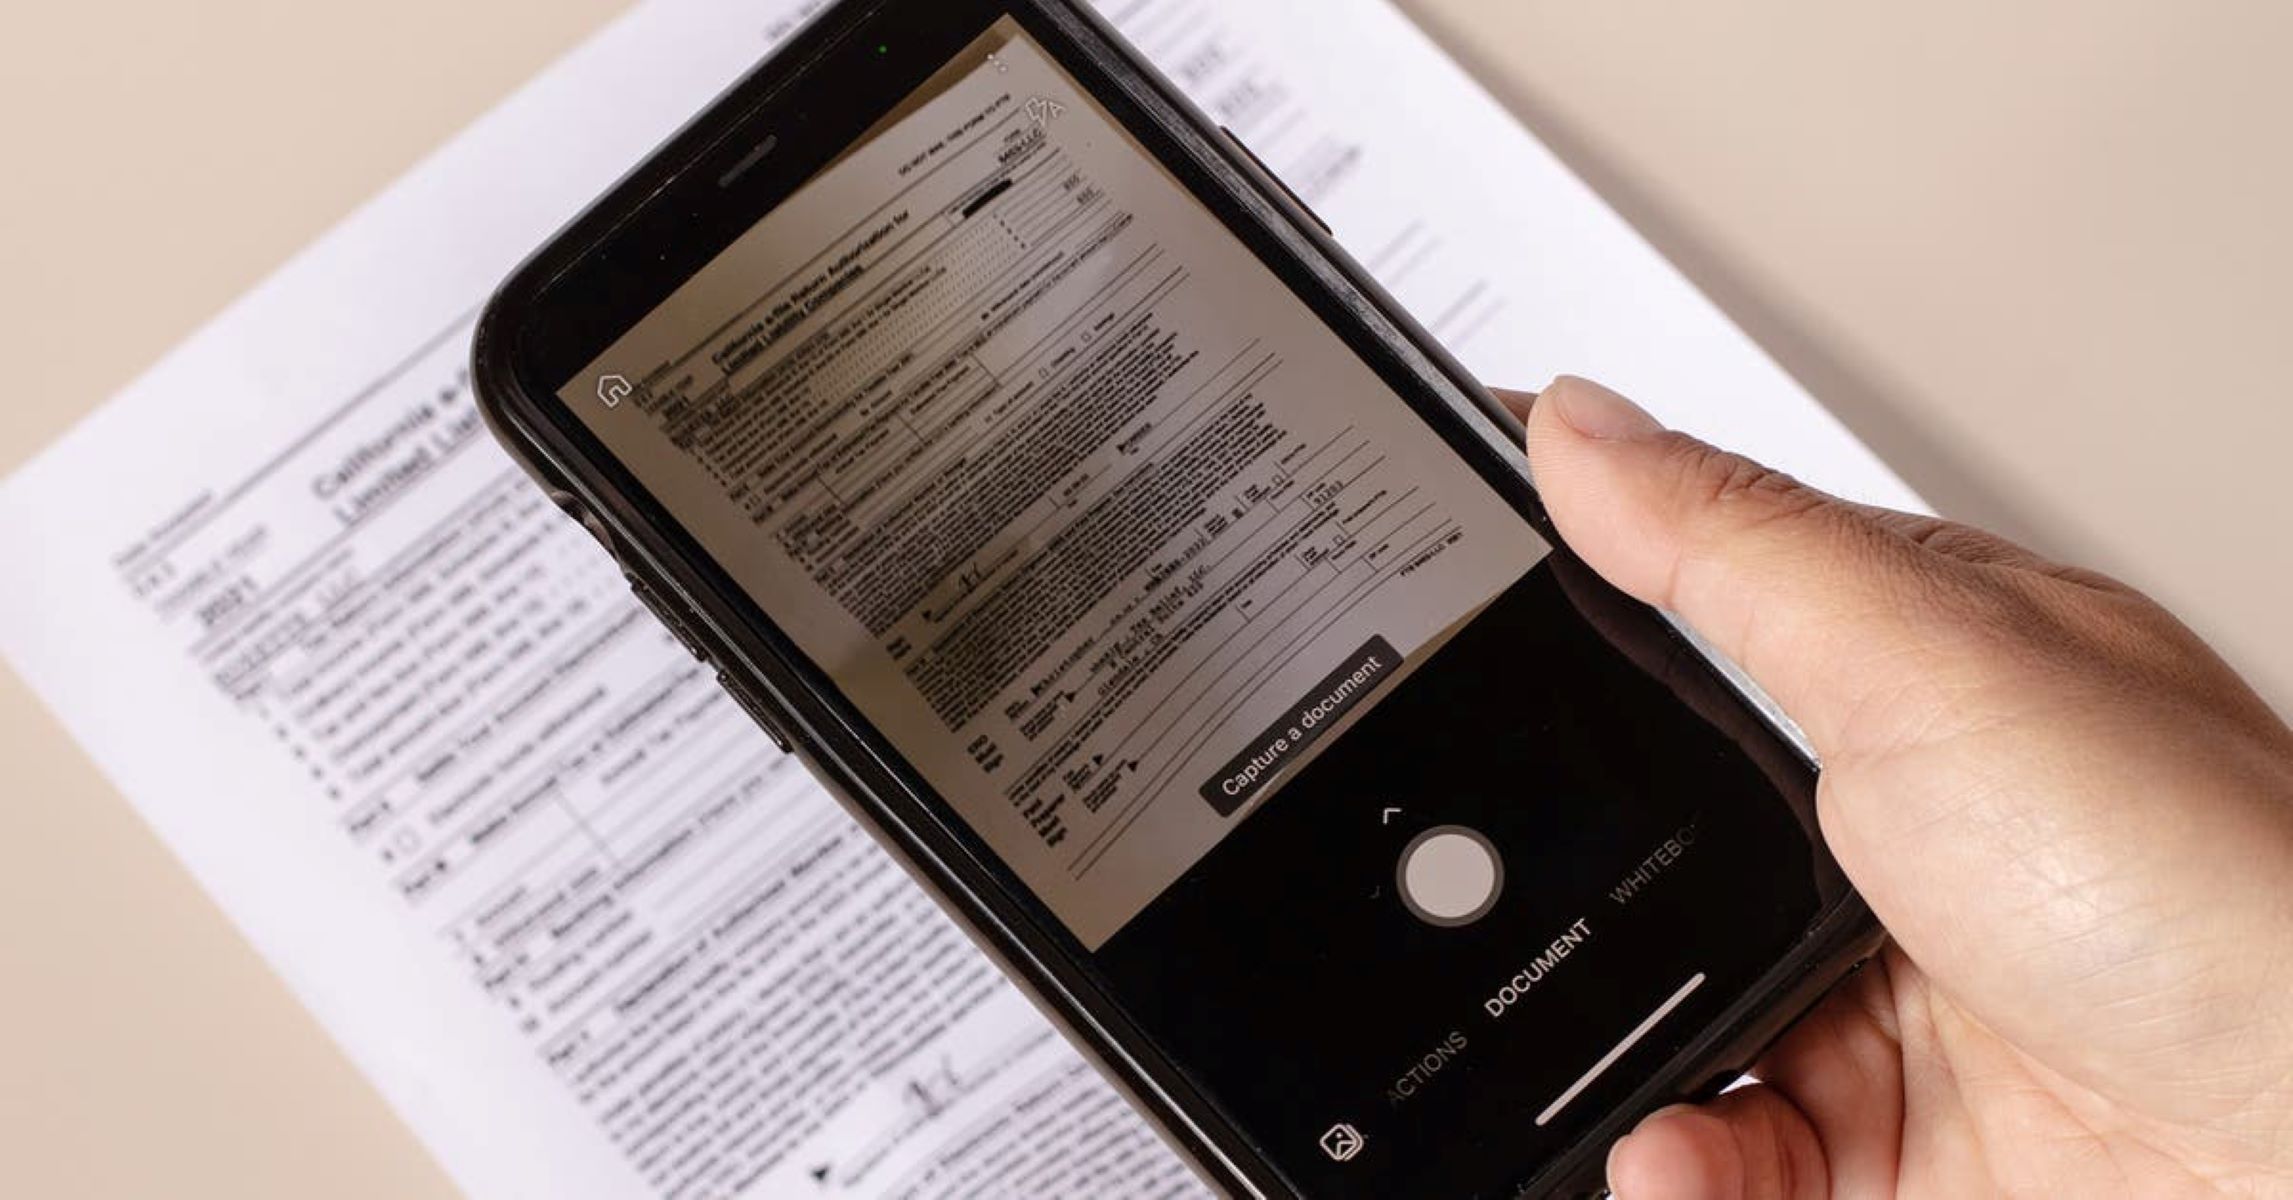
Step 4: Capture the scan
Once you have positioned the document within the frame and adjusted the settings, it’s time to capture the scan using your phone’s camera. This step is crucial in ensuring that the scanned document is clear and legible.
Start by tapping the capture button on your phone’s screen or using the physical volume buttons as a shutter release. Ensure that you hold the phone steady to avoid any blurriness in the scan.
Modern smartphones come with advanced camera technologies, such as autofocus and image stabilization, which can greatly enhance the quality of your scans. If available, enable these features to ensure crisp and sharp results.
It’s important to make sure that the entire document is captured in the frame. Take a moment to review the scan on your phone’s screen after capturing it. If necessary, you can retake the scan to ensure optimal quality.
For multi-page documents, repeat this process for each page. Some scanning apps even provide an option to automatically scan multiple pages into a single document.
Remember, the quality of your scan plays a vital role in the legibility of the document. Take your time during this step to capture a clear and accurate scan.
Step 5: Review and edit the scan if necessary
After successfully scanning the document using your phone’s camera, it’s important to review and edit the scan if necessary. This step ensures that the final scanned document is clear, legible, and free from any errors or imperfections. Here’s how you can review and edit the scan:
1. Check for clarity: Firstly, take a close look at the scanned document on your phone’s screen. Make sure the text is clear and easy to read. If you notice any blurriness or distortion, you may need to rescan the document or adjust the positioning of your phone’s camera to capture a better image.
2. Remove any unwanted elements: Next, carefully inspect the scan for any unwanted elements or objects that might have been captured along with the document. It could be anything from your hand or fingers to other background objects. Use the built-in editing tools on your scanning app or third-party photo editing applications to crop out these unwanted elements and focus solely on the document itself.
3. Check for accuracy: Ensure that the scanned document accurately represents the original content. Look for any missing pages, incomplete text, or distorted images. If you find any inaccuracies, consider rescanning those parts or adjusting the settings of the scanning app to obtain a more accurate representation.
4. Adjust brightness and contrast: Sometimes, the lighting conditions during the scanning process can affect the quality of the scan. If the document appears too bright or too dark, use the editing tools to adjust the brightness and contrast levels accordingly. This will improve the overall readability of the scan.
5. Make necessary edits: If you need to make any additional edits to the content of the scanned document, use a PDF editing software or any other document editing apps available on your phone. This could include adding annotations, highlighting text, or inserting additional information. Make sure to save the edited version once you are done.
6. Save the final scan: Once you are satisfied with the review and editing process, save the final version of the scanned document on your phone. Choose a convenient location or folder where you can easily access it when needed.
By following these steps, you can ensure that the scanned document is of high quality and meets your requirements. Take your time during the review and editing phase to ensure that the final result is accurate, clear, and ready to be attached to your email.
Step 6: Save the scan as a PDF
Once you have successfully captured the document using your phone’s camera and made any necessary adjustments, the next step is to save the scan as a PDF file. Converting the scan into a PDF format ensures that it can be easily viewed and shared across different devices and platforms. Here’s how you can save the scan as a PDF:
1. Open the scanning app on your phone and locate the scanned document.
2. Tap on the document to open it and access the options menu.
3. Look for the “Save as PDF” or similar option in the menu. Tap on it to select the PDF as the file format for saving.
4. Choose the desired location on your phone where you want to save the PDF file. You can select a specific folder or the default directory.
5. Give the PDF file a suitable name that will help you to identify it easily in the future.
6. Once you have entered the file name, tap on the “Save” or similar button to begin the saving process.
7. Depending on the size of the document and the capabilities of your phone, it may take a few moments to convert and save the scan as a PDF file. Be patient and wait for the process to complete.
8. Once the scan has been successfully saved as a PDF, you will receive a notification confirming the completion of the process.
Now that you have saved the scan as a PDF file, you can easily share it via email or other messaging platforms. PDF files are widely recognized and supported, making it easier for recipients to open and view the document without any compatibility issues.
Step 7: Open your email application
Now that you have successfully scanned the document using your phone’s camera, it’s time to open your email application. This is where you will compose the email and attach the scanned document before sending it.
Go to your phone’s home screen or app drawer and find the icon for your email application. It’s usually represented by an envelope or the name of your email service provider.
Tap on the email application icon to open it. Depending on your phone model and the email application you are using, it may take a few seconds to load.
Once the email application is open, you will be prompted to sign in to your email account if you haven’t already done so. Enter your email address and password as required. If you have already signed in, you will be taken directly to your inbox.
Once you are in your inbox, tap on the “Compose” or “New Email” button. This will open a new email window where you can enter the recipient’s email address, subject, and the body of the email.
If you want to include a message with the scanned document, you can type it in the body of the email. Make sure to be clear and concise with your message, providing any necessary context or instructions for the recipient.
To attach the scanned document, tap on the “Attach” or “Paperclip” icon. This will allow you to browse through your phone’s file system and select the scanned document that you saved earlier.
Once you have selected the scanned document, it will be attached to the email. You may see a progress bar indicating the uploading process, depending on the email application you are using.
Once the document is attached, double-check the recipient’s email address, subject line, and the body of the email for accuracy. You don’t want to send the email to the wrong person or forget to include important information.
Finally, when you are satisfied with the email, tap on the “Send” or “Send Email” button. Your email, along with the scanned document, will be sent to the recipient’s email address.
Now that you have completed all the necessary steps, the recipient will receive the email with the attached scanned document. Make sure to keep a copy of the scanned document for your records, in case you need it in the future.
Step 8: Compose a new email
Once you have successfully scanned your document using your phone’s camera and saved it, the next step is to compose a new email. Follow these simple steps to send the scanned document via email:
1. Open your email application on your phone. This could be the built-in email app or a third-party email app like Gmail or Outlook.
2. Tap on the “Compose” or “New Email” button to start a new email.
3. In the “To” field, enter the recipient’s email address. You can also add multiple recipients by separating their email addresses with commas.
4. Next, enter a subject for your email. This will help the recipient understand what the email is about.
5. In the body of the email, you can type a message or provide any additional information about the scanned document.
6. To attach the scanned document, tap on the attachment icon (usually represented by a paperclip or a plus sign). This will open your phone’s file explorer.
7. Locate the folder or location where you saved the scanned document earlier. Tap on the document to select it and then tap on the “Attach” or “Send” button, depending on your email application.
8. Once the document is attached, you can review the email to ensure everything looks correct. Check the recipient’s email address, the subject, the body of the email, and the attachment.
9. Finally, when you are ready to send the email, tap on the “Send” button. Your email, along with the scanned document, will be sent to the recipient’s email address.
10. To confirm that the email and the attachment were sent successfully, you can check your “Sent” folder or view the email in your “Outbox.”
That’s it! You have successfully composed a new email and attached the scanned document from your phone. Now, the recipient will be able to access and view the scanned document directly from their email inbox.
Remember to double-check the recipient’s email address and proofread your email before sending to avoid any mistakes or errors. Happy scanning and emailing!
Step 9: Attach the scanned PDF
Now that you have successfully scanned your document and saved it as a PDF on your phone, the next step is to attach the scanned PDF to your email.
To do this, open the email app on your phone and select the option to compose a new email. Fill in the recipient’s email address, subject, and any additional message you want to include.
Next, look for the attachment icon, which is usually represented by a paperclip or a plus sign. Tap on it to open the file explorer or gallery on your phone.
Navigate to the folder where you saved the scanned PDF and select it. You may have to browse through different folders or use the search function if you have a large number of files on your phone.
Once you have selected the scanned PDF, it will be attached to your email. You might see a progress bar indicating the upload process, depending on your email app.
Before sending the email, make sure to double-check the attachment to ensure it is the correct file. You can do this by tapping on the attachment icon or checking the attachment preview if your email app provides one.
If everything looks correct, you can now hit the send button to send the email with the attached scanned PDF.
It is essential to note that some email services may have limitations on the size of attachments you can send. If your scanned PDF exceeds the maximum file size, you may encounter an error or need to compress the file before sending it.
Once the email has been sent successfully, you can breathe a sigh of relief, knowing that you have successfully scanned your document and attached it to an email, ready to be sent to its recipient.
Now you can consider the task of scanning from your phone to email complete. Congratulations!
Step 10: Send the email with the attached scan
Once you have successfully attached the scan to the email, it’s time to send it. Sending an email with an attached scan is a straightforward process that can be done in just a few simple steps.
1. Double-check the recipient’s email address: Before hitting the send button, make sure you have entered the correct email address of the recipient. It’s always a good idea to review the address to avoid any delivery issues or sending the scan to the wrong person.
2. Compose your email: Write a brief message in the body of the email, if needed. You can include any instructions or additional information you want to provide along with the scan. Keep the message concise and to the point.
3. Proofread your email: Take a moment to proofread your email for any spelling or grammatical errors. A well-written email reflects professionalism and attention to detail.
4. Add a descriptive subject line: Consider adding a clear and descriptive subject line to your email. This will help the recipient quickly understand the purpose of the email and increase the likelihood of it being opened and addressed promptly.
5. Send the email: Once you have completed all the necessary steps, click on the send button to email the scan attachment. The email will be sent, and the recipient will receive it in their inbox.
6. Check for successful delivery: After sending the email, it’s a good practice to verify that the email has been successfully delivered. You can do this by checking for any bounce-back messages or by contacting the recipient to confirm that they have received the email and its attachment.
7. Keep a copy for your records: If you want to maintain a record of the sent email and attached scan, consider saving a copy in your sent folder or taking a screenshot or printout for future reference.
By following these steps, you can confidently send an email with the attached scan directly from your phone. It’s a convenient way to quickly share important documents or images with others without the need for a physical scanner or computer.
Troubleshooting Tips
Having trouble with your mobile phone? Don’t worry, we’ve got you covered. Here are some troubleshooting tips to help you resolve common issues and get your phone back in working order:
1. Restart your phone: Sometimes, a simple restart can solve many problems. Press and hold the power button until the restart option appears, then tap on it. This can help clear out any temporary glitches or software errors.
2. Check your network connection: If you’re experiencing issues with calls, messages, or internet connectivity, make sure you’re connected to a stable network. Try toggling your Wi-Fi or mobile data on and off, or switch to airplane mode and back to normal mode.
3. Update your software: Outdated software can often cause compatibility issues and performance problems. Check for system updates in your phone’s settings and install any available updates. This can fix bugs and improve overall stability.
4. Clear app cache: If certain apps are acting up or freezing, clearing their cache can help. Go to your phone’s settings, find the app manager or applications section, select the culprit app, and tap on “clear cache.” This will remove temporary files that may be causing issues.
5. Remove unnecessary apps: Having too many unused apps can eat up your phone’s storage and slow down its performance. Uninstall apps that you no longer need or use. This will free up space and potentially improve system responsiveness.
6. Reset app preferences: If you’re facing issues across multiple apps, resetting app preferences can help. Go to your phone’s settings, search for “reset app preferences,” and tap on it. This will restore default settings for all apps, fixing any misconfigurations.
7. Check for malware: Malware can cause various issues, including battery drain, sluggish performance, and pop-up ads. Install a reputable antivirus app and run a scan to detect and remove any malicious software.
8. Factory reset: If all else fails and you’re still experiencing persistent problems, you may need to do a factory reset. Backup your important data first, as this will erase all apps and data from your device. Go to your phone’s settings, find the reset option, and follow the on-screen instructions.
Remember, if you’re not comfortable troubleshooting the issue yourself, don’t hesitate to reach out to the manufacturer’s support or visit a service center for assistance. They will be able to guide you through more advanced troubleshooting steps or provide necessary repairs if required.
Following these troubleshooting tips should help you resolve common issues and keep your phone running smoothly.
Conclusion
In today’s digital age, the ability to scan documents from your phone and send them via email has become an essential convenience. The process of scanning from your phone to email offers a quick and efficient way to digitize physical documents and share them electronically. Whether you need to send important paperwork, receipts, or even handwritten notes, scanning from your phone to email eliminates the need for a bulky scanner and allows you to easily transmit documents from the palm of your hand.
By utilizing the right scanning app and following the necessary steps outlined in this article, you can confidently scan documents with your mobile phone and send them directly to your email. With just a few taps on your screen, you can transform physical documents into digital files, ensuring that you have access to important information wherever you go.
So, say goodbye to traditional scanners and embrace the convenience of scanning from your phone to email. It’s a modern solution that saves time, space, and allows you to stay organized in today’s fast-paced world.
FAQs
To answer some common questions you may have about scanning from your phone to email, we have compiled the following FAQs:
- Q: Can I scan documents directly from my phone to email?
- Q: What apps can I use to scan from my phone to email?
- Q: How do I scan documents from my phone to email using these apps?
- Q: Can I edit scanned documents before sending them via email?
- Q: Are there any limitations to scanning from phone to email?
A: Absolutely! With the advancements in mobile technology, you can now easily scan documents directly from your phone and send them via email. There are various apps available on both iOS and Android platforms that allow you to capture high-quality scans and attach them to email in just a few simple steps.
A: There are several popular apps you can use to scan documents from your phone and send them via email. Some of the top-rated options include Adobe Scan, Evernote Scannable, and Microsoft Office Lens. These apps offer features like automatic edge detection, image enhancement, and seamless integration with email clients.
A: The process may vary slightly depending on the app you choose, but generally, you’ll open the app, position your document within the camera frame, and capture the scan. The app will then automatically process the image, detect the edges, and adjust the lighting. Once you’re satisfied with the scan, you can choose the email option within the app and select the recipient to send the scanned document via email.
A: Yes, many scanning apps offer basic editing functionalities. You can typically crop the scanned document, rotate it if needed, adjust the brightness and contrast, and even apply filters to enhance the readability of the document. These editing features allow you to fine-tune the scanned document before attaching it to an email.
A: While scanning documents from your phone to email is a convenient and efficient process, there are some limitations to keep in mind. The quality of the scan may not always match that of a dedicated scanner, especially when dealing with complex or highly detailed documents. Additionally, large files may take longer to send via email, so it’s essential to consider the file size and the recipient’s email limitations.