
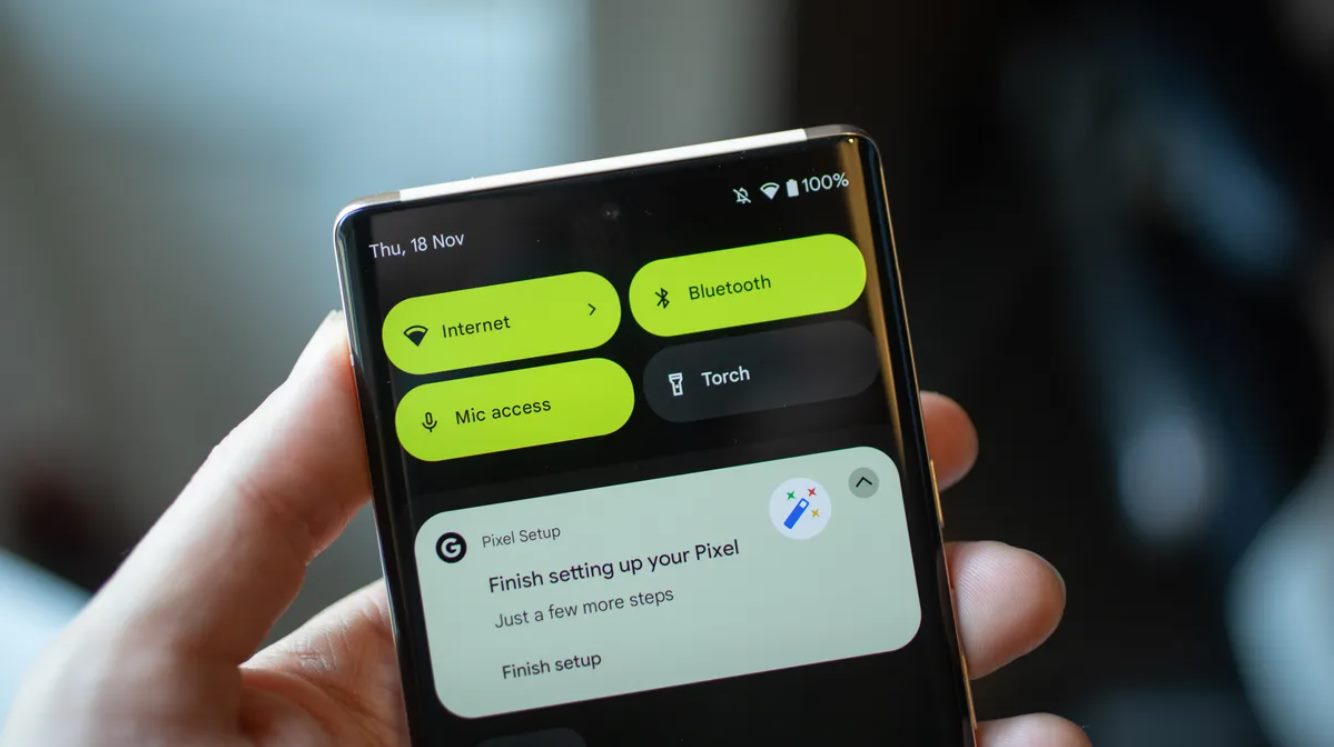
Are you a tech-savvy Android user who loves exploring the depths of your smartphone’s functionality? Well, you’re in luck! With the recent release of Android 12, there’s a new feature that allows you to easily access the Android/data folder on your device.
The Android/data folder is a crucial part of your Android device, housing important data and app-specific files. It can contain everything from game save files to cached data, making it a valuable resource for advanced users and developers.
In this article, we’ll guide you through the process of accessing the Android/data folder in Android 12. Whether you need to modify app data, recover lost files, or simply satisfy your curiosity, we’ve got you covered. So, let’s dive into the world of Android 12 and discover how to unlock the secrets of your device’s data folder!
Inside This Article
- Overview of Android 12 Data Folder
- Method 1: Using a File Manager App
- Method 2: Using ADB (Android Debug Bridge)
- Method 3: Using a Root Explorer App
- Method 4: Using a File Transfer Tool
- Conclusion
- FAQs
Overview of Android 12 Data Folder
The Android 12 Data Folder is a directory on your Android device that stores data and files for various apps installed on your phone. It contains important information, such as app settings, preferences, user data, cache files, and more. Accessing the Data Folder can be useful for managing your app data, troubleshooting issues, and performing advanced tasks on your device.
However, it’s important to note that accessing the Android 12 Data Folder requires certain permissions and may involve technical procedures. You should proceed with caution and ensure that you have the necessary knowledge and understanding to avoid any unintended consequences or data loss.
In this article, we will explore different methods to access the Android 12 Data Folder, ranging from using a file manager app, utilizing ADB (Android Debug Bridge), employing a root explorer app (for rooted devices), to using a file transfer tool on your computer. Each method has its own requirements and considerations, so you can choose the one that suits your needs and technical expertise.
By gaining access to the Android 12 Data Folder, you can explore and manage the files associated with your apps. This can be particularly useful when you want to backup or transfer app data, delete cache files to free up storage space, or troubleshoot issues related to specific apps.
It’s important to remember that the Android 12 Data Folder may contain sensitive data, including personal information and app-specific settings. Therefore, it’s crucial to exercise caution and avoid making any changes or modifications to files unless you fully understand their purpose and implications.
Now that we have an overview of the Android 12 Data Folder, let’s dive into the different methods you can use to access it. Choose the method that aligns with your technical comfort level and requirements, and proceed with the necessary steps to gain access to this important folder on your Android device.
Method 1: Using a File Manager App
If you want to access the Android/data folder on your Android device running Android 12, one of the easiest ways is by using a file manager app. A file manager app provides you with a user-friendly interface to navigate through the files and folders on your device. Here’s a step-by-step guide to accessing the data folder using a file manager:
Step 1: Download and Install a File Manager App
The first step is to download and install a file manager app from the Google Play Store. There are several file manager apps available, such as ES File Explorer, Solid Explorer, or Astro File Manager. Choose a file manager that suits your preferences and install it on your Android device.
Step 2: Grant Storage Permissions to the File Manager App
After installing the file manager app, you need to grant it the necessary storage permissions to access the files and folders on your device. To do this, go to your device settings, find the “Apps” or “Applications” section, locate the file manager app, and tap on it. Then, navigate to the “Permissions” or “App Permissions” section and grant the storage permission to the file manager app.
Step 3: Navigate to the Data Folder in the File Manager
Once you have granted the necessary permissions, open the file manager app on your Android device. You will see a list of folders and files on your device. Navigate through the folders until you find the “Android” folder. Tap on it to expand it.
Inside the “Android” folder, you will find the “data” folder. This is where the data for your installed apps is stored. Tap on the “data” folder to access it. Here, you will see a list of folders, each representing an installed app on your device.
Note that some file manager apps may require you to enable the option to show hidden files and folders in their settings in order to access the “Android/data” folder.
Once you have successfully navigated to the “data” folder, you can explore the individual app folders to find specific files or make modifications as needed.
Using a file manager app is a convenient method to access the Android/data folder in Android 12. It allows you to browse through your apps’ data files and make necessary changes if required. However, always exercise caution when modifying files within the data folder, as improper changes can potentially harm the functionality of your apps or even your device.
Method 2: Using ADB (Android Debug Bridge)
ADB, short for Android Debug Bridge, is a powerful command-line tool that allows you to communicate with your Android device from your computer. By using ADB, you can access and manage various aspects of your device, including the Android/data folder. Here’s how you can use ADB to access the data folder:
Step 1: Enable USB Debugging on your Android device
In order to use ADB, you need to enable USB debugging on your Android device. This option is usually found in the Developer Options menu, which you can enable by going to Settings > About phone and tapping on the build number multiple times until the Developer Options are unlocked. Once you’ve enabled USB debugging, you’re ready to move on to the next step.
Step 2: Connect your Android device to your computer
Connect your Android device to your computer using a USB cable. Make sure the device is recognized by the computer and that the necessary drivers are installed. Once the connection is established, proceed to the next step.
Step 3: Open the Command Prompt or Terminal
On your computer, open the Command Prompt (Windows) or Terminal (Mac and Linux). These are command-line interfaces where you can enter commands to interact with your device. It’s important to have the Command Prompt or Terminal open before proceeding to the next step.
Step 4: Use ADB to access the Data Folder
In the Command Prompt or Terminal, navigate to the directory where ADB is installed. Once you’re in the ADB directory, enter the following command: adb shell. This command will open a shell on your device, allowing you to execute commands directly.
To access the data folder, enter the following command: cd /data. This will change the current directory to the data folder on your device.
Finally, to view the contents of the data folder, use the command: ls. This will display a list of files and directories within the data folder.
Using ADB, you can access and manipulate files within the data folder, which can be helpful for troubleshooting, data analysis, and other tasks that require deep access to your Android device’s filesystem.
Make sure to exercise caution while using ADB, as it provides powerful access to your device’s system files. Always be aware of the commands you’re entering and the actions you’re performing to avoid making unintended changes.
Note that the methods mentioned in this article require a certain level of technical knowledge and carry potential risks. Proceed with caution and make sure to research and understand the implications before attempting to access the Android/data folder using ADB.
Method 3: Using a Root Explorer App
If you have a rooted Android device, you can take advantage of a root explorer app to access the Android/data folder. Keep in mind that rooting your device is an optional step and may void your device’s warranty or cause potential security risks. Proceed with caution and only root your device if you fully understand the implications.
Here are the steps to access the Android/data folder using a root explorer app:
Step 1: Root your Android device (optional)
If your Android device is not already rooted, you will need to root it first. Rooting allows you to gain administrative access to the operating system, giving you full control over your device’s settings and files. There are various methods available to root different Android devices, so make sure to research and follow the appropriate rooting method for your specific device model.
Step 2: Download and Install a Root Explorer App
Once your Android device is rooted, you can proceed to download and install a root explorer app from the Google Play Store or other trusted sources. Popular root explorer apps include Solid Explorer, ES File Explorer, and Root Browser. Choose an app that suits your preferences and has good reviews.
Step 3: Grant root access to the Root Explorer App
After installing the root explorer app, launch it on your Android device. The first time you run the app, it may prompt you to grant root access. Give the necessary permissions to the app to ensure it can access and modify system files. This is crucial for accessing the Android/data folder, as it is a system directory.
Step 4: Locate and access the Data Folder using the Root Explorer
Once you have granted root access to the root explorer app, you can navigate through the file system and locate the Android/data folder. The location of this folder may vary depending on your device and Android version, but it is typically found in the root directory of your device’s internal storage or SD card. Open the folder to access the app-specific data stored within.
Within the Android/data folder, you will find subdirectories for different apps installed on your device. Each app has its own unique folder structure, containing data specific to that app. You can explore these folders and access the files stored within them.
It is important to exercise caution when modifying or deleting files within the Android/data folder. Deleting or modifying critical system files can potentially cause your device to malfunction or become unstable. Make sure to back up any important data before making any changes.
Remember, accessing the Android/data folder using a root explorer app requires root access, which is an optional step and comes with its own risks and implications. Only proceed with rooting your device if you fully understand the consequences and have taken necessary precautions.
Method 4: Using a File Transfer Tool
Step 1: Download and Install a File Transfer Tool on your computer
In order to access the Android/data folder on your Android device, you can use a file transfer tool that allows you to establish a connection between your computer and your device. There are several file transfer tools available for both Windows and Mac computers, such as Android File Transfer, MobiKin Assistant for Android, or AirDroid. Choose the one that best suits your needs and download it from the official website.
Step 2: Connect your Android device to your computer
Once you have installed the file transfer tool on your computer, it’s time to connect your Android device. Use a USB cable to establish a physical connection between your device and your computer. Make sure to use a reliable and functioning cable to ensure a stable connection throughout the process.
Step 3: Launch the File Transfer Tool and access the Data Folder
After connecting your Android device to your computer, launch the file transfer tool that you installed in step 1. The tool should automatically detect your device and display its contents. Look for an option or tab that allows you to browse the files and folders on your device.
Navigate through the folders until you find the “Android” folder. Within the “Android” folder, you should see a subfolder named “data”. This is where the data for various apps and services on your Android device is stored.
Click on the “data” folder to access its contents. You will be able to see the folders corresponding to the different apps installed on your device. These folders contain the data related to each app, including settings, preferences, cache, and more.
Remember that accessing the Android/data folder may require certain permissions. Make sure that you have the necessary privileges to view and modify the files within this folder. Some file transfer tools may require you to enable additional settings or grant specific permissions to access restricted folders or files.
Note: It’s important to exercise caution while accessing and modifying files within the Android/data folder. Making changes to certain files may have unintended consequences and may even cause apps or services to malfunction. Only modify files if you are certain about the changes you are making and their potential impact on your device’s performance.
The ability to access the Android/data folder in Android 12 opens up a world of possibilities for users. Whether you want to backup important data, tweak settings for specific apps, or simply explore the inner workings of your device, this access provides a deeper level of control and customization.
By following the steps mentioned in this article, you can easily navigate to the Android/data folder in Android 12 and make the most out of its functionality. Remember to exercise caution while making any modifications to the files within this folder to prevent any unintended consequences.
With this newfound level of access, you can take your Android experience to the next level. So go ahead, dive into the Android/data folder, and unlock the full potential of your device.
FAQs
Q: How can I access the Android/data folder in Android 12?
A: You can access the Android/data folder in Android 12 by following these steps:
1. Open the File Manager on your Android device.
2. Navigate to the Internal Storage or SD card, depending on where the Android folder is located.
3. Look for the “Android” folder and tap on it.
4. Inside the Android folder, you will find the “data” folder. Tap on it to access its contents.
Please note that accessing certain app folders may require root access or specific permissions.
Q: Can I modify files in the Android/data folder?
A: By default, you cannot modify files in the Android/data folder unless you have the necessary permissions. The Android/data folder contains data specific to each app, and modifying these files may lead to unexpected behavior or data corruption. It is always recommended to consult the app developer or follow official documentation before making any changes.
Q: Is it safe to delete files from the Android/data folder?
A: Deleting files from the Android/data folder should be approached with caution. While it may free up storage space, deleting the wrong files can cause issues with the corresponding apps. It is advisable to review the files and consult the app developer or official documentation before deleting any data from the Android/data folder.
Q: How can I find a specific app’s folder in the Android/data directory?
A: To find a specific app’s folder in the Android/data directory, follow these steps:
1. Open the File Manager on your Android device.
2. Navigate to the Internal Storage or SD card, depending on where the Android folder is located.
3. Look for the “Android” folder and tap on it.
4. Inside the Android folder, you will find the “data” folder. Tap on it to access its contents.
5. Look for the folder named after the app you are searching for, such as “com.example.app”. Tap on it to access its specific data folder.
Note that some apps may store data in subfolders within their respective package name folder.
Q: What can I do if I can’t access the Android/data folder?
A: If you are unable to access the Android/data folder, it could be due to several reasons: insufficient permissions, restricted access by the operating system, or a security setting imposed by the device manufacturer. In such cases, you may need to root your Android device to gain access to restricted folders, but this should be done with caution as it can lead to voiding your device’s warranty or potential security risks.