To connect a wireless microphone to a receiver, you must first physically connect the receiver to your sound system using an audio cable, then synchronize the transmitter and receiver so they operate on the same frequency. This process ensures a stable, interference-free audio signal for live performance or presentation use.
Before You Connect: Wireless Receiver Placement
Positioning the receiver correctly is the critical first step for a strong signal. Maintain a direct line of sight between the microphone transmitter and the receiver antennas, avoiding large metal objects, walls, or dense obstacles that can block the signal. Avoid placing the receiver or its antennas inside closed metal cabinets, directly beside large electronic equipment, or within 1.5 meters (5 feet) of Wi-Fi routers or other RF-emitting devices to minimize interference. Proper placement prevents dropouts before they start. Different types of wireless microphones are available: Handheld, Lavalier, Headset, Instrument, and Bodypack Transmitters. Consider the number of channels the wireless microphone system offers, especially if you need to use multiple microphones simultaneously. Check the battery life of the wireless microphone system; look for systems that offer long battery life or the ability to recharge the batteries quickly. Consider the build quality and durability of the wireless microphone system, especially for demanding environments or professional purposes.
How to Connect a Wireless Microphone Receiver to a Sound System
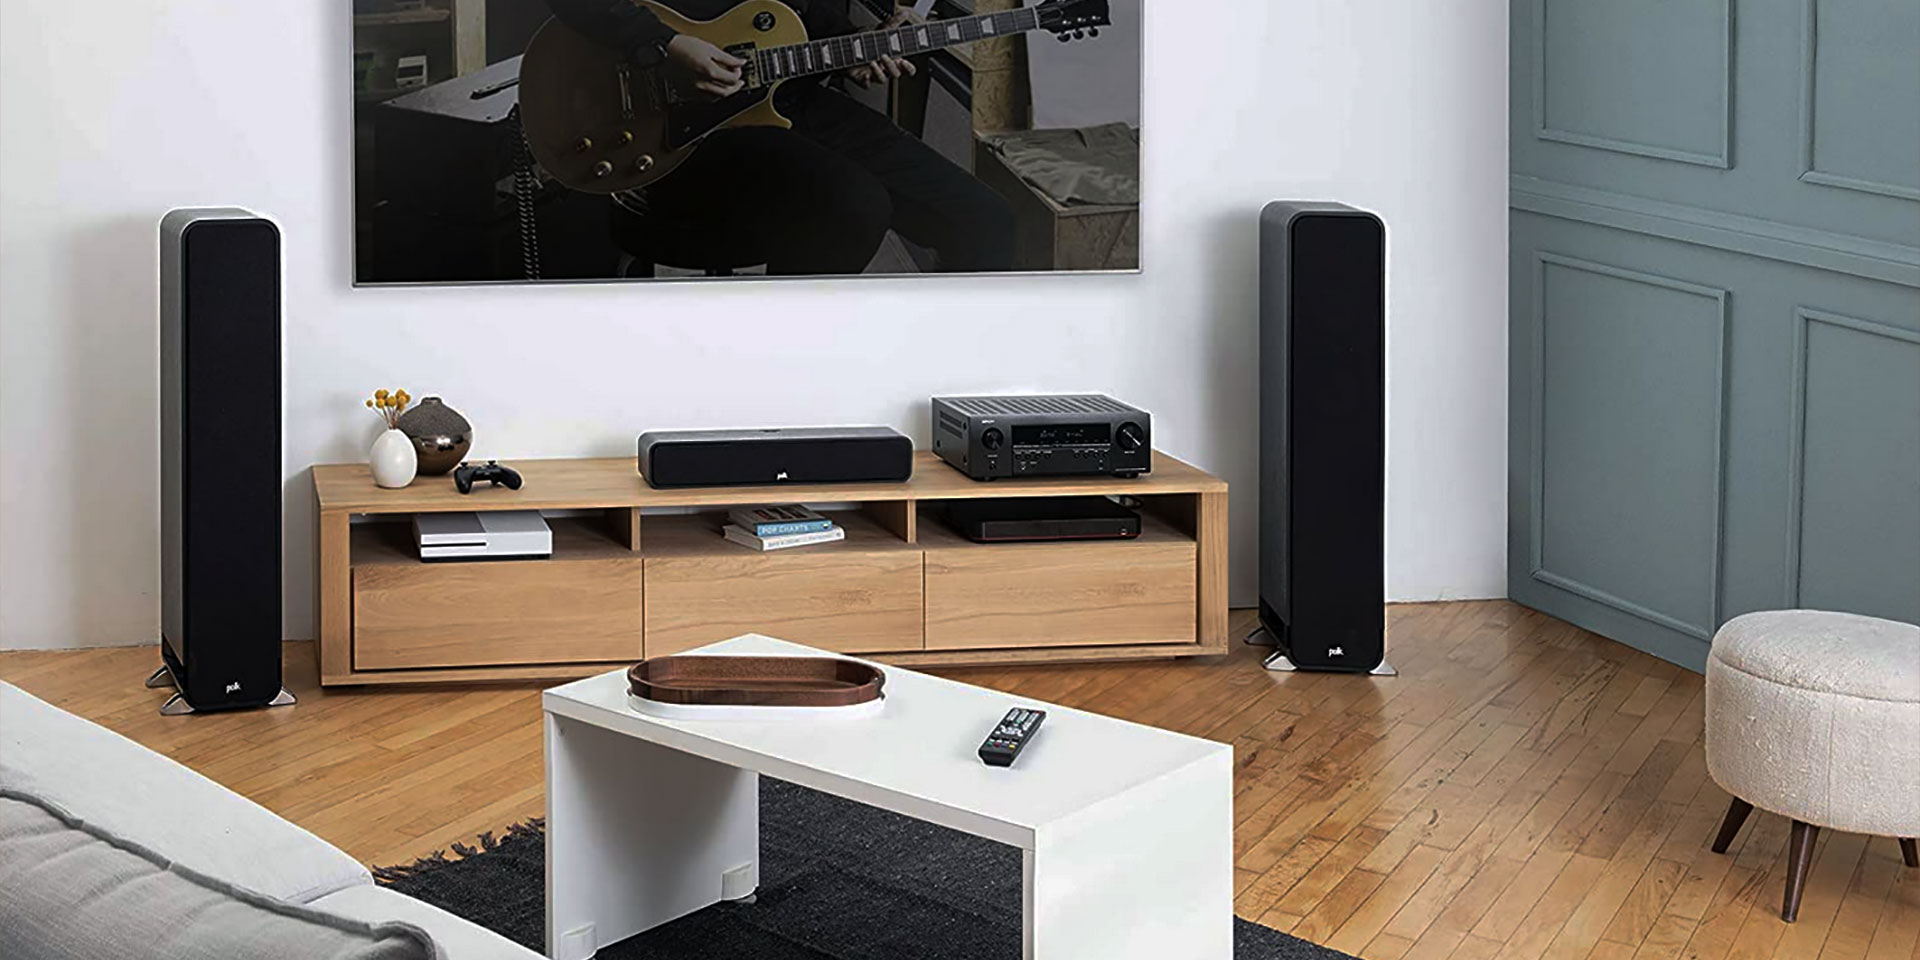
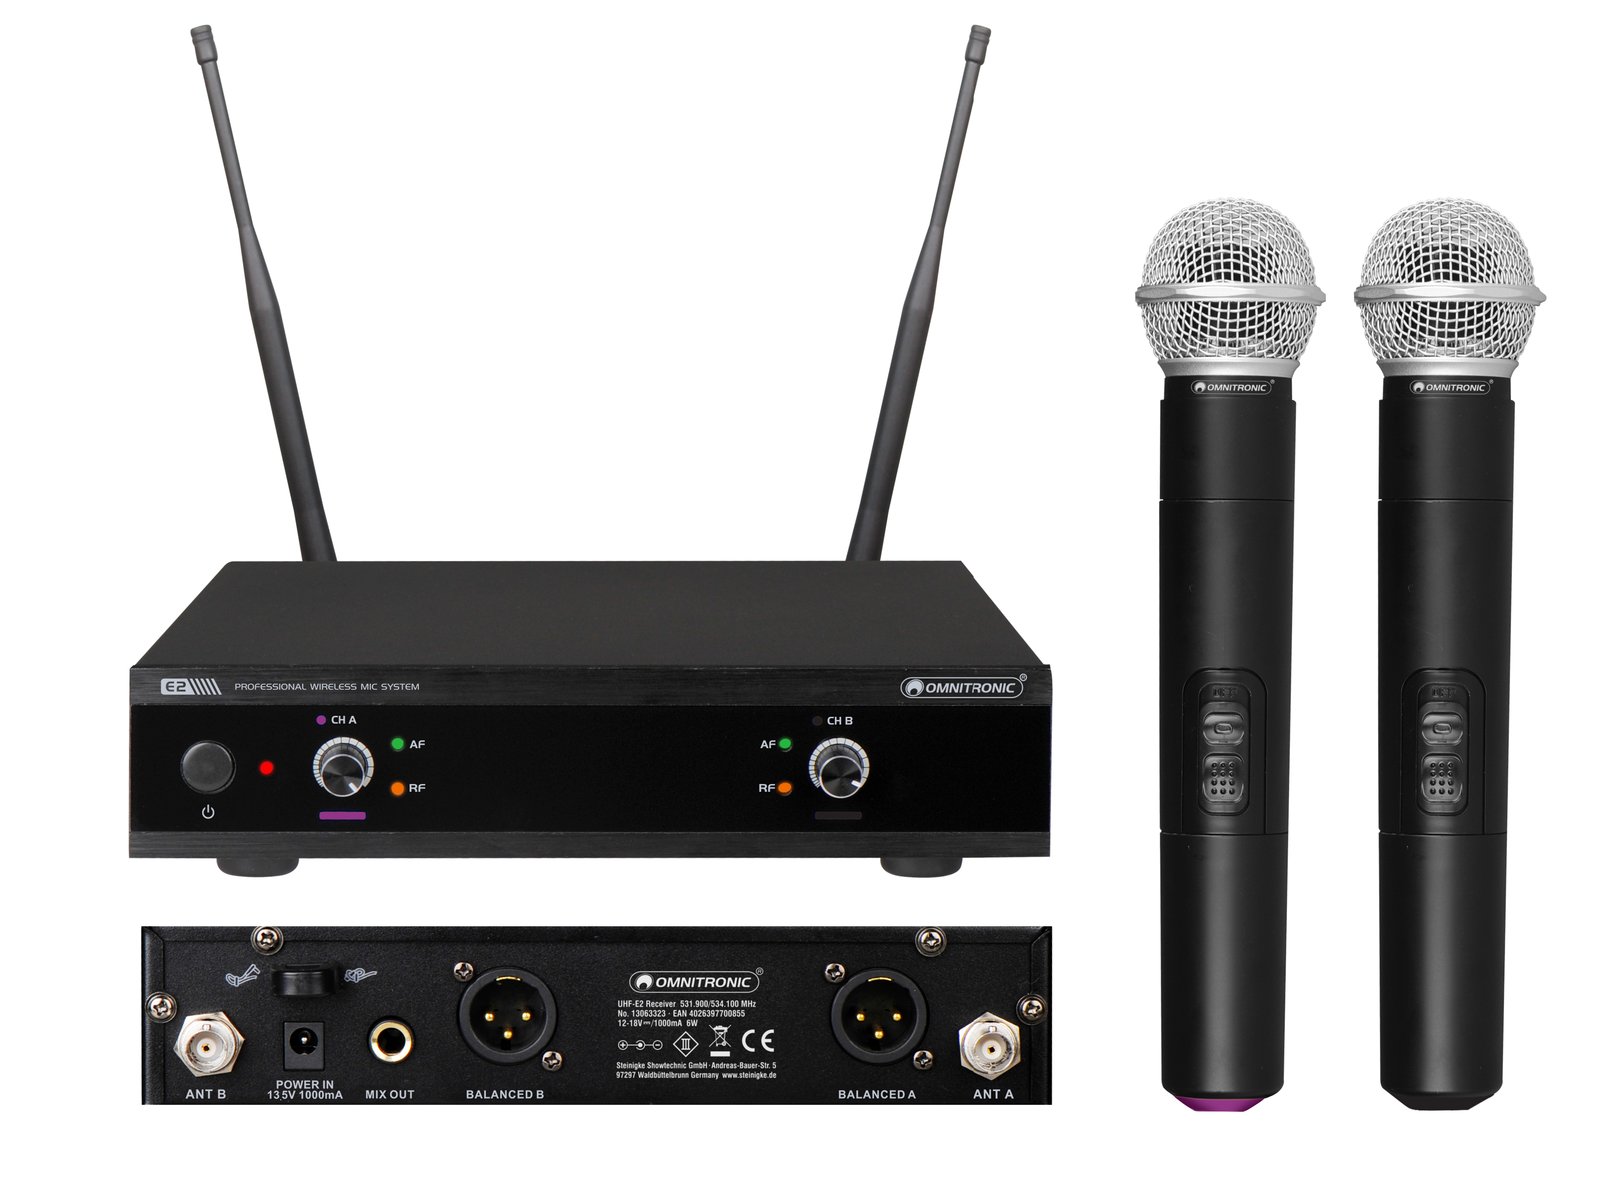
Connect the receiver's audio output to your sound system using an appropriate audio cable. Professional UHF receivers often provide XLR balanced output or 6.35 mm (1/4 inch) audio output. XLR balanced connections are generally preferred for professional sound systems as they help reduce interference over longer cable distances, making them ideal for stage setups or large venues. For simpler systems, a 6.35 mm (1/4 inch) cable works well for shorter runs to a mixer or amplifier. Some receivers may have a reset or sync button that needs to be pressed during the setup process. Inspect the connectors on both the receiver and the sound system to make sure they are clean and undamaged. Ensure that the power switch on the receiver is turned off before plugging it in.
- Verify your sound system has an available input that matches the receiver's output (XLR or 1/4 inch).
- Connect the audio cable from the receiver's output to the corresponding input on your sound system.
- Connect the power cable to the receiver and plug it into a power source.
- Turn on the receiver and wait for it to initialize.
How to Pair the Microphone Transmitter and Receiver
Synchronize the transmitter and receiver by ensuring they operate on the same frequency or channel. Many systems feature an automatic scan function on the receiver to find clear frequencies and a "SYNC" button (often infrared) to wirelessly update the transmitter. Follow the specific steps for your system.
Pairing a Rode Wireless GO II
- Press and hold the '∞' (pair) button on the receiver for three seconds to enable pairing mode.
- Single-click the power button on the transmitter to complete the pairing.
Pairing a Sennheiser system
- Long-press the PAIR button on the receiver until its status LED flashes alternately green and red.
- Long-press the PAIR button on the corresponding transmitter to synchronize them.
Adjusting Frequency and Gain for Clear Audio
After pairing, fine-tune the system for optimal sound quality. If your system has an automatic scan function, use it to find the clearest available frequency. For analog systems without auto-scan, manually select a frequency within the available range that is less likely to have interference from other devices. Set the gain to a neutral position, then speak into the microphone at your normal volume. Gradually adjust the gain knob until your voice sounds clear and balanced, without distortion. Too high a gain setting can result in feedback or unwanted noise, while too low may make your voice difficult to hear. Test the microphone and adjust the settings in the actual performance space to account for the acoustics and any potential interference.
Troubleshooting Wireless Microphone Connection Issues
Common problems include signal dropouts and interference. Check for RF interference by scanning the frequency range using your receiver's built-in scanning feature. If interference is detected, change the frequency or channel to a less congested one. Ensure the antennas on both the microphone and receiver are properly positioned and not obstructed. Verify battery strength in both the transmitter and receiver, as weak batteries can cause reduced signal strength and poor audio quality. If you are using multiple microphones in a multi-speaker Bluetooth setup, ensure each transmitter is on a distinct channel to avoid signal clashes. If you are still experiencing dropouts or poor audio quality, try adjusting the gain settings on your receiver. If problems persist after troubleshooting, contact the manufacturer or a professional audio technician for further assistance.
Frequently Asked Questions
Can all wireless microphones be connected to any receiver?
No. Wireless microphones operate on different frequency bands, so you must ensure the microphone and receiver are compatible in terms of frequency range. Some systems are designed to work exclusively with specific receivers, so check compatibility before attempting to connect them.
How far can a wireless microphone and receiver be placed from each other?
The effective range depends on the specific model and environmental factors like physical obstacles and RF interference. Generally, wireless microphone systems have a range of 100 to 300 feet, but maintaining line of sight and avoiding obstacles is critical for achieving maximum range.
Can I connect multiple wireless microphones to a single receiver?
Yes, assuming the receiver supports multiple channels. Many receivers offer multiple frequency channels, allowing you to connect and use multiple microphones simultaneously. Ensure each microphone is set to a different frequency or channel to avoid interference.
Related reading: How To Connect Wireless Headphones To Suburban and In England What Color Paint Is Used On All Public Phone Booths And Mailboxes?.