
Adobe Lightroom remains to be one of the A-listers in the photo editing scene. While there are Lightroom alternative apps for Android and iOS, Lightroom still provides the creative freedom that some alternatives can’t emulate. We are talking about the use of presets to achieve the aesthetic finish for your photographs. And learning to create or how to install Lightroom presets is the key.
Utilizing ready-to-use presets is not so bad at all. In fact, many Instagram and Pinterest users are now using presets to make their photos pop and appear more pleasing. But there is also nothing to lose in customizing Lightroom to give your photos a signature style.
In this article, we will teach you how to create a preset on Lightroom and how you can apply it to every single photo you have. If you find it challenging to customize a preset, don’t worry because we’ll also share how to import downloaded presets in your mobile app and where you can get them.
Download Adobe Lightroom for iOS
Download Adobe Lightroom for Android
Inside This Article
Methods to Install Lightroom Presets
Presets are either created from scratch or downloaded or bought. Here are the ways on how to install Lightroom presets on your phone.
Method One: Create Your Own
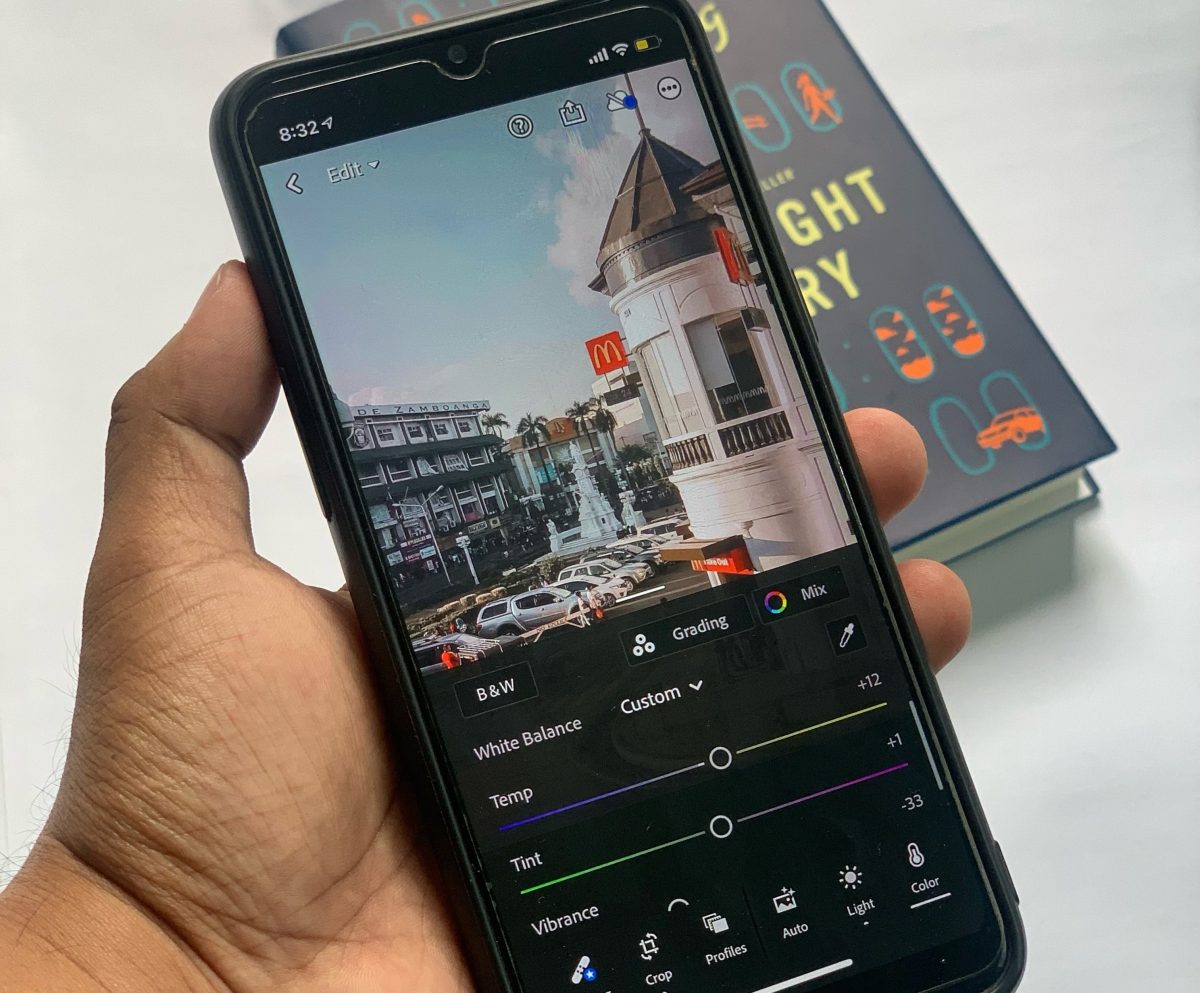
Creating your own preset is tedious work. Essentially, you need to know what feel you want to achieve with your photographs post-production. Lightroom offers you creative freedom by using its tools when and where necessary.
So let’s assume you have made adjustments to the basic photo elements using Lightroom — exposure, contrast, highlights, colors, effects, etc — and you liked the post-production editing, you can use the setting for other photos. Here’s how:
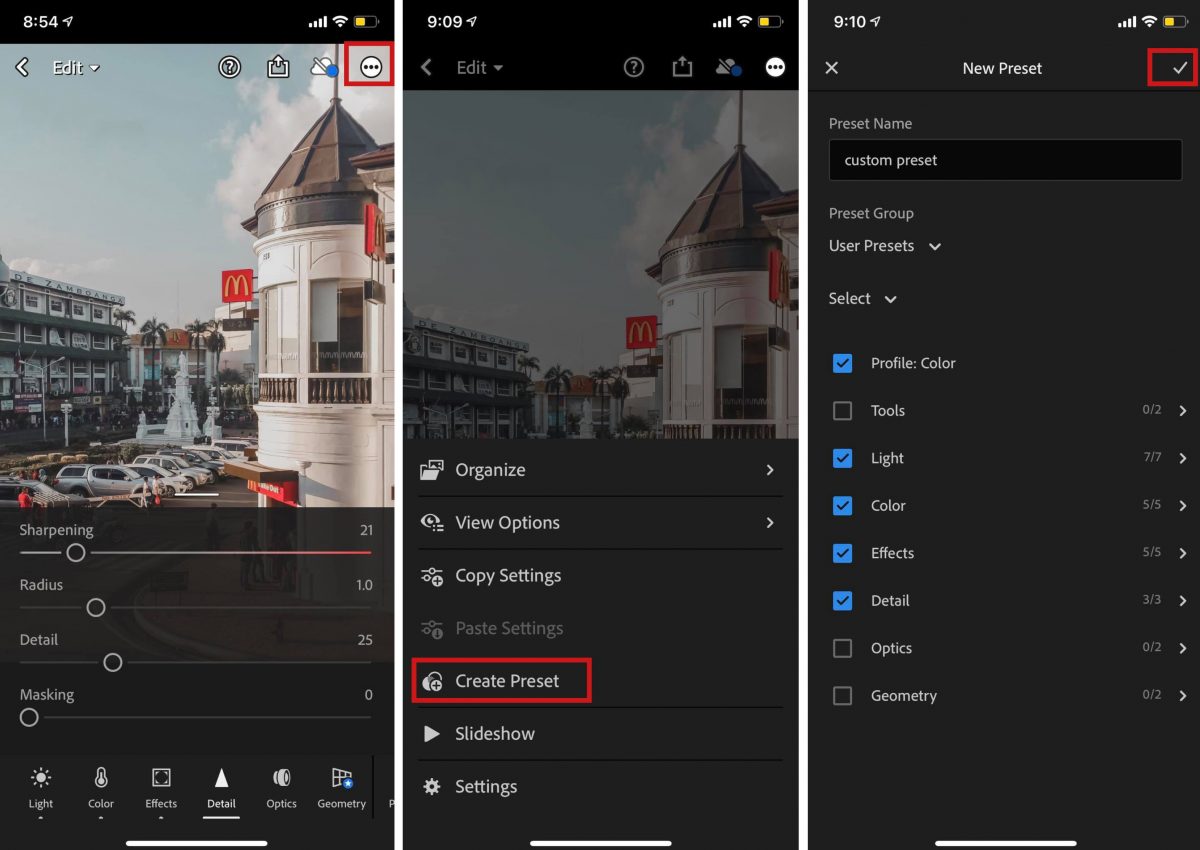
- Tap Menu (three dots inside a circle in the upper-right corner of the screen)
- Select Create Presets
- Type in a name for the preset for easy identification
- Select under which Preset Group the custom preset is to be saved
- Next, choose the settings that should come in effect as part of the custom preset
- Finally, tap the checkmark on the upper-right hand corner to save the preset
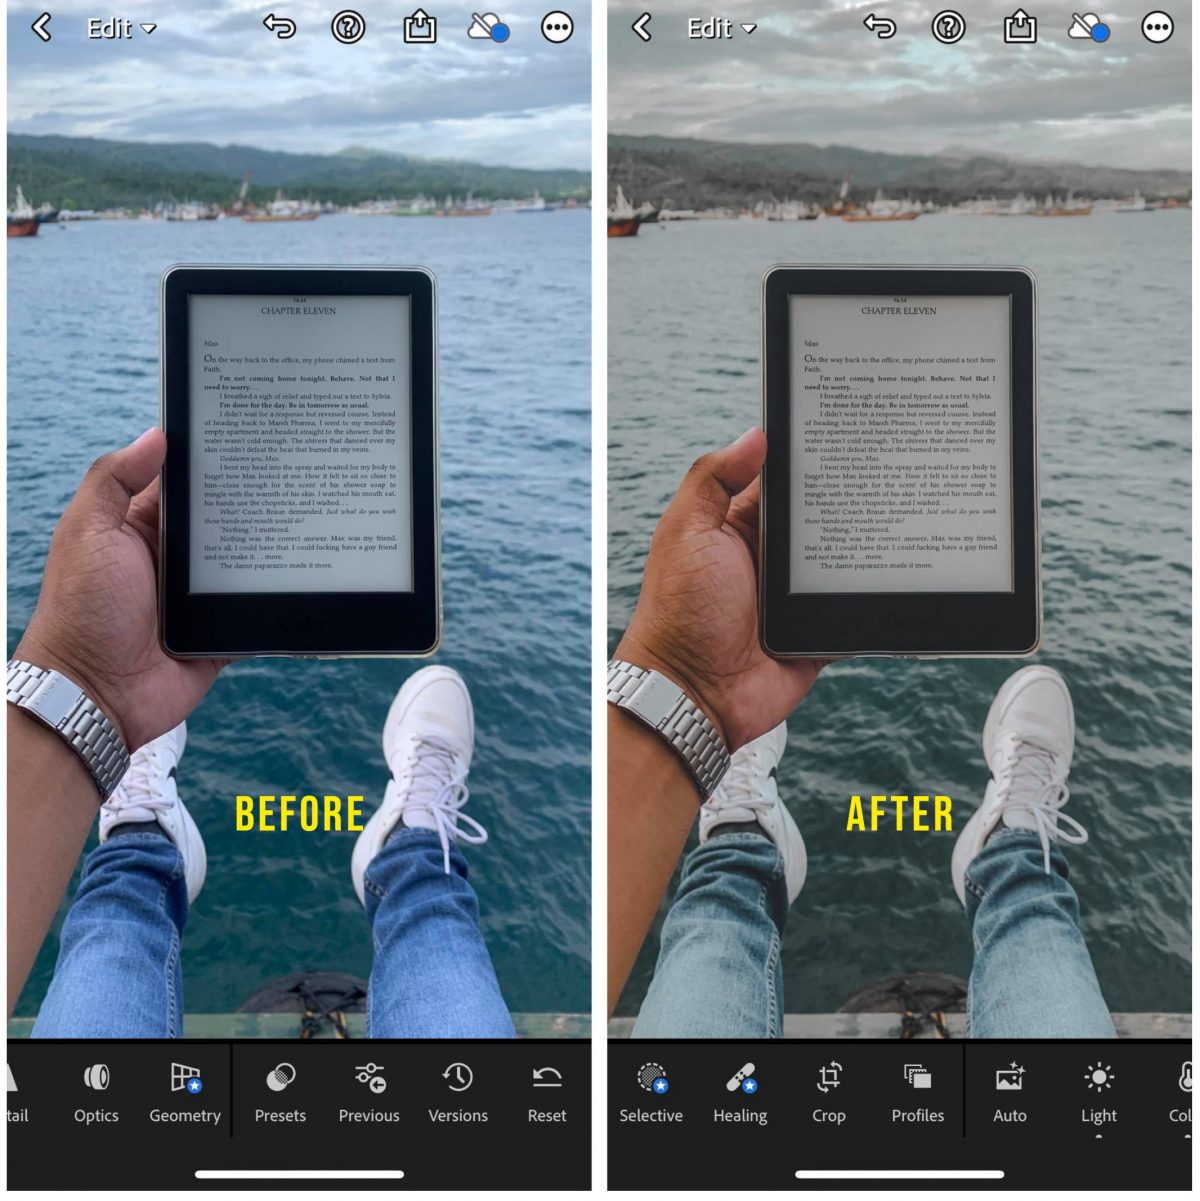
If you wish to apply the custom preset for your other photos, just scroll the option band on the bottom of the screen to the left and tap Presets option. From the list, choose the custom preset you saved earlier. Make the necessary adjustments before exporting the finished photo on your camera roll.
Also Read: 8 Simple Ways on How to Use Lightroom Mobile Like a Pro
Method Two: Import Presets Into Lightroom
So let’s say you bought or downloaded a preset from a website, you will have to import the file into your mobile app. Here’s how to import presets into Lightroom.
- Make sure the preset file in .dng file extension is saved either in your Google Drive or native Files app
- Open the Lightroom app
- Tap the add new image icon on the lower right-hand corner of the screen
- Select the file destination where the .dng file was saved
- Select the file > tap the photo > open Menu > select Copy Settings > tap the checkmark on the upper right-hand corner of the screen
- Open a raw photo up for post-editing
- Open Menu > tap Paste Settings
The settings from the preset you downloaded or bought will now be carried over to the photo you are editing in post-production.
You don’t need a premium Adobe Lightroom account to make or install Lightroom presets. However, getting the premium version would unlock editing options that are otherwise not available in the free version.
Where to Get Free or Paid Lightroom Presets
Creating your own preset is tedious work and there is a slight chance that you might not be satisfied with the outcome. Fortunately, there are websites where presets can be downloaded for free or can be bought for an affordable price.
1. Clean Minimalist Preset
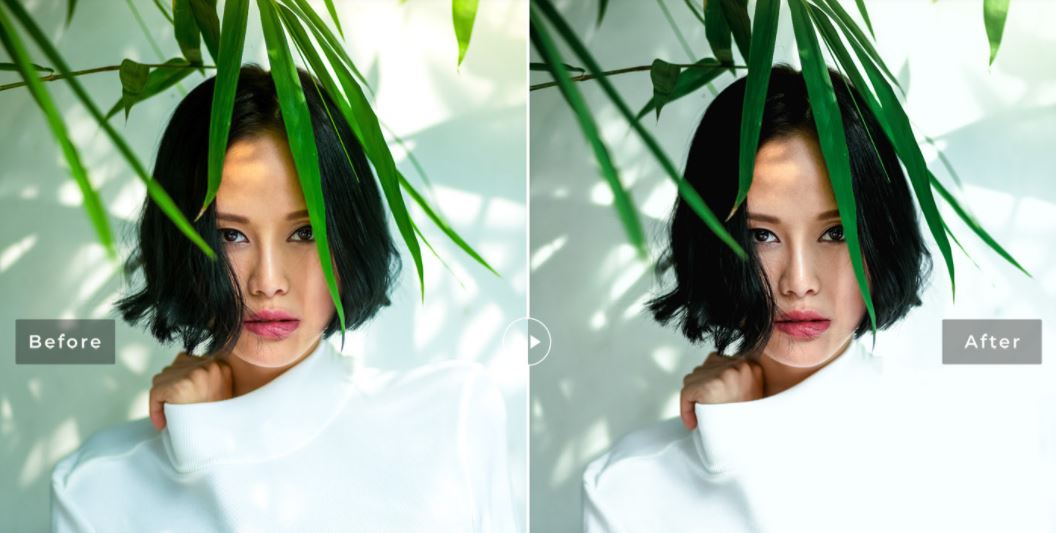
Much of the good-looking feeds on Instagram and Pinterest are the ones with a clean white minimalist finish. So here’s a preset that will surely throw your photo onto the feed that screams wow! Minimalist aesthetic finishes are often characterized by the use of subtle white and bright tones. This preset is perfect for any outdoor or indoor photographs. But we do recommend this preset on photos that have overall white tones like photos taken at weddings or off-white garden parties.
Download Minimalist Clear Lightroom Preset from Filtergrade
2. Black and White Photography Preset
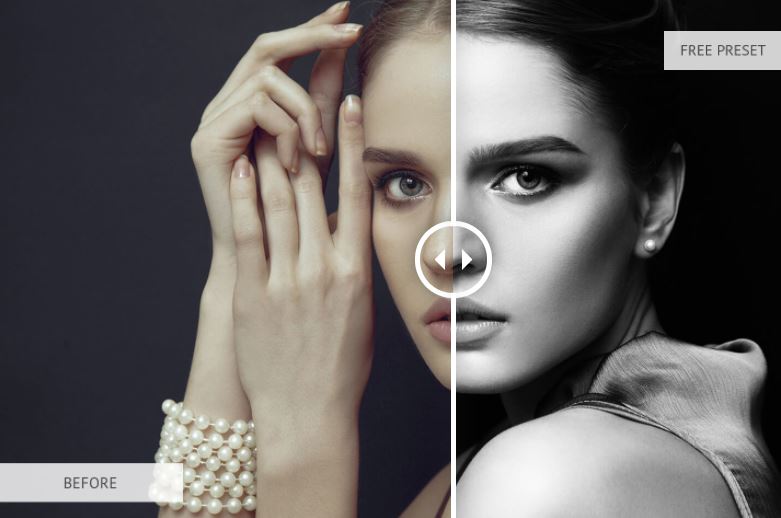
Let’s admit it, most of us want to be immortalized in a black and white photo. Nothing can and would be able to beat the enigmatic effect a black and white preset can put on a photograph. Most professional photos are edited to produce stunning saturated photos — author photo, wedding photo, and personal portrait. Black and white photos will never go out of style and using this preset will produce a professionally edited photo that will fit your Instagram or Pinterest feed.
Download this B&W Preset from Filtergrade
3. Warm Pastel Tone Preset
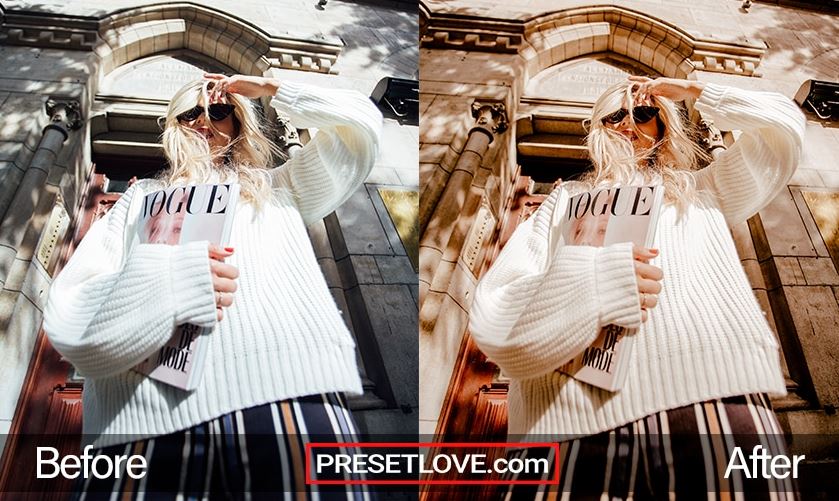
Aside from the clear, white, minimalist tones, many influencers also use warm tones. This preset uses the yellow shades to produce a summer-ish Mediterranean aesthetic finish on photographs. Not only that, this is the go-t0 preset for those who fancy coffee shop photography as the warm pastel tones bring out the brown of the coffee or wood aesthetics as part of the photo element. Additionally, this also goes well with nostalgic or retro post-editing targets.
Download Warm Pastel Tone Preset from Filtergrade
4. Orange and Teal Preset
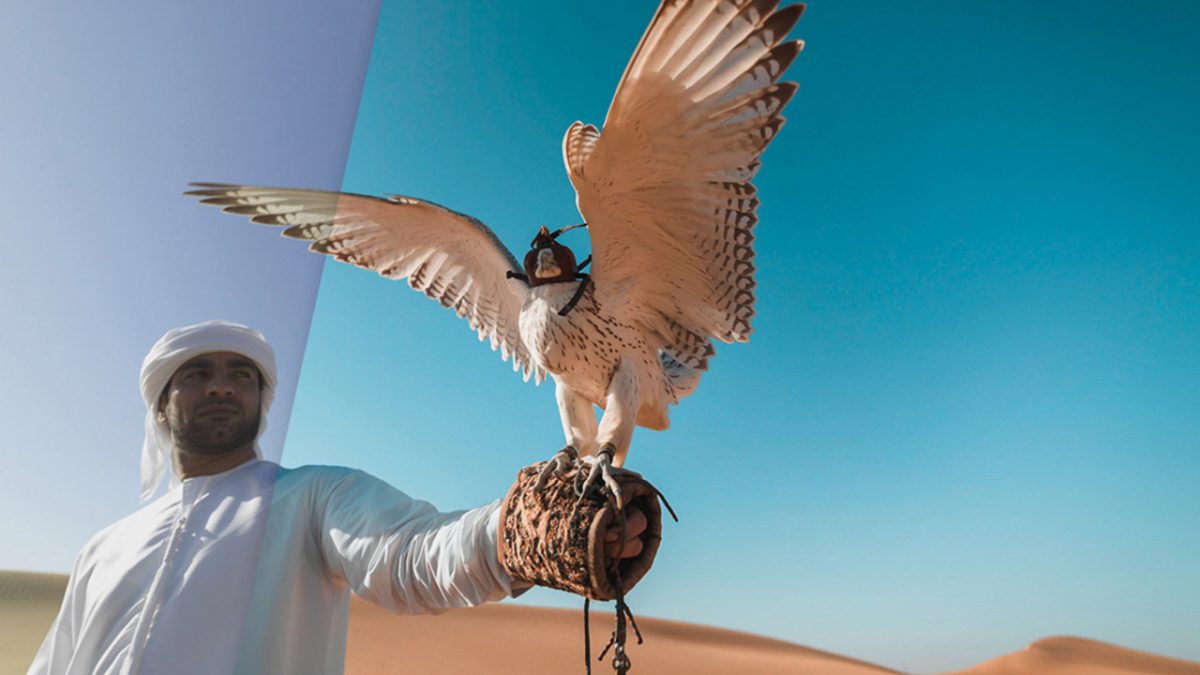
The earliest form of preset that has taken the world by storm is the orange and teal tones. This preset gives photographs a cinematic finish when rendered. This is because skin tones pop in front of a teal shadow. By effect, the subject becomes more prominent, which allows the audience to effectively focus on the subject itself. The orange and teal preset is perfect for travel, fashion, landscape, urban, lifestyle, and aerial photography. However, it’s not a one-click-preset. Meaning one would have to adjust a few lighting and color elements to achieve the killer orange and teal look.
Download Orange and Teal Preset from Filtergrade
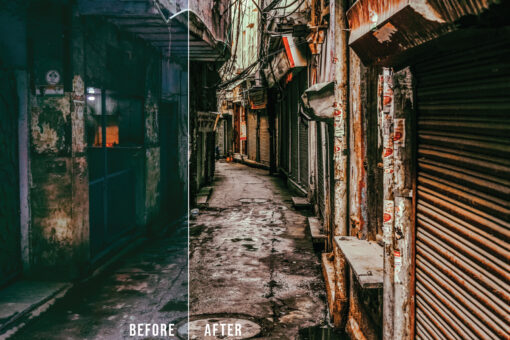
5. Urban Night Street Photography Preset
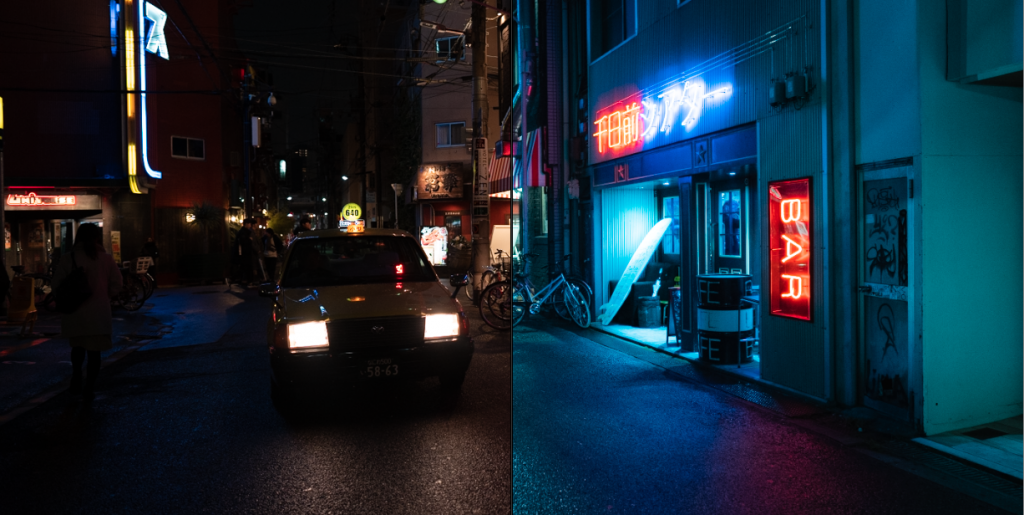
Street photography is something we all do. Did you know that street photography at night is so much better than street photography at day? This is because the street lights and building lights give off a different character to a street or place that we don’t usually see at day. With the help of a Lightroom preset, this character is brought to life. Urban night street presets are perfect, especially if you have taken street photography in countries like Japan, Hong Kong, Korea, Manila, Taiwan, Singapore, etc.
Buy Urban Night Street Photography Presets from Teemu’s Photo
6. Cinematic Preset
Cinematic presets are perfect for any photography style. If you do not fancy the generic aesthetic tone on your feed and would rather have a nonconforming tone for your feed but without compromising how pleasing it would like, you might consider this preset tone. Cinematic presets give a degree of depth to your photos as if they are telling you their own stories through vivid colors and crisp elements. This is the reason why films are pleasing and engaging because of the depth of colors on every frame that were graded to make them visually dynamic to the eyes.
Download Cinematic Preset from Filtergrade
The Bottom Line
Adobe Lightroom is a powerful post-editing app that allows you to manipulate a raw photo’s basic light and color elements. Knowing how to use Lightroom equips any creative artist with the tools that will make any photo stand among others. But if you are a wannabe and just learning the art of photo editing, you can now also produce professional-looking photos by simply adding the touch of a Lightroom preset.
So master your photography skills now and learn how to install Lightroom presets. Snap away and get your feed a new aesthetic look with these presets!