
Are you a photography enthusiast looking to take your editing skills to the next level? Lightroom Mobile is a popular photo editing app that enables you to make professional edits on the go. One of the key features of Lightroom Mobile is the ability to import presets, which are pre-determined settings that can be applied to your photos to achieve a specific look or style. In this article, we will guide you through the process of importing presets to Lightroom Mobile, allowing you to effortlessly enhance your images with just a few taps. Whether you’re a beginner or a seasoned photographer, this step-by-step guide will help you unlock the full potential of Lightroom Mobile and transform your photos into stunning masterpieces.
Inside This Article
- Setting Up Lightroom Mobile
- Importing Presets to Lightroom Mobile
- Applying Imported Presets
- Conclusion
- FAQs
Setting Up Lightroom Mobile
Lightroom Mobile is a powerful application that allows you to edit your photos on the go. Whether you’re a professional photographer or an amateur enthusiast, having Lightroom Mobile on your mobile device can greatly enhance your editing workflow. To get started with Lightroom Mobile, follow these steps to set it up:
1. Download the Lightroom Mobile app: The first step is to download and install the Lightroom Mobile app on your mobile device. You can find it in the App Store for iOS devices or the Google Play Store for Android devices. Make sure to download and install the latest version for the best user experience.
2. Sign in with your Adobe ID: Once the app is installed, open it and sign in using your Adobe ID. If you don’t have an Adobe ID, you can create one for free on the Adobe website. Your Adobe ID will allow you to sync your edits and presets across multiple devices.
3. Enable sync: After signing in, you’ll be prompted to enable sync. Enabling sync will allow you to access your Lightroom catalog and presets from different devices. This means you can start editing a photo on your mobile device and continue where you left off on your computer or tablet.
4. Import photos: With Lightroom Mobile set up, you can now start importing your photos. You can import photos from your device’s camera roll or other cloud storage services like Dropbox or Google Drive. Simply tap the plus icon in the library tab and select the photos you want to import.
5. Explore the editing tools: Lightroom Mobile offers a wide range of powerful editing tools to enhance your photos. Take some time to explore the various adjustment options, such as exposure, contrast, saturation, and more. You can also apply presets to quickly enhance your photos with just a few taps.
6. Customize your workspace: Lightroom Mobile allows you to customize your workspace to suit your editing preferences. You can rearrange the editing toolbar, hide or show certain tools, and even create custom presets for your favorite editing settings. Spend some time experimenting with the options to create a workspace that works best for you.
7. Sync presets: If you have presets that you use in the desktop version of Lightroom, you can sync them to Lightroom Mobile. This will allow you to apply the same presets to your mobile photos and achieve a consistent editing style across all your devices. To sync presets, go to the Presets tab, tap the three-dot menu, and select “Sync with Lightroom.”
By following these steps, you’ll be able to set up Lightroom Mobile on your device and start editing your photos with ease. Whether you’re a professional photographer or simply want to enhance your mobile photography, Lightroom Mobile provides powerful editing tools and seamless integration with the desktop version of Lightroom.
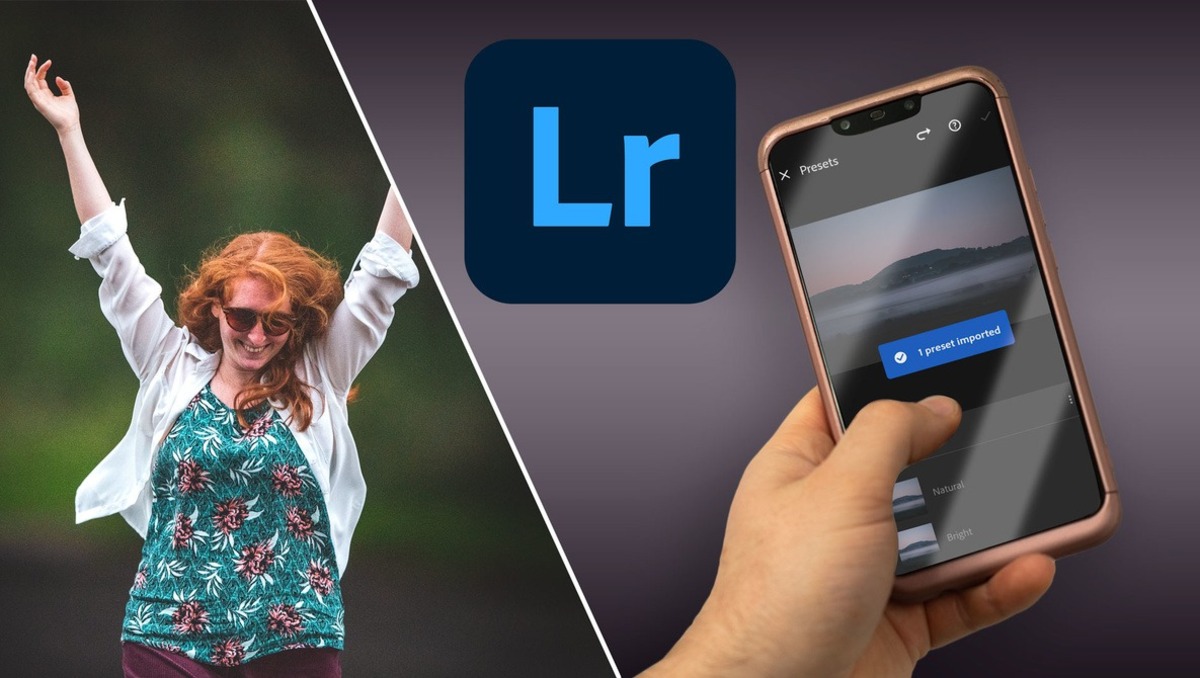
Importing Presets to Lightroom Mobile
Lightroom Mobile is a powerful tool that allows you to edit and enhance your photos directly on your mobile device. One of the key features of Lightroom Mobile is the ability to import and use presets, which are pre-defined settings that can be applied to your photos for quick and consistent editing. In this article, we will guide you through the process of importing presets to Lightroom Mobile, so you can take your mobile photo editing to the next level.
1. Start by downloading the presets you want to import to Lightroom Mobile. Presets are typically provided as .DNG or .XMP files. You can find a wide range of preset collections available for free or for purchase online. Make sure to choose presets that are compatible with Lightroom Mobile.
2. Once you have downloaded the presets, go to the Lightroom Mobile app on your mobile device and open it.
3. Tap on the “…” menu icon located at the top-right corner of the screen and select “Presets” from the menu that appears.
4. In the Presets tab, tap on the “+” icon located at the top-right corner of the screen.
5. A pop-up window will appear with options to create a new preset or import presets. Select the “Import Presets” option.
6. Navigate to the location on your device where you have saved the downloaded preset files. Tap on the preset file you want to import.
7. After selecting the preset file, Lightroom Mobile will start the import process. This may take a few moments, depending on the size of the preset file.
8. Once the import process is complete, the imported presets will appear in the Presets tab of Lightroom Mobile. You can now start using these presets to edit your photos.
9. To apply a preset to a photo, open the photo you want to edit in Lightroom Mobile. Tap on the “…” menu icon located at the top-right corner of the screen and select “Presets” from the menu that appears.
10. In the Presets tab, you will see a list of available presets. Tap on the preset you want to apply to your photo. Lightroom Mobile will apply the preset settings to your photo, instantly transforming its look.
11. Once a preset is applied, you can further adjust the settings to fine-tune the edit according to your preference. Lightroom Mobile offers a wide range of editing tools, including exposure, contrast, saturation, and more, allowing you to create your own unique style.
By importing presets to Lightroom Mobile, you can streamline your mobile photo editing workflow and achieve consistent results with just a few taps. Experiment with different presets and make your photos stand out with professional-grade edits, all right from your mobile device.
Applying Imported Presets
Once you have successfully imported your presets into Lightroom Mobile, it’s time to apply them to your photos and witness the magic unfold. Applying imported presets is a straightforward process that can be done with just a few taps. Here’s how:
- Select the Photo: Start by selecting the photo you want to apply the preset to. In Lightroom Mobile, tap on the photo you wish to edit to open it.
- Open the Preset Menu: Look for the “Presets” button at the bottom of the editing toolbar. Tap on it, and a selection of your imported presets will appear.
- Browse and Preview: Scroll through your imported presets and tap on each one to preview its effect on your photo. This will allow you to compare different presets and choose the one that best suits your vision.
- Apply the Preset: Once you have found the perfect preset, simply tap on it to apply it to your photo. Lightroom Mobile will instantly transform your image according to the preset’s settings.
- Adjustments and Fine-tuning: Although presets work like magic, you may want to make some additional adjustments to achieve the desired look. Lightroom Mobile provides a wide range of editing tools, such as exposure, contrast, saturation, and more. Feel free to explore these options and make any necessary tweaks.
- Save and Share: After applying the preset and making any necessary adjustments, you can save your edited photo by tapping on the checkmark icon. This will save the image with all the applied edits and presets. You can then share it directly from the Lightroom Mobile app to your preferred platform or social media networks.
With Lightroom Mobile’s easy-to-use interface, applying imported presets to your photos becomes a breeze. Experiment with different presets, fine-tune the settings, and let your creativity shine through your beautifully edited images.
In conclusion, learning how to import presets to Lightroom Mobile opens up a world of creative possibilities for mobile photographers. By following the steps outlined in this article, you can easily enhance your photos with just a few taps on your phone. Presets allow you to achieve consistent and professional-looking edits, saving you time and effort in the editing process. Whether you’re a beginner or a seasoned photographer, importing presets to Lightroom Mobile is a valuable skill to have in your arsenal.
FAQs
1. Can I import presets to Lightroom Mobile?
Absolutely! Lightroom Mobile allows you to import and use presets to enhance your photos on the go. With just a few simple steps, you can bring your favorite presets into the mobile app and give your images a professional touch.
2. How do I import presets to Lightroom Mobile?
To import presets to Lightroom Mobile, follow these steps:
– Download the preset file to your mobile device.
– Open the Lightroom Mobile app.
– Tap on the “+” icon to create a new album.
– Name the album and tap on “Add Photos”.
– Locate and select the preset file you downloaded.
– The preset will be imported and ready to use in Lightroom Mobile.
3. Can I use presets from other photographers in Lightroom Mobile?
Yes, you can use presets from other photographers in Lightroom Mobile. Many photographers offer their presets for download or purchase online. Once you have downloaded the preset file, you can import it into Lightroom Mobile following the same steps mentioned earlier.
4. Are presets compatible across different devices in Lightroom Mobile?
Presets are generally compatible across different devices in Lightroom Mobile. However, it is important to note that some presets may have specific requirements or adjustments for certain devices or operating systems. It’s always a good idea to check the compatibility of the preset before importing it to ensure the best results.
5. Can I customize presets in Lightroom Mobile?
Yes, you can customize presets in Lightroom Mobile to suit your individual style and preferences. Once you have applied a preset to your photo, you can make further adjustments to the settings like exposure, contrast, saturation, and more. This allows you to fine-tune the preset and make it your own, giving your photos a unique and personal touch.