
Are you looking to give your digital artwork in Procreate a vibrant and eye-catching look? One excellent technique to achieve this is by creating gradients. Gradients add depth and dimension to your artwork and can be used to create stunning backgrounds, shading, and transitions between colors. Whether you’re a beginner or an experienced Procreate user, learning how to make a gradient can significantly enhance your digital art skills. In this article, we’ll walk you through the step-by-step process of creating gradients in Procreate, providing you with handy tips and tricks along the way. So, grab your stylus and get ready to take your artwork to the next level!
Inside This Article
- Procreate: An Overview
- Understanding Gradients
- Steps for Creating a Gradient in Procreate
- Customizing Your Gradient
- Conclusion
- FAQs
Procreate: An Overview
If you’re an artist or designer looking for a powerful and versatile digital illustration tool for your iPad, look no further than Procreate. Procreate is a popular app developed specifically for artists, providing a wide range of tools and features to create stunning artwork.
With Procreate, you have the power to create digital paintings, illustrations, and designs with ease. The app offers a variety of brushes, ranging from realistic to stylized, allowing you to achieve the desired look and feel for your artwork. Whether you’re a beginner or an experienced artist, Procreate offers something for everyone.
One of the key advantages of Procreate is its user-friendly interface. The app is designed to be intuitive and easy to navigate, allowing you to focus on your artwork without getting overwhelmed by complex menus and options. You can easily access and customize brushes, layers, and other tools with just a few taps.
Procreate also offers an extensive range of features and capabilities. You can work with multiple layers, allowing you to build up your artwork step by step. The app supports various blending modes, allowing you to create unique and dynamic effects. Additionally, Procreate supports pressure sensitivity, taking full advantage of the Apple Pencil for a more natural and responsive drawing experience.
Furthermore, Procreate provides a range of additional tools and features to enhance your workflow. You can easily import and export your artwork in various file formats, allowing for seamless collaboration with other artists or designers. The app also offers a time-lapse feature, enabling you to record and share your creative process with others.
Whether you’re a professional artist or someone who enjoys creating digital art as a hobby, Procreate is an excellent choice. Its powerful tools, user-friendly interface, and versatile features make it a standout app in the digital art world.
Understanding Gradients
Gradients are a powerful visual tool used in graphic design and digital art to create smooth transitions between multiple colors or shades. With gradients, you can add depth, dimension, and visual interest to your artwork in Procreate.
A gradient is essentially a blend between two or more colors that smoothly transition from one to another. It can range from a simple transition between two colors to a complex combination of multiple colors. This technique allows you to create stunning and dynamic backgrounds, shadows, and highlights in your digital artworks.
When working with gradients, it’s important to understand the different types of gradients you can create. The two main types are linear gradients and radial gradients.
A linear gradient is a gradient that transitions in a straight line from one color to another. It can be vertical, horizontal, or at any angle you desire. This type of gradient is commonly used for creating backgrounds, landscapes, and abstract effects.
On the other hand, a radial gradient starts from a single point and spreads outward in a circular or elliptical pattern. It creates a radial or spherical gradient effect that is often used for creating lighting effects, highlights, and depth.
Gradients can also be categorized based on the color scheme used. You can create a gradient using complementary colors, analogous colors, or even create your own custom color scheme. This flexibility allows you to achieve various moods and aesthetics in your artwork.
Understanding gradients in Procreate is essential for effectively utilizing this feature in your digital art. With the ability to customize the colors, direction, and shape, gradients offer endless possibilities for creating visually stunning and captivating artwork.
Steps for Creating a Gradient in Procreate
Creating gradients in Procreate is a simple yet powerful way to add depth and dimension to your digital artwork. With just a few easy steps, you can master the art of creating stunning gradients in Procreate. Here’s a step-by-step guide to get you started:
Step 1: Open a New Canvas
To begin, open Procreate and create a new canvas by tapping on the “+” button in the top right corner. Choose your desired canvas size and orientation, and you’re ready to go.
Step 2: Choose Your Gradient Tool
Once you have your canvas set up, select the Gradient tool from the toolbar. It’s represented by two colored squares merging into each other. Tap on it to activate the tool.
Step 3: Select a Gradient Type
Procreate offers various gradient types to choose from. You can access these options by tapping on the small arrow next to the gradient presets. Explore the different options and select the gradient type that suits your artwork best.
Step 4: Adjust the Gradient Colors
Now it’s time to customize the colors of your gradient. By default, Procreate provides a preselected color combination for each gradient type. To change the colors, tap on the color preview box located at the top of the screen. A color picker will appear, allowing you to select your desired colors.
Step 5: Apply the Gradient
With your colors chosen, it’s time to apply the gradient to your canvas. Place your finger or stylus at the starting point of the gradient and drag it to the ending point. You can experiment with the angle and length of the gradient to achieve the desired effect.
Step 6: Adjust the Gradient Blend
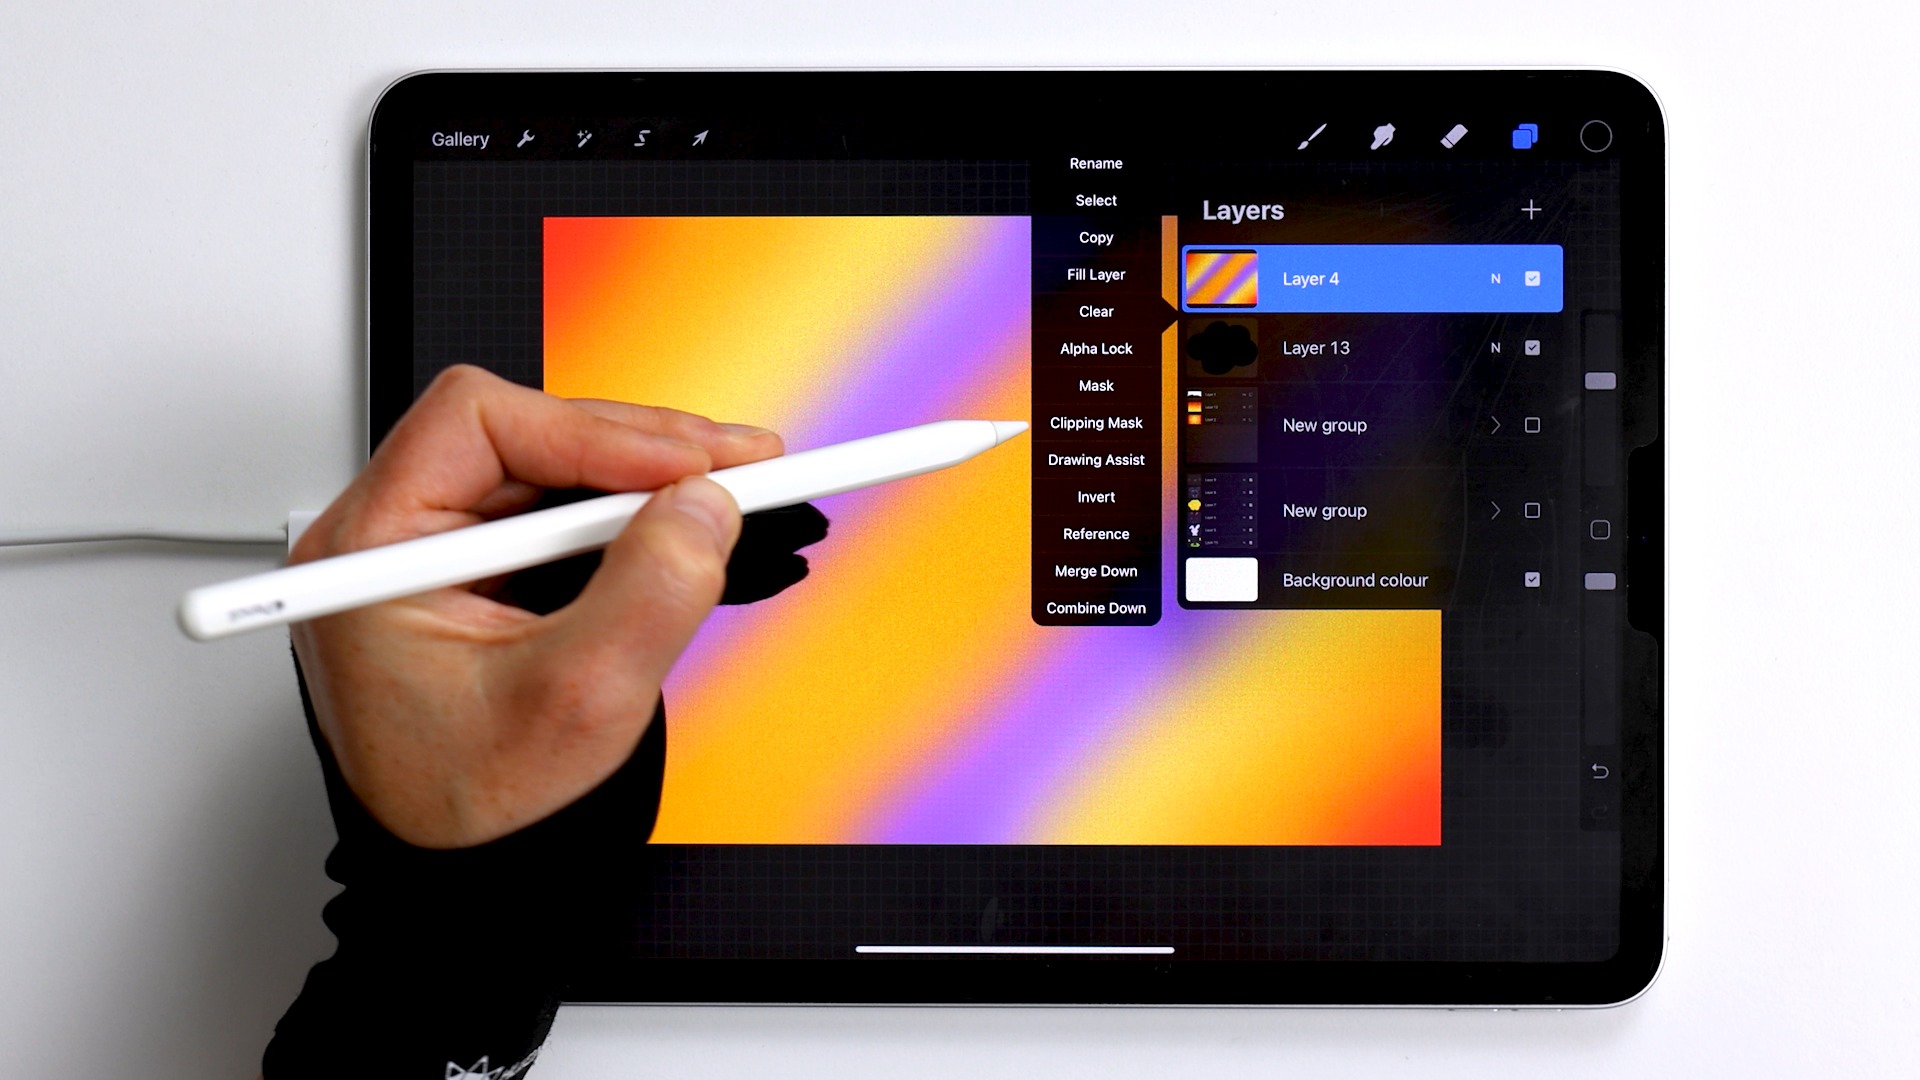
Procreate gives you the flexibility to adjust the blend mode of the gradient. To access this option, go to the Layers panel and select the layer containing the gradient. Tap on the “N” icon to reveal the blending options and experiment with different blend modes to enhance the appearance of your gradient.
Step 7: Fine-tune the Gradient
If you want to make further adjustments to your gradient, Procreate provides additional tools such as the Gradient Fill and Gradient Map. These tools allow you to refine the gradient by adding texture, changing opacity, or applying special effects.
Step 8: Save and Share
Once you are satisfied with your gradient, it’s time to save and share your artwork. Procreate allows you to export your work in various file formats, such as JPEG, PNG, or Procreate file. Choose your preferred format and save it to your device or share it directly with others.
With these simple steps, you can easily create stunning gradients in Procreate and elevate your digital artwork to a whole new level. So what are you waiting for? Give it a try and unlock your creative potential with Procreate!
Customizing Your Gradient
Now that you’ve created a gradient in Procreate, it’s time to unleash your creativity and customize it to make it uniquely yours. Procreate provides a range of tools and options to help you achieve the desired look and feel for your gradient.
Here are some ways you can customize your gradient:
- Adjusting the Colors: Procreate allows you to modify the colors used in the gradient. You can select individual color stops on the gradient and change their hue, saturation, brightness, or opacity. This gives you the flexibility to create gradients that match your artistic vision.
- Adding Color Stops: Want to add more variation to your gradient? Procreate enables you to add additional color stops to the gradient. Simply tap on the gradient line and add new stops to introduce more colors to your gradient. This lets you create more complex and visually interesting gradients.
- Adjusting the Gradient Angle: The angle of the gradient can significantly impact its appearance. Procreate lets you easily adjust the angle of your gradient by rotating it using the transform options. By experimenting with different angles, you can achieve different effects and moods in your artwork.
- Adding Texture: Procreate offers various brush textures that you can apply to your gradient to add depth and visual interest. You can use brushes such as grains, noise, or pattern brushes to give your gradient a unique texture. Experiment with different brush settings and layer blend modes to achieve the desired effect.
- Applying Blend Modes: Blend modes can enhance the appearance of your gradient by allowing it to interact with other layers or elements in your artwork. Procreate provides a wide range of blend modes, such as multiply, overlay, screen, and more. Applying different blend modes to your gradient can create stunning visual effects.
Remember, customizing your gradient allows you to unleash your creativity and make your artwork truly unique. Don’t be afraid to experiment with different settings and options in Procreate to achieve the desired result. Have fun and let your imagination run wild!
Overall, creating a gradient in Procreate is a simple yet powerful technique that can enhance the visual appeal of your digital artwork. With the wide array of customization options available, you can unleash your creativity and bring your ideas to life. Whether you want to add depth and dimension to your illustrations or create stunning backgrounds, Procreate offers a seamless and intuitive workflow for gradient creation.
By following the steps outlined in this article, you can easily create gradients that suit your artistic vision. Experiment with different colors, opacities, and blending modes to achieve the desired effects. With practice, you’ll become proficient in utilizing gradients to elevate the overall quality of your artwork in Procreate.
So, don’t hesitate to dive into the world of gradients in Procreate and let your imagination soar. The possibilities are endless, and you never know what beautiful creations you’ll come up with!
FAQs
1. Can I create a gradient in Procreate?
Yes, you can create gradients in Procreate. The app offers various tools and options to apply gradients to your artwork and illustrations.
2. How do I create a gradient in Procreate?
To create a gradient in Procreate, follow these steps:
- Open the Procreate app and create a new canvas or open an existing artwork.
- Select the brush tool or any other brush you prefer.
- Choose the colors you want to use for your gradient.
- Tap and hold on the canvas to bring up the Actions menu.
- Select the Gradient tool from the menu.
- Drag your finger or stylus across the canvas to apply the gradient to your artwork.
- You can adjust the direction, size, and opacity of the gradient using the options available.
- Once you are satisfied with the gradient, continue working on your artwork.
3. Can I customize the gradient in Procreate?
Yes, Procreate allows you to customize the gradient to suit your preferences. You can adjust the colors, opacity, direction, size, and other properties of the gradient using the available options and tools within the app.
4. Can I save and reuse gradients in Procreate?
Procreate provides the option to save and reuse gradients. Once you have created a gradient that you like, you can save it as a custom preset for future use. This allows you to quickly access and apply the same gradient to other artworks or projects in the future.
5. Are there any additional gradient features in Procreate?
Apart from the basic gradient tools, Procreate also offers advanced features such as Gradient Maps and Blend Modes, which provide more control and versatility when working with gradients. These features allow you to create unique and complex gradient effects to enhance your artwork further.