
Are you a Mac user who frequently receives images through the Mail or Messages app? If so, you may have wondered how to save those images onto your Mac for future use. Thankfully, saving an image on a Mac from the Mail or Messages app is a simple task that can be done in just a few steps. In this article, we will guide you through the process of saving images from both the Mail and Messages app on your Mac, ensuring that you can easily access and use those images whenever you need them. Whether you want to save a memorable photo sent by a friend or a useful image from a colleague, we’ve got you covered with this comprehensive guide. Let’s get started and learn how to save an image on a Mac from the Mail or Messages app.
Inside This Article
- Saving an Image on Mac from the Mail App
- Saving an Image on Mac from the Messages App
- Alternative Methods to Save Images on Mac
- Tips for Organizing Saved Images on Mac
- Conclusion
- FAQs
Saving an Image on Mac from the Mail App
Do you often receive images in your email and want to save them on your Mac? Well, you’re in luck! You can easily save images from the Mail app on your Mac with just a few simple steps. Whether it’s a beautiful photograph or an important document, saving images from emails is a handy skill to have. Follow the steps below to learn how to save an image from the Mail app on your Mac.
Step 1: Open the Mail app on your Mac and navigate to the email containing the image you want to save. Make sure the email is open and the image you want to save is visible.
Step 2: Place your cursor over the image and right-click (or Control-click) on it. A drop-down menu will appear.
Step 3: From the drop-down menu, select the “Save Image” option. The image will be saved to your Mac’s Downloads folder by default.
Step 4: If you want to save the image to a location other than the Downloads folder, navigate to the desired folder using Finder and then right-click (or Control-click) to bring up the drop-down menu. Select the “Save Image” option, and the image will be saved to the selected location.
Step 5: To access the saved image, open Finder and navigate to the folder where you saved it. You can then use the image as needed.
That’s it! You have successfully saved an image from the Mail app on your Mac. Now you can easily keep important images or save beautiful photographs sent to you via email.
Remember, the steps mentioned above may vary slightly depending on the version of macOS and the Mail app you are using. However, the general process remains the same. If you have any trouble saving images from the Mail app, check that you have the necessary permissions and ensure you are following the correct steps.
Saving an Image on Mac from the Messages App
Saving an image from the Messages app on your Mac is quick and easy. Whether you received a funny meme, a beautiful photo, or an important document, you can follow these steps to save it to your computer:
1. Open the Messages app on your Mac and navigate to the conversation containing the image you want to save.
2. Locate the image in the conversation thread. It could be a picture that was sent directly or an image embedded in a message.
3. Right-click on the image to open a contextual menu. Alternatively, you can control-click on the image if you prefer using keyboard shortcuts.
4. From the contextual menu, click on the “Save Image” option. This action will prompt a dialog box to appear, asking you to choose a location on your computer to save the image.
5. Navigate to the desired destination folder or create a new one if needed. Choose a suitable name for the image file if you want to rename it, and then click “Save.”
6. The image will now be saved to your Mac in the specified location. You can access it by going to the folder where you saved it.
7. If you want to view the image, you can double-click it to open it directly or use a compatible application.
Saving images from the Messages app on your Mac is a handy feature that allows you to keep important visuals or memorable pictures easily accessible. Follow these steps, and you’ll have your photos and images saved in no time.
Alternative Methods to Save Images on Mac
Aside from the native options available in the Mail and Messages app, there are alternative methods you can use to save images on your Mac. These methods offer additional flexibility and customization options for saving images to your preferred location.
1. Right-click and Save
One straightforward method is to right-click on the image you want to save and select “Save Image As” from the context menu. This will open a window where you can choose the destination folder and rename the file if desired. Click “Save” to save the image to your selected location.
2. Drag and Drop
If you prefer a more hands-on approach, you can simply drag and drop the image from the Mail or Messages app onto your desktop or any other desired folder. This action will instantly create a copy of the image in the chosen location.
3. Screenshot
In some cases, you may want to save an image that cannot be directly downloaded or accessed through traditional means. In such situations, you can use the Mac’s built-in screenshot feature to capture the image. Simply press Command + Shift + 4 to activate the screenshot tool and drag the crosshair over the area containing the image you want to save. The screenshot will be saved as a file on your desktop, and you can then move it to your preferred location.
4. Third-Party Apps
If you frequently encounter the need to save images from emails or messages, you might consider using third-party apps specifically designed for this purpose. These apps often offer enhanced features, such as batch downloading, automatic file organization, and direct integration with cloud storage services. Some popular options include “Image Downloader” and “Image Saver.”
By utilizing these alternative methods, you can expand your options for saving images on your Mac and tailor the process to suit your preferences and workflow.
Tips for Organizing Saved Images on Mac
Once you have successfully saved images on your Mac, it is important to keep them organized for quick and easy access. Here are some tips to help you effectively manage your saved images:
1. Create folders: Start by creating specific folders to categorize your saved images. For example, you can have separate folders for personal photos, work-related images, or even specific projects. This will make it easier to locate images when you need them.
2. Use descriptive file names: Instead of keeping generic file names like “image1” or “screenshot,” give your saved images descriptive names that reflect their content. This will help you identify images at a glance and save time searching for a specific image later on.
3. Sort images by date: If you frequently save images, sorting them by date can be a useful way to organize them chronologically. This is particularly helpful when you need to find an image from a specific event or time period quickly.
4. Utilize tags or labels: Depending on your preference, you can use tags or labels to further categorize or classify your saved images. This allows for a more detailed organization system and makes it easier to search for specific types of images later on.
5. Backup your image library: To ensure the safety and security of your saved images, it’s important to regularly backup your image library. You can use external hard drives, cloud storage services, or even dedicated backup software to create copies of your images and prevent data loss.
6. Remove duplicates: Over time, you may accumulate duplicate images, especially if you save images from various sources. Take the time to identify and remove duplicate images to free up space and maintain a clutter-free image library on your Mac.
7. Maintain regular organization: Make it a habit to periodically review and organize your saved images on your Mac. This will help you stay organized and prevent a cluttered image library from becoming overwhelming to manage.
By following these tips for organizing saved images on your Mac, you can efficiently manage and locate the images you need, effectively streamline your workflow, and maintain a well-structured image library.
Conclusion
In conclusion, saving an image from the Mail or Messages app on a Mac is a simple and straightforward process. Whether you received a memorable photo in your email or a funny picture in a text message, you can easily save it to your computer for future use.
By following the steps outlined in this article, you can save your favorite images without any hassle. Remember to always respect the copyright and ownership of the images you save and use them responsibly.
With these methods at your disposal, you can now confidently save and organize images from the Mail or Messages app on your Mac, ensuring that you have the pictures you love at your fingertips whenever you need them.
So go ahead, give it a try and start creating your personal collection of saved images on your Mac-powered device today!
FAQs
1. How do I save an image on a Mac from the Mail app?
To save an image from the Mail app on your Mac, simply follow these steps:
- Open the Mail app and locate the email with the image you want to save.
- Right-click on the image and select “Save Image” from the dropdown menu.
- Choose the destination folder where you want to save the image and click “Save.”
The image will be saved to your selected folder and you can access it whenever you need.
2. How can I save an image on a Mac from the Messages app?
To save an image from the Messages app on your Mac, follow these steps:
- Open the Messages app and locate the conversation with the image you want to save.
- Click on the image to open it in a separate window.
- Right-click on the image and select “Save Image As” from the dropdown menu.
- Choose the destination folder where you want to save the image and click “Save.”
The image will now be saved to your selected folder and you can access it whenever you want.
3. Can I save multiple images at once on a Mac?
Yes, you can save multiple images at once on a Mac. Here’s how:
- Open the folder or application where the images are located.
- Select the images you want to save by holding down the Command key and clicking on each image.
- Right-click on one of the selected images and choose “Export [number] Images” from the context menu.
- Choose the destination folder where you want to save the images and click “Export.”
All the selected images will now be saved to your chosen folder.
4. Can I change the default save location for images on my Mac?
Yes, you can change the default save location for images on your Mac. To do so, follow these steps:
- Click on the Apple menu in the top-left corner of your screen and select “System Preferences.”
- Choose the “General” option.
- Click on the “Downloads” dropdown menu and select “Other…”
- Select the destination folder where you want to save your images and click “Choose.”
From now on, any images you save on your Mac will be saved to the new designated folder.
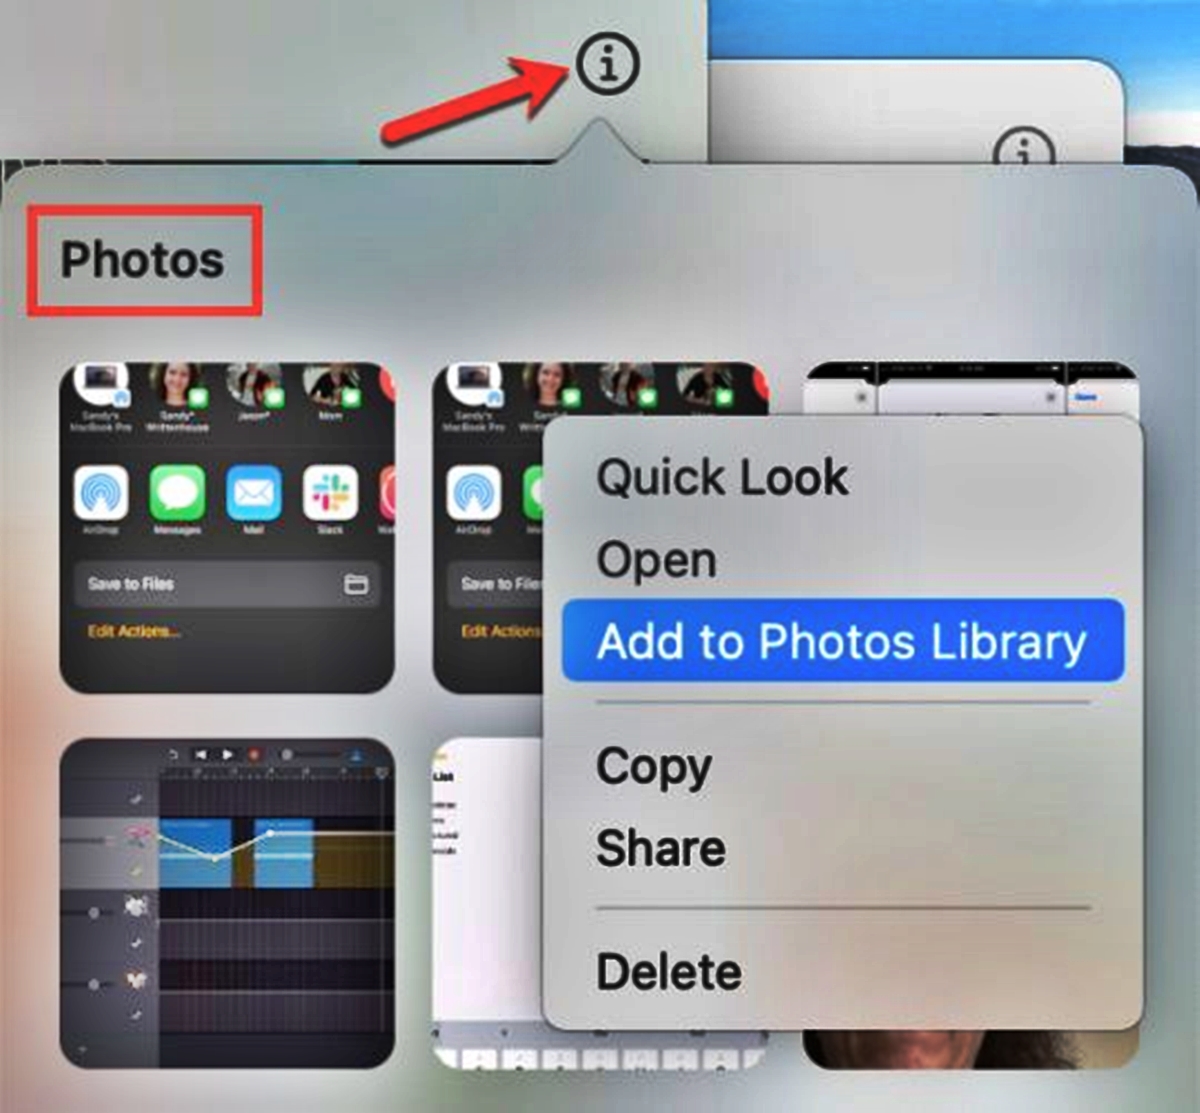
5. Is it possible to save images directly into the Photos app on a Mac?
Yes, you can save images directly to the Photos app on your Mac. Here’s what you need to do:
- Open the image you want to save in a compatible application like Safari or Preview.
- Click on the “Share” button, usually represented by a square with an arrow pointing upwards.
- From the options that appear, select “Add to Photos.”
The image will be saved to the Photos app and you can find it in your library.