
If you’re a digital artist who uses the popular Procreate app, you might be wondering how to share your artistic process with the world. Streaming your Procreate creations on platforms like Twitch can be a great way to engage with a community of fellow artists and enthusiasts, while also showcasing your talent. In this article, we will guide you through the process of streaming Procreate on Twitch, from setting up your streaming equipment to optimizing your stream for the best quality. Whether you’re a seasoned streamer or new to the world of live streaming, we’ve got you covered with step-by-step instructions and helpful tips. So, get ready to share your art journey with the world and connect with fellow creators through the unique experience of streaming Procreate on Twitch.
Inside This Article
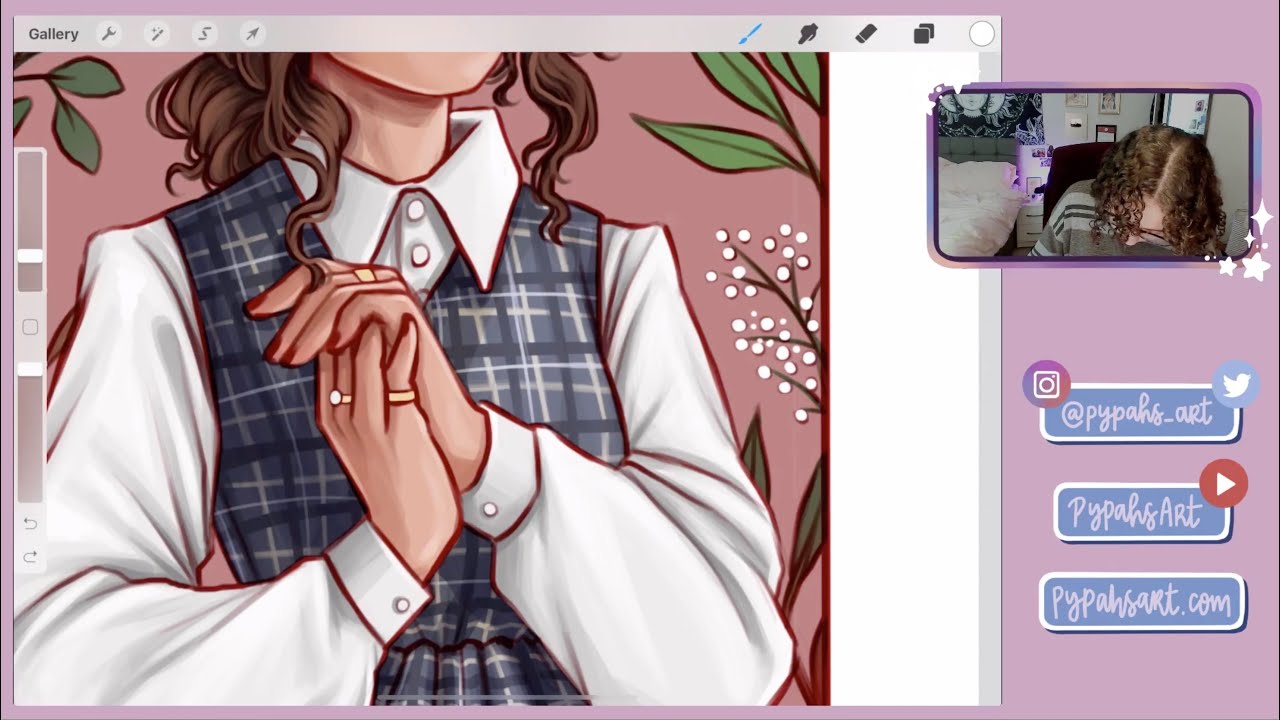
- Setting Up Procreate for Streaming
- Configuring Broadcasting Software
- Customizing Your Twitch Stream
- Streaming Tips and Best Practices
- Conclusion
- FAQs
Setting Up Procreate for Streaming
If you’re an artist who loves using Procreate on your iPad and want to share your creativity with the world, streaming your Procreate sessions on Twitch can be a fantastic way to connect with fellow artists, gain new followers, and showcase your skills. In this section, we’ll guide you through the steps of setting up Procreate for streaming on Twitch.
The first thing you’ll need is a stable internet connection. Streaming Procreate sessions can consume a significant amount of bandwidth, so make sure your internet connection is fast and reliable. Ideally, a minimum upload speed of 5 Mbps is recommended for a smooth streaming experience.
Next, you need to consider the hardware requirements. Procreate runs on the iPad, so make sure you have a compatible iPad model with a decent amount of processing power and storage space. The latest versions of the iPad Pro offer excellent performance and are highly recommended for streaming Procreate on Twitch.
Once you have the necessary hardware, the next step is to create a Twitch account if you don’t already have one. Go to the Twitch website and sign up for an account. It’s free and straightforward to set up.
After creating your Twitch account, you’ll need to configure your streaming software. There are several options available, but a popular choice among streamers is OBS (Open Broadcaster Software). OBS is free, open-source, and compatible with both Windows and macOS.
Download and install OBS on your computer, then launch the software. In the OBS interface, you’ll need to add Procreate as a source. To do this, click the “+” icon under the “Sources” section and select “Window Capture”. A pop-up window will appear, and from the drop-down menu, choose the window displaying your Procreate canvas.
With Procreate added as a source, you can now customize your stream layout. OBS offers various settings and options to arrange your stream elements, such as your webcam, overlays, and chat box. Experiment with different layouts to find the one that best suits your style and preferences.
Once you’ve customized your stream layout, you’ll need to connect your Twitch account to OBS. In OBS, go to the “Settings” menu and click on the “Stream” tab. Here, select “Twitch” as the streaming service and enter your Twitch stream key. You can find your stream key in your Twitch dashboard under the “Stream Key” section.
Before you start streaming, make sure to do a few test runs to ensure everything is working correctly. Check your audio and video settings, and verify that your Procreate canvas is visible in OBS. It’s also a good idea to let your viewers know in advance when you’ll be streaming your Procreate sessions, so they can mark it on their calendars.
With everything set up, you’re now ready to start streaming Procreate on Twitch. Share your artistic process, engage with your viewers, and have fun showcasing your talent. Remember to interact with your chat and provide valuable insights as you create your artwork. Happy streaming!
Configuring Broadcasting Software
Once you have set up Procreate for streaming, the next step is to configure your broadcasting software. This software will enable you to capture your screen and stream it live on platforms like Twitch. Here are the steps to configuring your broadcasting software:
1. Choose the Right Broadcasting Software: There are several broadcasting software options available, such as OBS (Open Broadcaster Software) and XSplit. Choose the one that best suits your needs and download it onto your computer.
2. Set Up your Stream Key: After installing the broadcasting software, you will need to connect it to your Twitch account. This involves obtaining your unique stream key from your Twitch account settings and entering it into the broadcasting software.
3. Configure Stream Settings: In the broadcasting software, you will find options to configure your stream settings. These include selecting your preferred streaming quality, frame rate, and resolution. It’s important to choose settings that are compatible with your computer’s capabilities and internet connection speed.
4. Set Up Audio and Video Sources: To capture your screen and audio, you need to set up the appropriate sources in your broadcasting software. This typically involves selecting your display or specific application window as the video source and choosing your microphone or audio input device for capturing audio.
5. Adjust Scene Layout: Broadcasting software gives you the ability to customize your scene layout, which determines how your stream appears to viewers. You can add overlays, webcam feeds, and text elements to enhance the visual experience for your audience.
6. Test and Preview: Before going live, take the time to test your stream and preview it within the broadcasting software. This allows you to identify any potential issues with your settings or layout and make necessary adjustments before going live.
7. Optimize for Performance: Streaming can put a strain on your computer’s resources. To ensure smooth streaming, consider optimizing your broadcasting software settings by adjusting things like encoding settings and bitrate. This will help maintain a stable stream quality without overloading your system.
By following these steps and configuring your broadcasting software correctly, you can ensure a high-quality and seamless streaming experience when sharing your Procreate artwork with your Twitch audience.
Customizing Your Twitch Stream
Your Twitch stream is a reflection of your personal brand and style, so it’s important to customize it to make it unique and engaging for your audience. Here are some tips and tricks to help you customize your Twitch stream:
- Design a captivating overlay: One of the key ways to customize your Twitch stream is by creating a visually appealing overlay. This includes your webcam frame, chat box, and other graphical elements displayed on your stream. You can use graphic design software like Photoshop or Canva to create custom overlays that align with your branding.
- Highlight your branding: Incorporate your personal branding into your Twitch stream by using your logo, color scheme, and fonts. Consistency in branding helps build recognition and establishes a cohesive look across your stream and other platforms.
- Create offline and intermission screens: When you’re not live or taking a break, consider creating custom offline and intermission screens to display to your viewers. These screens can include your logo, social media handles, and a countdown timer to let your audience know when you’ll be back.
- Personalize your alerts: Customize your stream alerts to add a personal touch. Whether it’s a new follower, subscriber, or donation, make sure the alert reflects your personality and resonates with your audience. There are various tools available online that allow you to create and customize alerts for your Twitch stream.
- Add panels and info sections: Panels are an excellent way to provide information to your viewers. You can utilize panels to display your social media links, schedule, donation options, and other important details. Customize these panels to match the aesthetic of your stream and make them visually appealing and easy to read.
- Use chat bots and moderation tools: Chat bots and moderation tools can not only enhance your stream but also help you customize it. They allow you to set up automated messages, commands, and timers, customize chat colors, and even run interactive mini-games and contests within your chat.
- Experiment with scenes and transitions: Scenes and transitions can add a professional touch to your Twitch stream. Use software like OBS Studio or Streamlabs OBS to create different scenes and add transitions between them. This can include starting, ending, and transitioning between different segments of your stream, such as gameplay, facecam, and chat overlay.
- Showcase your stream milestones: Celebrate and showcase your stream milestones, such as reaching follower or subscriber goals. Use overlays, alerts, or dedicated scenes to highlight these achievements and create a sense of excitement and appreciation among your viewers.
- Engage with your audience: Ultimately, the best way to customize your Twitch stream is by engaging with your audience. Respond to chat messages, create interactive segments, and make your viewers feel valued and involved. This personalization goes a long way in building a loyal and supportive community.
By customizing your Twitch stream, you can create a memorable and enjoyable experience for your viewers. Experiment with different customization options, keep an eye on viewer feedback, and find a balance that reflects your unique style and attracts an engaged audience.
Streaming Tips and Best Practices
Streaming on platforms like Twitch can be an exciting and rewarding experience. To make the most of your streaming sessions and engage your audience effectively, here are some tips and best practices to keep in mind:
1. Invest in Good Quality Equipment: A smooth and professional streaming experience starts with having the right equipment. Make sure you have a reliable internet connection, a high-quality microphone and webcam, and a powerful computer that can handle the demands of streaming software.
2. Set Up a Dedicated Streaming Space: Having a dedicated space for streaming can help create a more immersive and professional atmosphere. Choose a well-lit and clutter-free area where you can comfortably showcase your skills and interact with your audience.
3. Plan and Prepare Content: Before you go live, it’s essential to have a plan for your stream. Decide on the type of content you want to create, whether it’s tutorials, gameplay, or art demonstrations. Prepare any visuals, notes, or talking points in advance to ensure a smooth flow during your stream.
4. Engage with Your Audience: Interacting with your viewers is crucial for building a loyal community. Read and respond to chat messages, ask for feedback or suggestions, and make your audience feel involved in the stream. Create a welcoming and inclusive environment where everyone feels heard and valued.
5. Maintain Consistent Streaming Schedule: Consistency is key when it comes to building an audience. Set a regular streaming schedule and stick to it as much as possible. This allows your viewers to know when to expect your streams, increasing the chances of them tuning in regularly.
6. Network with Other Streamers: Collaborating and networking with other streamers can help you grow your audience and gain exposure. Host and raid streams of others in your community, participate in collabs or tournaments, and engage in social media discussions to expand your reach and connect with like-minded individuals.
7. Have Fun and Be Yourself: Perhaps the most important tip of all is to have fun and be yourself. Streaming is about sharing your passions and connecting with others who appreciate your content. Let your personality shine through and enjoy the process of creating and entertaining your audience.
By following these streaming tips and best practices, you can enhance your streaming experience and create a welcoming and engaging environment for your audience. Remember, building a successful streaming channel takes time and dedication, so stay consistent, keep improving your skills, and enjoy the journey!
Conclusion
Streaming your Procreate artwork on Twitch can be a rewarding experience, allowing you to showcase your talent and connect with an audience of art enthusiasts. By following the steps outlined in this article, you can set up your stream, customize your settings, and start broadcasting your creative process to the world.
Remember, consistency is key when it comes to building an audience on Twitch. Regularly scheduling your streams, engaging with viewers, and promoting your channel can help you grow your community and attract new followers. Additionally, don’t be afraid to experiment with different stream formats, special events, or collaborations with fellow artists to keep your content fresh and exciting.
Streaming your Procreate art on Twitch not only provides a platform for sharing your work but also offers an opportunity to learn from and inspire others. So grab your stylus, fire up your Procreate app, and let your creativity shine on Twitch!
FAQs
1. Can I stream Procreate on Twitch?
Yes, you can stream Procreate on Twitch. Twitch allows users to stream a wide range of creative activities, including digital art creation using Procreate. It’s a great platform to showcase your artistic skills and interact with an audience who appreciates your work.
2. What do I need to stream Procreate on Twitch?
To stream Procreate on Twitch, you will need a few essential tools. First, you will need a device or computer that can run Procreate smoothly. This could be an iPad Pro or a Windows/Mac computer with a drawing tablet. You will also need a reliable internet connection to stream your artwork in real-time. Lastly, you will need streaming software such as OBS (Open Broadcaster Software) to capture your Procreate screen and broadcast it on Twitch.
3. Are there any specific settings I need to adjust in Procreate for streaming?
While there are no specific settings in Procreate that you need to adjust for streaming, there are a few best practices to consider. Make sure you have a clean and organized canvas and choose a high-resolution and appropriate canvas size for streaming. It’s also a good idea to use layers effectively to streamline your workflow during the streaming process. Additionally, you may want to set up keyboard shortcuts for commonly used Procreate functions for easier accessibility while streaming.
4. How should I interact with viewers while streaming Procreate on Twitch?
Interacting with viewers is an essential part of streaming on Twitch. You can engage with your audience by responding to chat messages, answering questions, and taking art requests or suggestions. It’s a good practice to have a second monitor or device to keep an eye on the chat while you focus on your artwork. Engaging with your viewers not only builds a sense of community but also makes the streaming experience more enjoyable for everyone involved.
5. Can I monetize my Procreate streams on Twitch?
Yes, you can monetize your Procreate streams on Twitch through various means. Once you meet the requirements, you can become a Twitch Affiliate or Partner and earn revenue through subscriptions, donations, and ad revenue. Additionally, you can market and sell your artwork or offer commissions to viewers who are interested in your style. Finding sponsors or brand collaborations can also be a way to monetize your Procreate streams.