
Are you trying to figure out how to turn off the SOS feature on your brand new iPhone 13? If so, you’ve come to the right place! The iPhone 13 is packed with innovative features, including SOS functionality that can automatically call emergency services when needed. However, there may be instances where you want to disable this feature, whether it’s to prevent accidental emergency calls or simply customize your device. In this article, we will guide you through the steps to turn off SOS on your iPhone 13 and provide you with some additional information and FAQs to ensure a hassle-free experience with your device. So, let’s dive in and discover how to get SOS off your iPhone 13!
Inside This Article
- How to Disable SOS on iPhone 13
- Troubleshooting SOS Activation on iPhone 13
- How to Customize SOS Settings on iPhone 13
- Conclusion
- FAQs
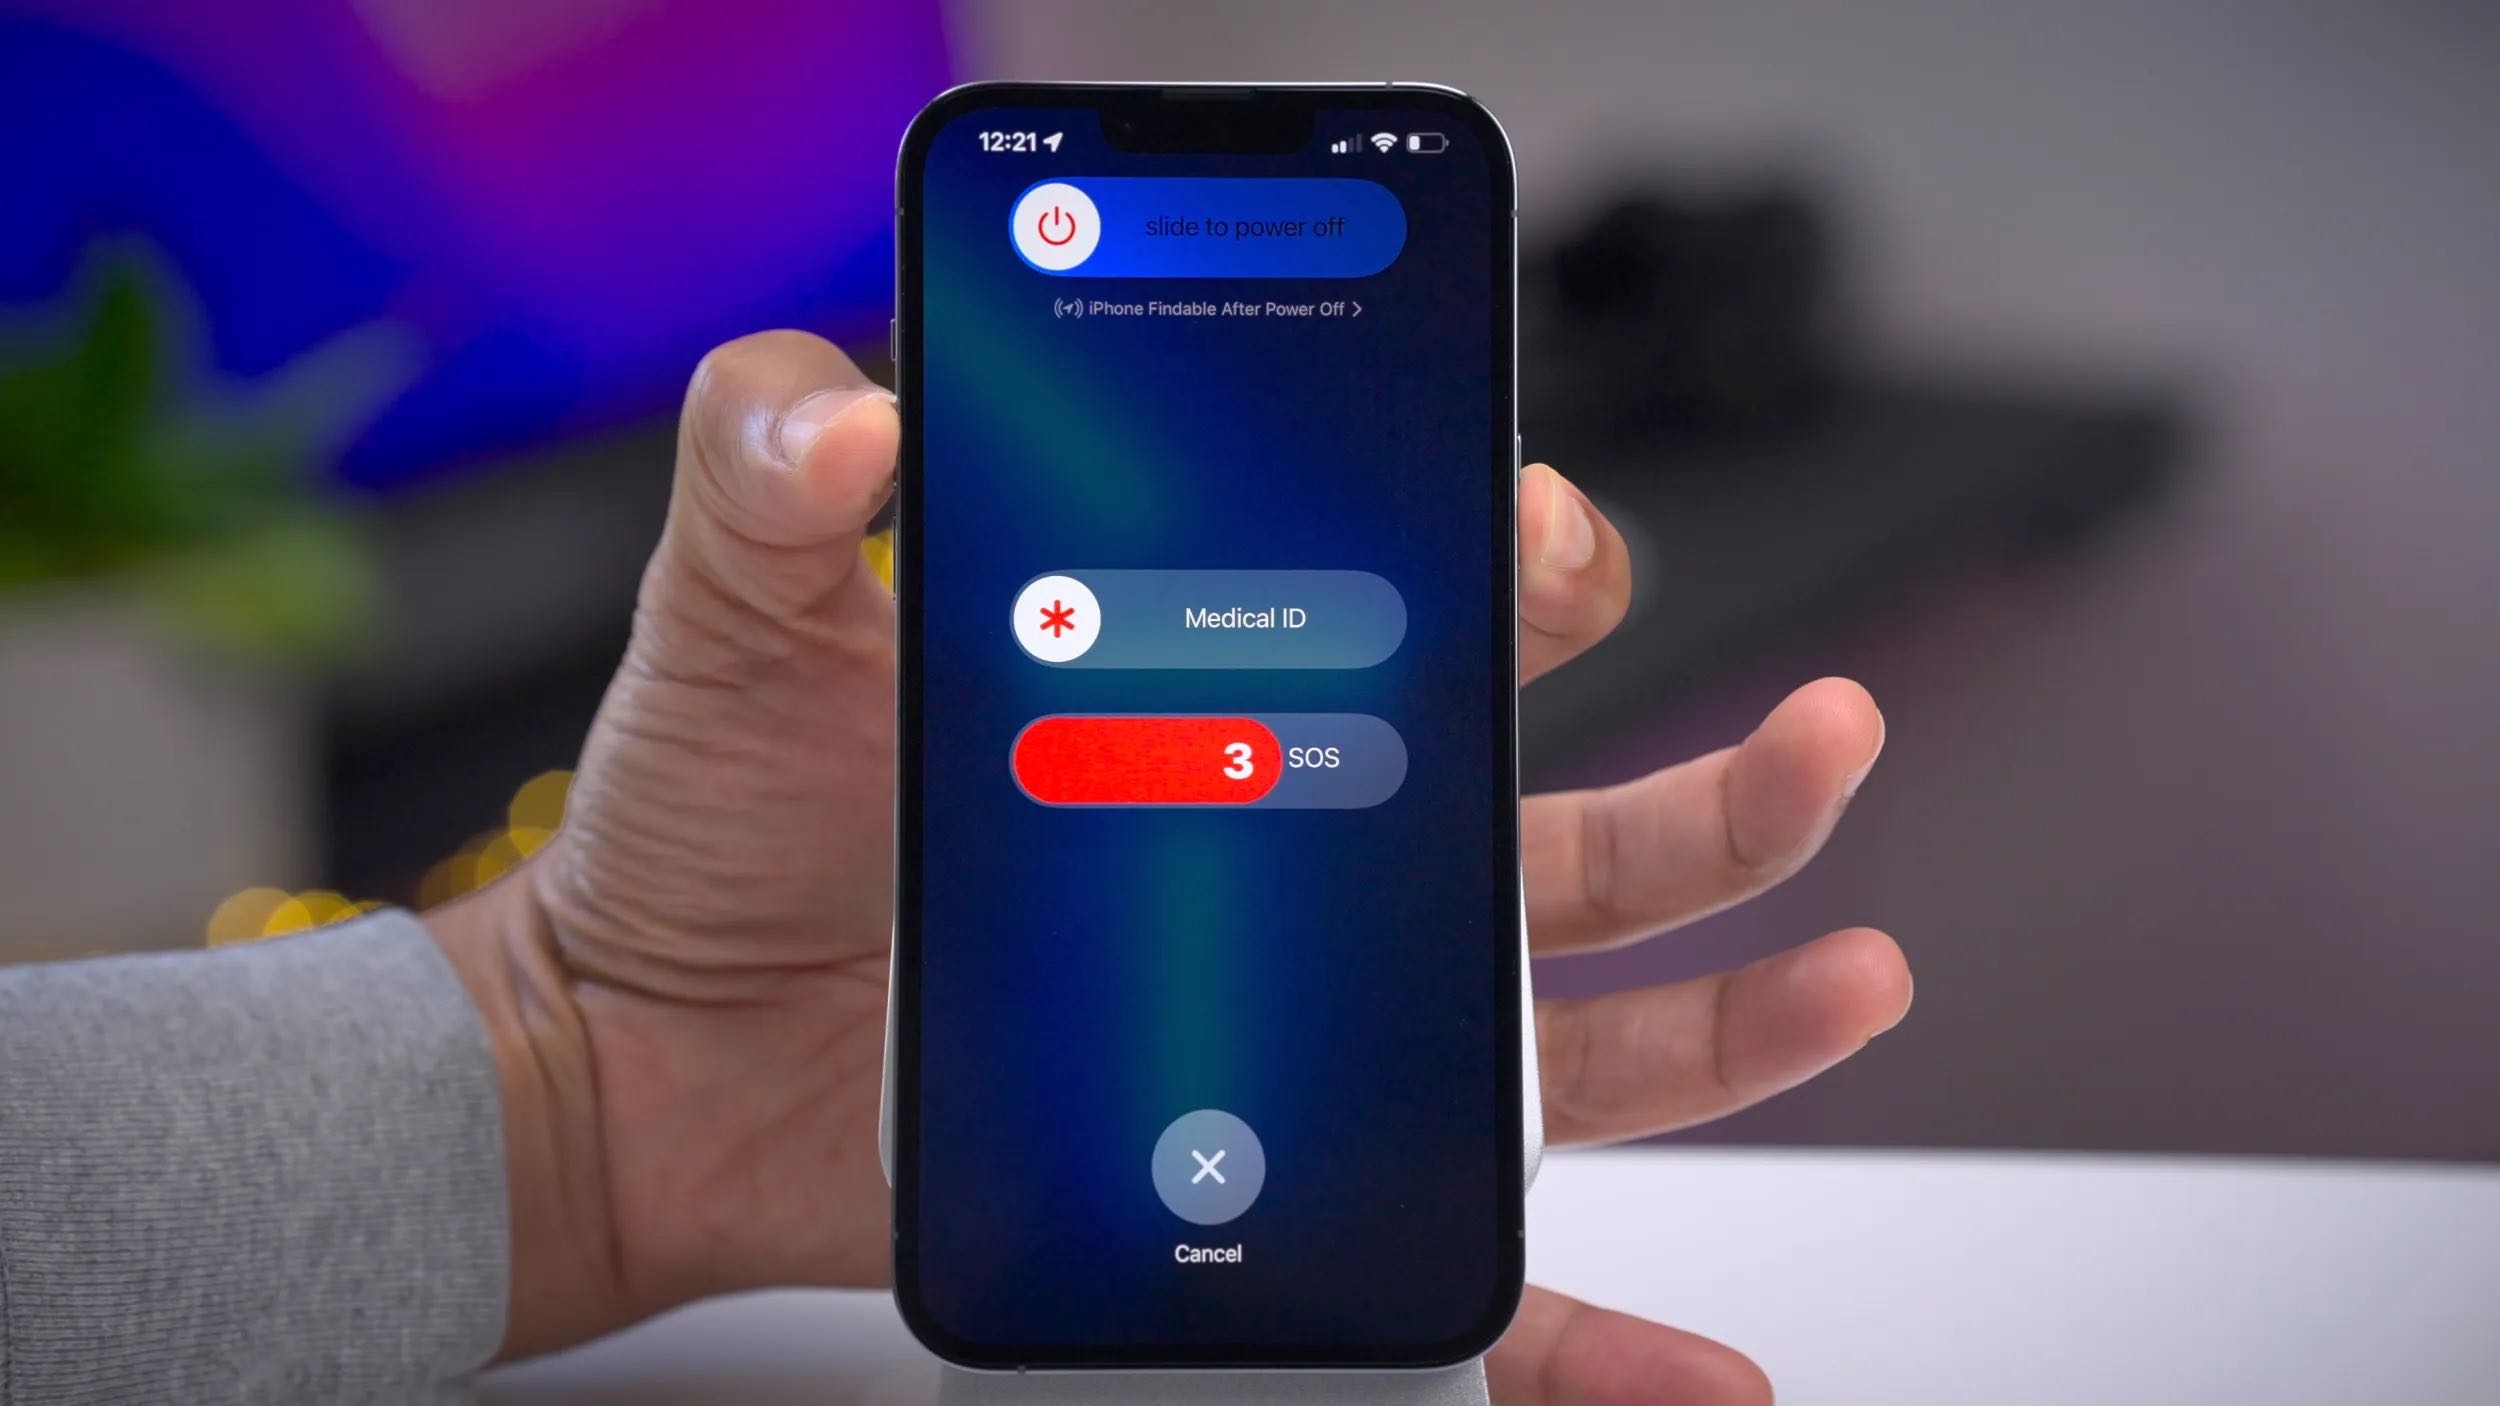
How to Disable SOS on iPhone 13
If you find yourself frequently triggering the SOS feature on your iPhone 13 accidentally or you simply don’t want it enabled, you can easily disable it. Here’s how:
- Open the Settings app: Tap on the Settings app icon, which resembles a gear.
- Scroll down to Emergency SOS: Once you’re in the Settings app, scroll down until you see “Emergency SOS”.
- Disable Auto Call: Under the Emergency SOS section, you’ll find the “Auto Call” toggle. By default, it is enabled. Tap on the toggle to turn it off.
- Confirm the change: A confirmation message will appear, asking if you want to turn off Auto Call. Tap “Turn Off” to confirm.
Once you have completed these steps, the SOS feature will be disabled on your iPhone 13. You will no longer trigger it accidentally, and you can feel at ease knowing that emergency services won’t be contacted unintentionally.
Note that disabling the Auto Call feature will not prevent you from manually accessing the emergency SOS option. You can still use Emergency SOS by pressing and holding the side button and either volume button on your iPhone 13.
If you ever change your mind and decide to re-enable the SOS feature, simply follow the above steps and toggle Auto Call back on. It’s a quick and straightforward process that puts you in control of your iPhone 13’s emergency settings.
Troubleshooting SOS Activation on iPhone 13
Having SOS activated on your iPhone 13 can provide a valuable safety feature, allowing you to quickly call for help in emergency situations. However, there may be instances where SOS is activated accidentally or you’re experiencing issues with its activation. If you find yourself in such a situation, don’t worry! We’ve got you covered with some troubleshooting tips to help you resolve the SOS activation issues on your iPhone 13.
1. Check your Settings: The first step in troubleshooting SOS activation is to double-check your iPhone’s settings. Go to the “Settings” app and navigate to “Emergency SOS.” Ensure that the “Enable SOS” option is turned off. If it’s already disabled and you’re still experiencing issues, proceed to the next step.
2. Restart your iPhone: Sometimes, a simple restart can rectify any software glitches. Press and hold the power button on your iPhone 13 until the “Slide to power off” option appears. Swipe the slider to turn off your device. Wait for a few seconds, then press and hold the power button again until the Apple logo appears to turn it back on.
3. Update iOS: If the SOS activation issue persists, it’s worth checking if your iPhone 13 is running the latest iOS version. Go to “Settings,” select “General,” and tap on “Software Update.” If an update is available, download and install it. It may include bug fixes that can resolve the SOS activation problem.
4. Reset Network Settings: Resetting network settings can help resolve connectivity-related issues, which might be affecting the SOS activation. To do this, go to “Settings,” select “General,” then tap on “Reset.” Choose the “Reset Network Settings” option. Keep in mind that this will remove saved Wi-Fi passwords and Bluetooth pairings, so make sure to reconnect to your networks afterwards.
5. Contact Apple Support: If none of the above solutions work, it’s time to reach out to Apple Support for further assistance. They have the expertise to diagnose and resolve complex issues related to SOS activation on your iPhone 13. You can visit the Apple Support website, use the Apple Support app, or contact them via phone for personalized guidance.
By following these troubleshooting tips, you should be able to resolve any SOS activation issues you may encounter on your iPhone 13. Remember, SOS is a valuable safety feature, so it’s important to ensure it is working properly for your peace of mind.
How to Customize SOS Settings on iPhone 13
Customizing the SOS settings on your iPhone 13 allows you to personalize the emergency SOS feature according to your needs. Whether you want to modify the emergency contacts, enable or disable the countdown sound, or customize the automatic call feature, here is a step-by-step guide to help you navigate through the SOS settings:
1. Unlock your iPhone 13 and open the Settings app.
2. Scroll down and tap on “Emergency SOS” from the list of options.
3. On the Emergency SOS screen, you will find various customization options.
4. To edit your emergency contacts, tap on the “Edit Emergency Contacts” button.
5. You will be directed to the Health app, where you can add or remove emergency contacts. Tap on the “+” button to add a contact, or swipe left on a contact and tap on “Delete” to remove a contact.
6. Once you have set your emergency contacts, press the “Back” button to return to the Emergency SOS screen.
7. To enable or disable the countdown sound, toggle the “Countdown Sound” switch on or off based on your preference.
8. If you want your iPhone 13 to automatically make a call to emergency services after the SOS countdown is complete, toggle the “Auto Call” switch on. However, if you prefer to manually call emergency services, keep the switch turned off.
9. Lastly, if you want your iPhone 13 to send an emergency message to your emergency contacts after making a call, toggle the “Send SOS Contacts” switch on. This feature comes in handy if you want to notify your loved ones about your situation quickly.
10. Once you have customized the SOS settings to your liking, press the “Back” button to return to the main Settings screen.
By following these simple steps, you can easily customize the SOS settings on your iPhone 13 and ensure that the emergency SOS feature aligns with your specific requirements.
Conclusion
Removing the SOS feature from your iPhone 13 is a simple task that can be done in a few steps. Whether you accidentally triggered it or want to disable it permanently, you now have the knowledge to do so.
The SOS feature is a valuable tool for emergency situations, but it’s important to understand how to manage and control it. By following the steps outlined in this article, you can ensure that the SOS feature is only used when needed.
Remember, always prioritize your safety and be aware of the emergency services available in your area. With these tips in mind, you can confidently navigate your iPhone 13 and make the most of its features while maintaining control over the SOS function.
If you have any other questions or issues with your iPhone 13 or any other device, don’t hesitate to reach out to Apple Support or consult the user manual for further assistance. Happy exploring and stay safe!
FAQs
1. How do I disable the SOS feature on my iPhone 13?
To turn off the SOS feature on your iPhone 13, follow these steps:
– Open the Settings app on your device.
– Scroll down and tap on “Emergency SOS”.
– Toggle off the “Call with Side Button” option.
By disabling this setting, you will prevent accidental emergency calls by pressing and holding the side button.
2. Can I customize the emergency contacts displayed during SOS calls on my iPhone 13?
Yes, you can customize the emergency contacts that are displayed when making SOS calls on your iPhone 13. To do this:
– Open the Health app on your device.
– Tap on your profile picture in the top-right corner.
– Select “Medical ID” from the options.
– Tap on “Edit” in the top-right corner.
– Scroll down to the “Emergency Contacts” section and tap on the green “+” button to add contacts or tap on an existing contact to edit their details.
Make sure to save any changes you make, and these contacts will be displayed when making SOS calls from your iPhone 13.
3. What happens when I make an SOS call on my iPhone 13?
When you make an SOS call on your iPhone 13, the following things occur:
– Your iPhone will sound a loud siren to grab attention and indicate that an emergency call is being made.
– It will automatically dial the local emergency services number.
– It will send a message to your emergency contacts (if you have set them up) with your location information.
Remember, making an SOS call should only be done in real emergencies to ensure proper utilization of emergency services.
4. Can I use the SOS feature even if I don’t have cellular signal or Wi-Fi on my iPhone 13?
Yes, you can still use the SOS feature on your iPhone 13 even without cellular signal or Wi-Fi. The SOS feature relies on the device’s ability to dial emergency calls using any available network signal, including GSM or CDMA networks. However, it’s important to note that without a network connection, the location sharing and message sending features of SOS calls may not be available.
5. How do I know if the SOS feature is enabled on my iPhone 13?
To check if the SOS feature is enabled on your iPhone 13, follow these steps:
– Open the Settings app on your device.
– Scroll down and tap on “Emergency SOS”.
– Look for the “Call with Side Button” option. If the toggle switch is turned on, it means the SOS feature is enabled.
If the toggle switch is turned off, you can enable the SOS feature by toggling it on. This allows you to make emergency calls by pressing and holding the side button and one of the volume buttons simultaneously.