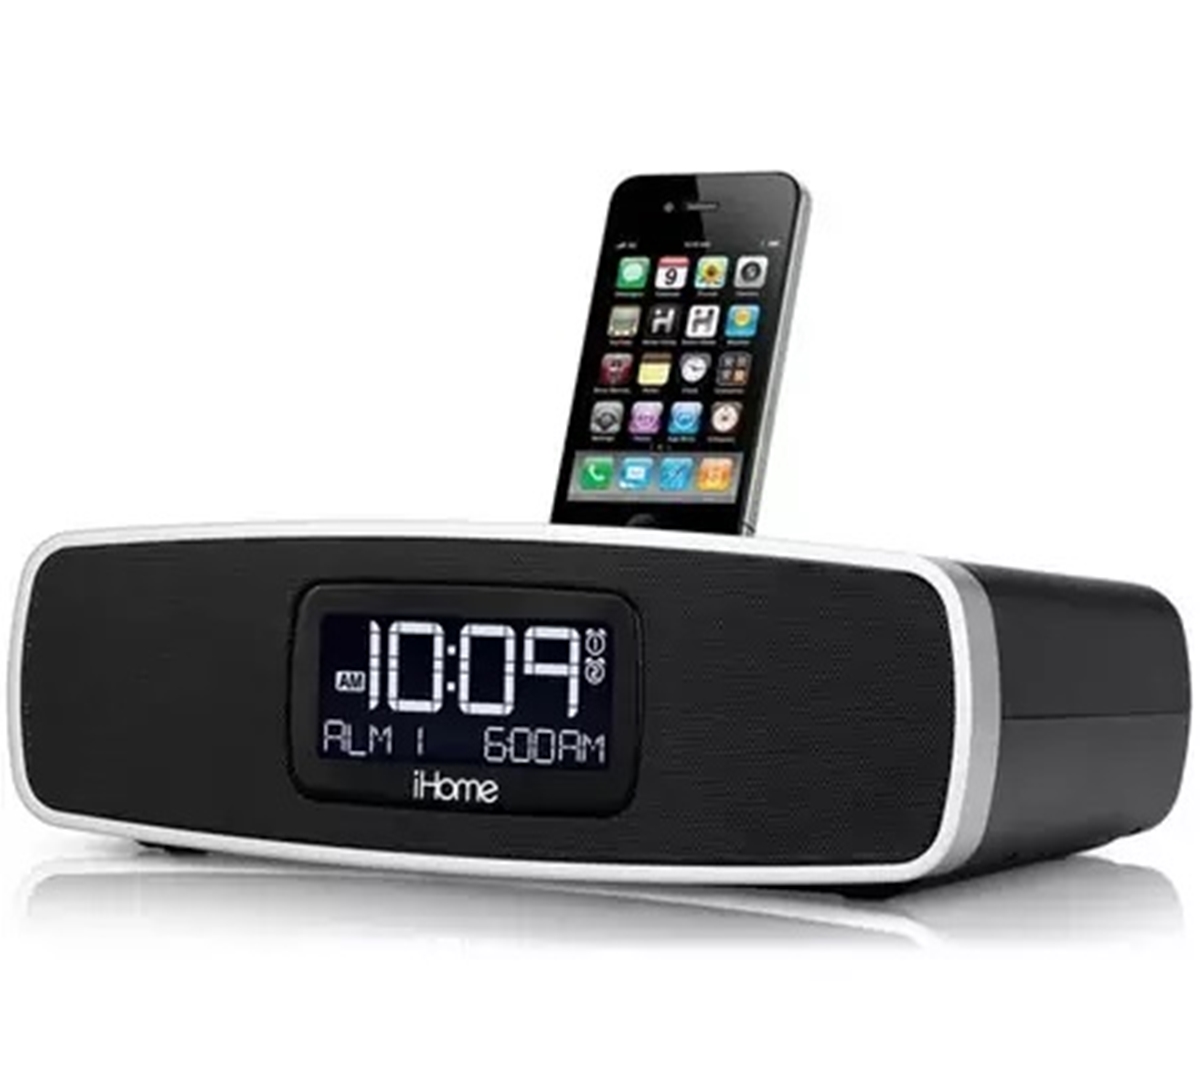
To set the time on an iHome docking station manually, you must first disable any AutoSync or Bluetooth Time Sync feature, which can prevent manual adjustments from sticking. Once that is done, press and hold the designated time setting button, often labeled "Time Set," "Clock," or "Time Sync", for 2 to 3 seconds until the display flashes and a beep sounds, then use the +/- buttons to adjust the time.
Before you start: turn off auto-sync
Many iHome docking stations include an AutoSync or Bluetooth Time Sync function that automatically sets the clock when a device is docked or connected. This feature must be turned off before you can manually set the time; otherwise, your adjustments may be overwritten. Check your model’s control panel or settings menu for a button or option labeled "AutoSync," "Time Sync," or similar, and disable it. This step prevents a common point of failure where the clock appears to accept changes but reverts to an incorrect time.
How to set the time on an iHome docking station manually
- Locate the time setting button on your iHome docking station. The exact name varies by model and may be labeled "Time Set Button," "Clock Button," "Time Sync Button," "Time Sync/Time Set Button," "Power/Time set button," or "CLOCK ADJ button."
- Press and hold the button for approximately 2 to 3 seconds. The clock display will begin flashing, and a beep will sound to confirm you have entered time-setting mode.
- Use the ", " or "+" buttons (sometimes labeled "UP" or "DOWN") to adjust the hour and minute. Holding a button down allows for rapid adjustment.
- Pay attention to the AM/PM indicator. On many models, only a "P" or "PM" appears for afternoon hours, with no specific indicator for AM. Some models show both AM and PM indicators.
- Press and release the time setting button again to confirm and save the time. Two beeps typically sound to indicate that the time setting mode is complete and the settings are saved.
Switch between 12-hour and 24-hour time
While the display is still flashing during the time-setting process, press the "Alarm 1" or "Alarm 2" button to toggle between standard 12-hour time and 24-hour (military) time. This allows you to choose the format that best suits your preference without needing to access a separate settings menu.
Set the date after the time
After you confirm the time, the year, month, and date will flash sequentially on the display. Use the same ", " or "+" buttons to adjust each value, pressing the time setting button after each adjustment to confirm and move to the next field. This sequence ensures your docking station displays the correct date, which is useful for alarm scheduling and day-of-week display.
Troubleshooting time-setting problems
If the clock does not enter setting mode when you press and hold the button, verify that the AutoSync or Bluetooth Time Sync feature is disabled, as this is the most common reason the manual setting mode fails to activate. If you accidentally make a mistake while setting the time, don't worry. Simply repeat the steps above to adjust the time again until you have it set correctly. If the time is consistently incorrect, check whether your model has a time zone setting and adjust it to match your location. After a power interruption, the clock may lose its setting; simply repeat the manual setting process once power is restored. A successful confirmation is indicated by two beeps, if you do not hear them, the time may not have been saved. Resetting the Device: If all else fails, you can try resetting your iHome docking station to its factory settings. Keep in mind that this will erase any customized settings, so it should be used as a last resort.
For users who rely on multiple devices, note that iHome docking stations are distinct from laptop docking stations, which focus on expanding connectivity rather than providing alarm clock and audio functions.
Frequently Asked Questions
Why does my iHome docking station show the wrong time after I set it?
This usually happens when the AutoSync or Bluetooth Time Sync feature is still enabled and overrides your manual setting. Double-check that this feature is turned off in your device’s settings or control panel.
How do I know if my iHome model has a backup battery for the clock?
Many iHome docking stations include a backup battery that retains the time and alarm settings during brief power outages. If your clock resets after being unplugged, the backup battery may need replacement, consult your model’s manual for battery type and replacement instructions.
Can I set the time without using the buttons if my iHome has Bluetooth?
Some models allow time synchronization via Bluetooth when connected to a smartphone app. However, if you prefer manual control or Bluetooth sync is unavailable, you must use the physical buttons as described above, after disabling any auto-sync feature.
What should I do if the display does not flash when I press the time set button?
First, ensure the docking station is plugged into a working power outlet. If it still does not respond, the AutoSync feature may be active, disable it first.
How often do I need to update the time on my iHome docking station?
It is a good practice to verify the time periodically, especially after daylight saving time changes.
For the wider topic, see laptop docking stations.