
Welcome to our comprehensive guide on how to delete all emails from one sender on your iPhone. In today’s fast-paced digital age, our email inboxes can quickly become cluttered with an overwhelming number of messages. If you find yourself inundated with emails from a specific sender, whether it’s promotional messages, newsletters, or spam, we understand the frustration you may experience in trying to keep your inbox organized.
Fortunately, with the advancements in technology, managing your emails has become easier than ever. In this article, we will walk you through the step-by-step process of deleting all emails from one sender on your iPhone. Whether you are using the latest iPhone model or a slightly older one, our guide is designed to help you declutter your inbox efficiently and regain control over your email communications.
Inside This Article
Steps to Delete All Emails from One Sender on iPhone (2023)
Are you tired of having your inbox cluttered with emails from a single sender on your iPhone? Fortunately, there is a simple solution to help you clean up your inbox by deleting all emails from one sender. In this article, we will guide you through the step-by-step process of deleting all emails from a specific sender on your iPhone in the year 2023.
Step 1: Open the Mail App
The first step is to open the Mail app on your iPhone. Locate the Mail app icon on your home screen, which resembles an envelope, and tap on it to launch the app.
Step 2: Locate the Sender’s Emails
Once you have opened the Mail app, navigate to the mailbox or folder where the emails from the specific sender are located. This could be your inbox, a separate email folder, or even a specific email account if you have multiple accounts linked to your iPhone.
Scroll through the list of emails until you find an email from the sender that you want to delete all the emails from.
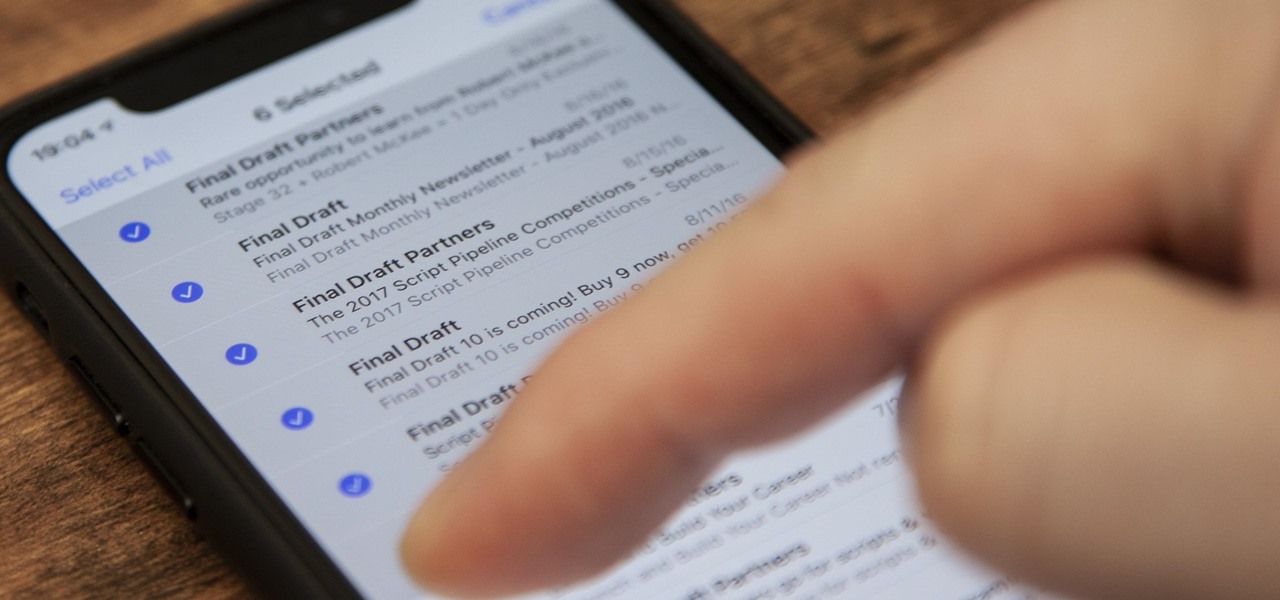
Step 3: Select Multiple Emails
To delete all emails from a specific sender, you need to select multiple emails at once. Start by tapping on the “Edit” option, usually located at the top right corner of the screen. This will enable the selection mode.
Next, tap on the checkbox next to the email from the desired sender to select it. Then, you can start selecting additional emails by tapping on the checkboxes next to each email from the same sender.
If you have a large number of emails from the sender, you can speed up the selection process by using the swipe gesture. Simply swipe your finger across the screen from right to left on each email, and it will be automatically selected.
Step 4: Delete the Selected Emails
After selecting all the emails from the desired sender, tap on the “Trash” or “Delete” icon, usually located at the bottom or top of the screen. Confirm the action when prompted to delete all the selected emails.
Once the deletion process is complete, you will see that all the emails from the specific sender have been successfully removed from your mailbox or folder.
Congratulations! You have now learned how to delete all emails from one sender on your iPhone in 2023. This simple method is an efficient way to declutter your inbox and keep it organized.
Remember to exercise caution while using this method, as it will permanently delete all the selected emails. Make sure to double-check the emails you are deleting to avoid deleting important or valuable messages unintentionally.
By following these easy steps, you can free up space in your inbox and maintain a neat and organized email account on your iPhone.
Conclusion
In conclusion, deleting all emails from one sender on your iPhone is a quick and easy process that can help you declutter your inbox and improve your productivity. By using the built-in features of the Mail app, you can efficiently remove multiple emails in just a few simple steps.
Remember that it’s important to be cautious when deleting emails, as it is a permanent action and cannot be undone. Take the time to review your emails and ensure that you are deleting the right ones.
By regularly organizing and managing your email inbox, you can stay on top of your digital communication and maintain a clean and efficient workflow. So go ahead and put these tips into practice to make your email management experience on your iPhone a breeze.
FAQs
1. Can I delete all emails from one sender on my iPhone?
Yes, you can easily delete all emails from one sender on your iPhone. There are a few different methods you can use to achieve this, depending on your preferences and the version of iOS you’re using. Keep reading to find out how!
2. How do I delete all emails from one sender on iPhone?
To delete all emails from one sender on your iPhone, you can use the built-in Mail app or take advantage of the search feature. Here’s a step-by-step guide:
– Open the Mail app on your iPhone.
– Go to your Inbox or the folder containing the emails from the specific sender.
– Tap on the “Edit” button in the top-right corner.
– Select the first email from the sender you want to delete.
– While holding down the “Move” button, deselect the selected email.
– Release the “Move” button, and a menu will appear.
– Tap on the “Trash” option to move all the emails from that sender to the Trash folder.
3. Will deleting emails from one sender on iPhone also delete them from the server?
No, deleting emails from one sender on your iPhone will not delete them from the server. When you delete emails, they are typically moved to the Trash folder on your iPhone and remain on the server. However, it’s always a good idea to double-check your email settings to ensure that your emails are not set to be permanently deleted from the server.
4. Can I delete emails from one sender automatically on iPhone?
Yes, you can set up rules or filters to automatically delete emails from a specific sender on your iPhone. However, this feature is currently only available for certain email providers and accounts. To set up automated email deletion, you will need to access your email account’s settings and look for options related to rules or filters. Consult your email provider’s documentation or support resources for detailed instructions.
5. Is there a way to undo the deletion of emails from one sender on iPhone?
Unfortunately, once you have deleted emails from one sender on your iPhone and emptied the Trash folder, there is typically no way to undo the deletion. It’s important to exercise caution when deleting emails to avoid accidentally removing important messages. As a best practice, consider archiving important emails or creating backups to minimize the risk of permanent data loss.