
Procreate is a widely-used digital illustration app that has gained popularity among artists and designers for its versatile features and user-friendly interface. One common challenge faced by Procreate users is how to make the background transparent in their artwork.
Having a transparent background allows for greater flexibility when it comes to incorporating the artwork into different projects and platforms. Whether you want to create a logo, design a graphic for a website, or overlay an image onto another background, knowing how to make the background transparent in Procreate is crucial.
In this article, we will guide you through the step-by-step process of making the background transparent in Procreate. From selecting your preferred method to optimizing the final result, we will equip you with the knowledge and techniques to achieve the desired effect in your artwork.
Inside This Article
- Understanding Transparency in Procreate
- Method 1: Using the Layer Opacity
- Method 2: Utilizing Alpha Lock
- Method 3: Using Layer Mask
- Method 4: Magic Wand Tool
- Conclusion
- FAQs
Understanding Transparency in Procreate
Transparency plays a crucial role in digital art and design. It allows you to remove the background of an image or artwork, giving you the flexibility to place your creation on different backgrounds or combine it with other elements seamlessly. In Procreate, a popular digital art app, understanding how to make the background transparent opens up a world of possibilities for artists and designers.
Procreate offers several methods to achieve transparency in your artwork, whether you want to remove the entire background or selectively erase certain areas. In this article, we will explore some of the methods for making the background transparent in Procreate.
1. Using the Alpha Lock Feature:
Alpha Lock is a powerful tool in Procreate that allows you to protect the transparency of a layer. To use this feature, simply select the layer you want to work on and tap on the layer’s thumbnail. This will bring up a menu where you can choose “Alpha Lock.” With Alpha Lock enabled, you can paint and make edits while preserving the transparency of the layer. This method is especially useful when you want to retain certain parts of the background while making changes to other areas of your artwork.
2. Erasing the Background:
If you want to remove the entire background of your artwork, the eraser tool in Procreate can help you achieve this. Select the eraser tool from the toolbar and choose a brush that suits your needs. Then, simply start erasing the areas of the background you want to remove. Remember to use a softer brush for smoother transitions. You can also adjust the opacity and size of the eraser tool to achieve more precise results. This method is ideal when you want a clean and completely transparent background.
3. Creating a New Layer with a Transparent Background:
Another method to make the background transparent in Procreate is by creating a new layer with a transparent background. To do this, tap on the layers button at the top right of the screen and select “Add.” Choose the “New Layer” option and set the layer mode to “Normal.” By default, the new layer will have a transparent background, allowing you to draw or import artwork without any predefined background. This method is useful when you want to start with a blank canvas or combine multiple elements with transparency.
Method 1: Using the Layer Opacity
One of the ways to make the background transparent on Procreate is by adjusting the layer opacity. Procreate allows you to change the opacity of individual layers, which can help you achieve the desired transparency effect for your artwork.
To begin, open the Procreate app and load the artwork you want to work on. Make sure to have the layer with the background selected.
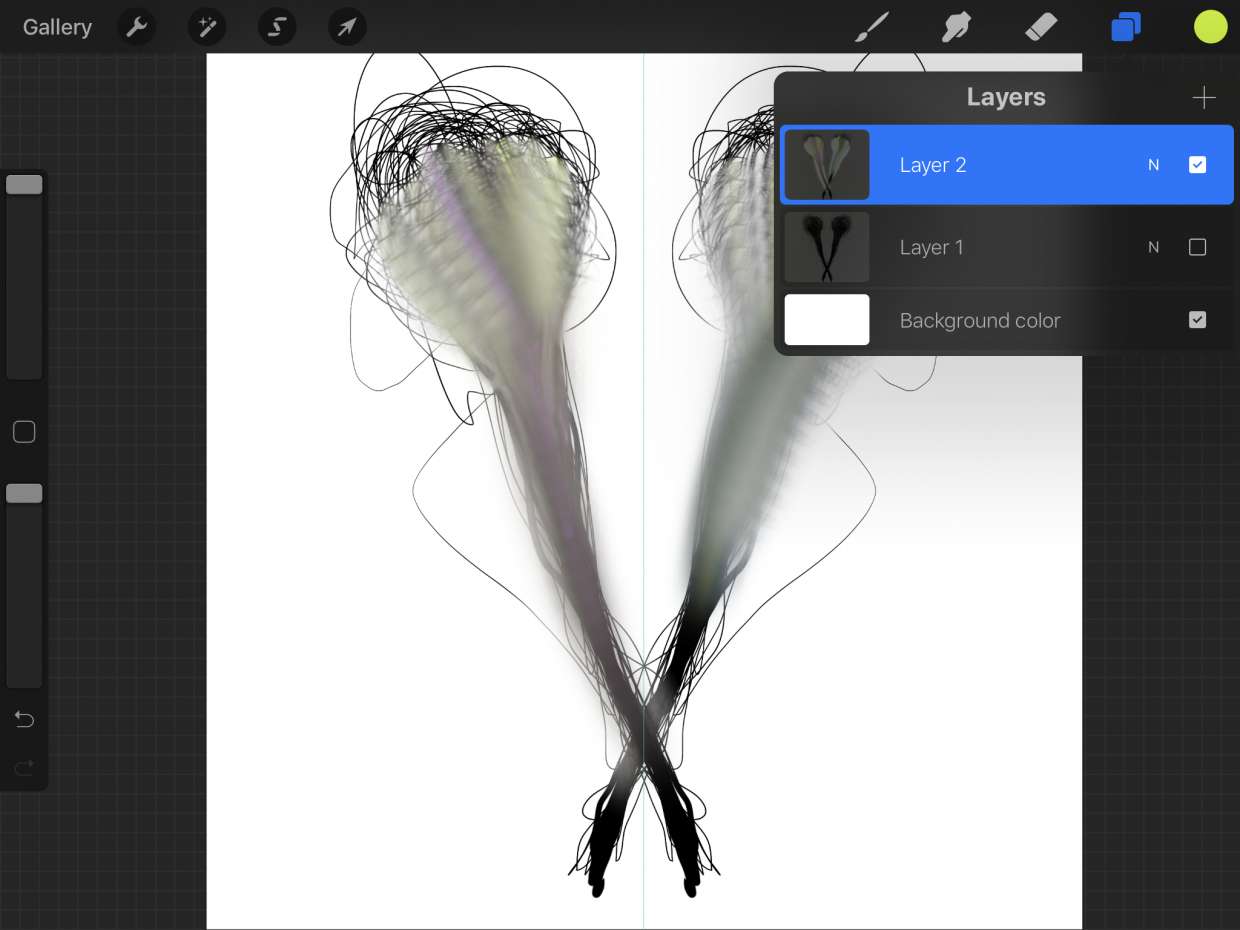
Next, navigate to the Layer panel, located on the top right corner of the screen. Tap on the selected layer to bring up a menu of layer options.
In the menu, you will find an opacity slider. By default, the opacity is set to 100%, making the layer fully opaque. To make the background transparent, simply adjust the opacity slider to a lower value.
Move the slider towards the left to decrease the opacity gradually, or you can directly input a specific opacity value into the text box beside the slider.
Experiment with different opacity levels until you achieve the desired transparency for your background. You can also combine this method with other techniques to further customize your artwork.
Remember to save your changes regularly to avoid losing any progress.
Using the layer opacity method can be an effective way to achieve transparency in your Procreate artwork. It provides you with flexibility and control over the transparency level you want to achieve for your background.
Method 2: Utilizing Alpha Lock
Another effective method for making the background transparent on Procreate is by utilizing the Alpha Lock feature. Alpha Lock allows you to lock the transparent pixels of a specific layer, enabling you to make changes and edits solely to the opaque areas of that layer.
To use Alpha Lock, follow these steps:
-
Open your Procreate project and select the layer you want to work on. Make sure the layer contains the element or object you wish to keep while making the background transparent.
-
Tap on the layer to open the Layer Options menu. Here, you will find various options and settings for that particular layer.
-
In the Layer Options menu, locate and tap on the “Alpha Lock” option. This will activate Alpha Lock for the selected layer.
-
Once Alpha Lock is enabled, you will see a checkerboard pattern appear on the transparent areas of the layer. This indicates that the transparent pixels are now locked, and any edits made will only affect the opaque areas.
-
Now, you can use various brushes, erasers, and other tools to modify the opaque areas of the layer without altering the transparent background.
-
If you want to make the background completely transparent, you can use the eraser tool to carefully remove the unwanted areas outside of your element. Remember to do this while the Alpha Lock is still active to ensure the transparency is applied only to the desired parts.
-
Once you are satisfied with the changes, you can export your artwork or continue working on other layers to add more elements or effects without affecting the transparency you’ve achieved with Alpha Lock.
Using Alpha Lock offers a precise and efficient way to make the background transparent on Procreate. It allows you to have full control over the transparent and opaque areas of your project, making it easier to create stunning and professional-looking designs.
Method 3: Using Layer Mask
If you’re looking for another method to make the background transparent on Procreate, you can try using layer masks. Layer masks are incredibly useful tools that allow you to hide or reveal parts of a layer, giving you more control over your artwork. Here’s how you can use layer masks to achieve a transparent background on Procreate:
1. Start by creating a new layer for your artwork. This will serve as the layer that you apply the layer mask to.
2. Select the layer that you want to make transparent. You can do this by tapping on the layer in the Layers panel.
3. With the layer selected, tap on the “Layer Mask” button at the top of the Layers panel. This will create a white layer mask thumbnail next to your selected layer.
4. To make the background transparent, select the layer mask thumbnail and choose the “Invert” option. This will turn the layer mask black, making the entire layer transparent.
5. Now, using the brush tool, you can paint with white on the layer mask to reveal the areas you want to keep visible. If you make a mistake, you can switch to a black brush and paint to hide any unwanted areas.
6. Continue painting on the layer mask until you have achieved the desired transparency for the background. You can also adjust the brush size to create more precise selections.
7. Once you’re satisfied with the result, you can merge the layer with the transparent background with the layers below it by tapping on the “Merge Down” option in the Layer menu.
This method allows you to have full control over which parts of your artwork have a transparent background. It’s a great option if you want to preserve some elements while making the rest of the background transparent.
Remember to save your artwork in a format that supports transparency, such as PNG, to ensure that the transparent background is preserved when you export or share your work.
Using layer masks in Procreate provides you with endless possibilities for creating stunning artwork with transparent backgrounds. Give it a try and see how it can elevate your digital art!
Method 4: Magic Wand Tool
The Magic Wand tool is a powerful feature in Procreate that can help you make your background transparent. This tool allows you to select and remove specific areas of your canvas based on color similarity.
To use the Magic Wand tool, follow these steps:
- Select the Magic Wand tool from the toolbar on the left side of your screen.
- Adjust the Magic Wand settings, such as tolerance and threshold, to customize your selection.
- Tap on the area of the background that you want to make transparent.
- If the selection isn’t accurate, you can use the Refine Edge option to fine-tune the boundaries.
- Once you’re satisfied with the selection, tap on the “Add” button to add the selection to the current layer or tap on the “New Layer” button to create a new layer with the transparent background.
Keep in mind that the effectiveness of the Magic Wand tool depends on the complexity of the background and the contrast between the subject and the background colors. If your background has intricate details or similar colors to the subject, you may need to combine the Magic Wand tool with other techniques for better results.
Experiment with different settings and try selecting different areas of the background to achieve the desired level of transparency. With a bit of practice, you’ll be able to make your background transparent using the Magic Wand tool in Procreate.
Conclusion
Transparent backgrounds can add a touch of professionalism and versatility to your digital art creations in Procreate. With the steps outlined in this article, you can easily make the background transparent and unleash your creativity. Whether you want to showcase your artwork on a website or combine it with other images, having a transparent background gives you endless possibilities and allows for seamless integration into various designs.
Remember to experiment with different brushes, layers, opacity settings, and blending modes to achieve the desired effect. With practice and exploration, you’ll soon master the skill of creating stunning artwork with transparent backgrounds in Procreate.
So go ahead and take your digital art to the next level by making the background transparent in Procreate. Let your imagination run wild and watch as your creations come to life with this simple yet powerful technique.
FAQs
1. Can I make the background transparent on Procreate?
Yes, you can make the background transparent on Procreate. Procreate is a powerful digital art app that allows you to create and edit artwork on your iPad. To make the background transparent, you can follow these steps:
- Open your artwork in Procreate.
- From the Layers panel, tap on the layer containing your background.
- Select “Alpha Lock” from the contextual menu. This will lock the transparency of the layer.
- Tap on the layer again and choose “Clear” from the options. This will remove the contents of the layer, making it transparent.
Once you have made the background transparent, you can save your artwork as a PNG file to preserve the transparency.
2. Why would I want to make the background transparent?
Making the background transparent can be useful in various scenarios. For example:
- If you want to use your artwork on a different background, such as a website or a presentation slide, having a transparent background allows for better integration.
- If you want to overlay your artwork on top of another image or design, a transparent background makes the merging process easier.
- If you want to create stickers or digital assets that can be used in different contexts, a transparent background provides versatility.
By making the background transparent, you gain flexibility in using your artwork across different platforms and designs.
3. Is making the background transparent reversible?
Yes, the process of making the background transparent on Procreate is reversible. If you decide to bring back the original background or make any adjustments, you can follow these steps:
- Open your artwork in Procreate.
- From the Layers panel, select the transparent layer.
- Tap on the layer and choose “Undo” from the options to revert the transparency change.
This will bring back the original background or the previous state of the layer before it was made transparent.
4. Can I adjust the transparency level of the background?
In Procreate, the transparency of the background is either fully opaque or fully transparent. However, you have the flexibility to adjust the opacity or transparency of individual layers within your artwork.
5. Can I make only certain parts of the background transparent?
Yes, you can make only certain parts of the background transparent by utilizing layer masks in Procreate. Layer masks allow you to selectively hide or reveal parts of a layer, including the background layer. By using brushes and various masking techniques, you can create intricate and customized transparency effects in your artwork.