To enable NFC on iPhone 14, you do not need to toggle anything on because NFC tag scanning is always enabled and cannot be turned off. There is no manual "enable NFC" setting in the iPhone 14's Settings app, so the device is ready to read compatible tags the moment you wake it.
Is there a way to enable NFC on iPhone 14?
No. On iPhone 14, NFC tag scanning is described as always enabled and cannot be turned off. If you want to use contactless payments or scan tags, your iPhone 14 is already prepared, no activation step is required.
What is NFC?
Near Field Communication (NFC) is a short-range wireless technology that lets devices exchange data when they are within a few centimeters of each other. Common uses include contactless payments, device pairing, and reading information from smart posters or product tags. It operates on the 13.56 MHz frequency and is built into most modern smartphones.
Does iPhone 14 support NFC?
Yes, all iPhone 14 models support NFC. Apple’s tech specs list “NFC with reader mode,” “Express Cards with power reserve,” and “Accessory Identification NFC.” This means your iPhone 14 can read tags, make Apple Pay transactions even when the battery is low, and identify compatible accessories. iPhone 14 tech specs explicitly include NFC features; background tag reading applies to iPhone 14, 14 Plus, 14 Pro, and 14 Pro Max.
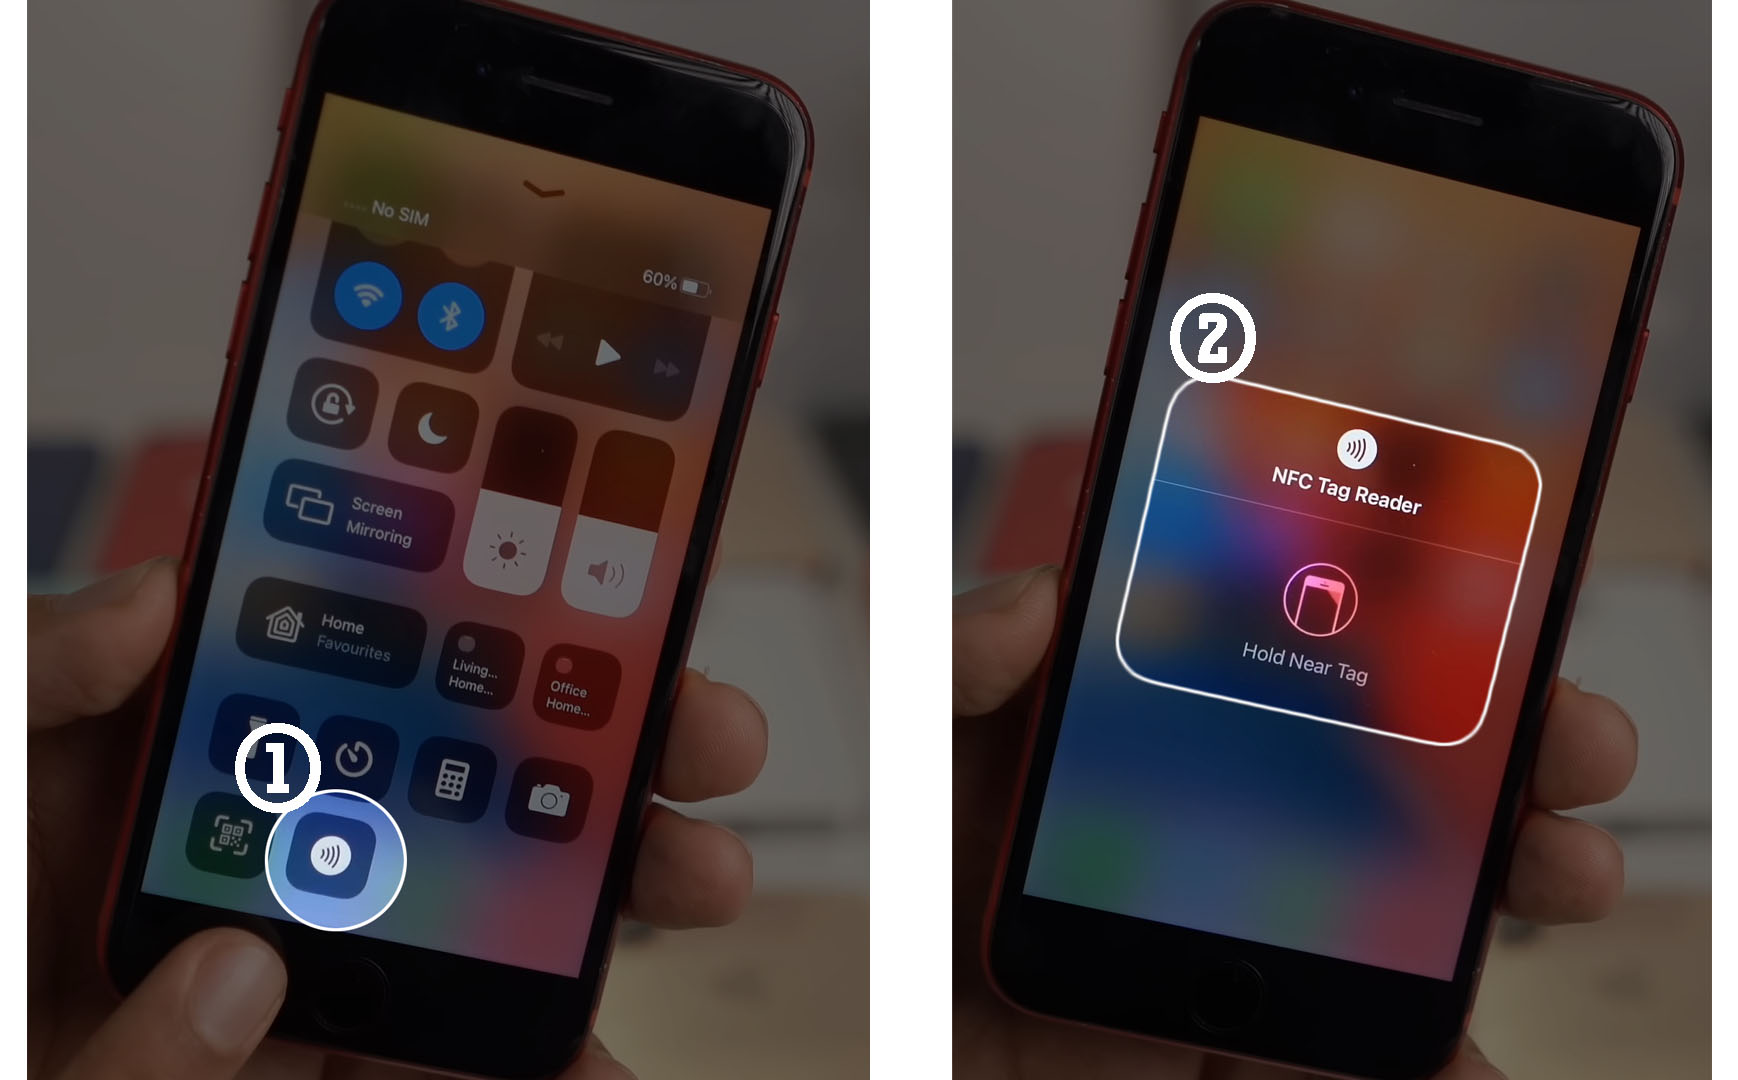
How to use NFC tag scanning on iPhone 14
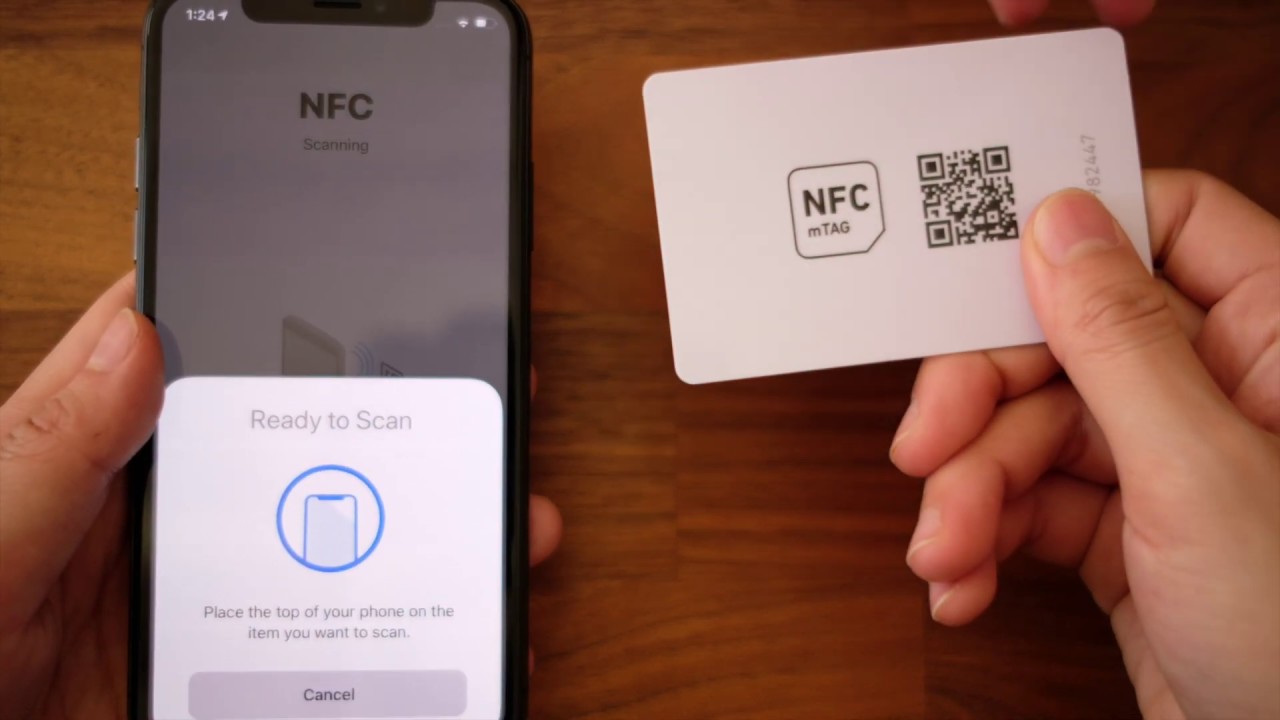
Using NFC tag scanning on iPhone 14 is straightforward because it works in the background. Follow these steps:
- Wake your iPhone 14 by pressing the Side button or tapping the screen.
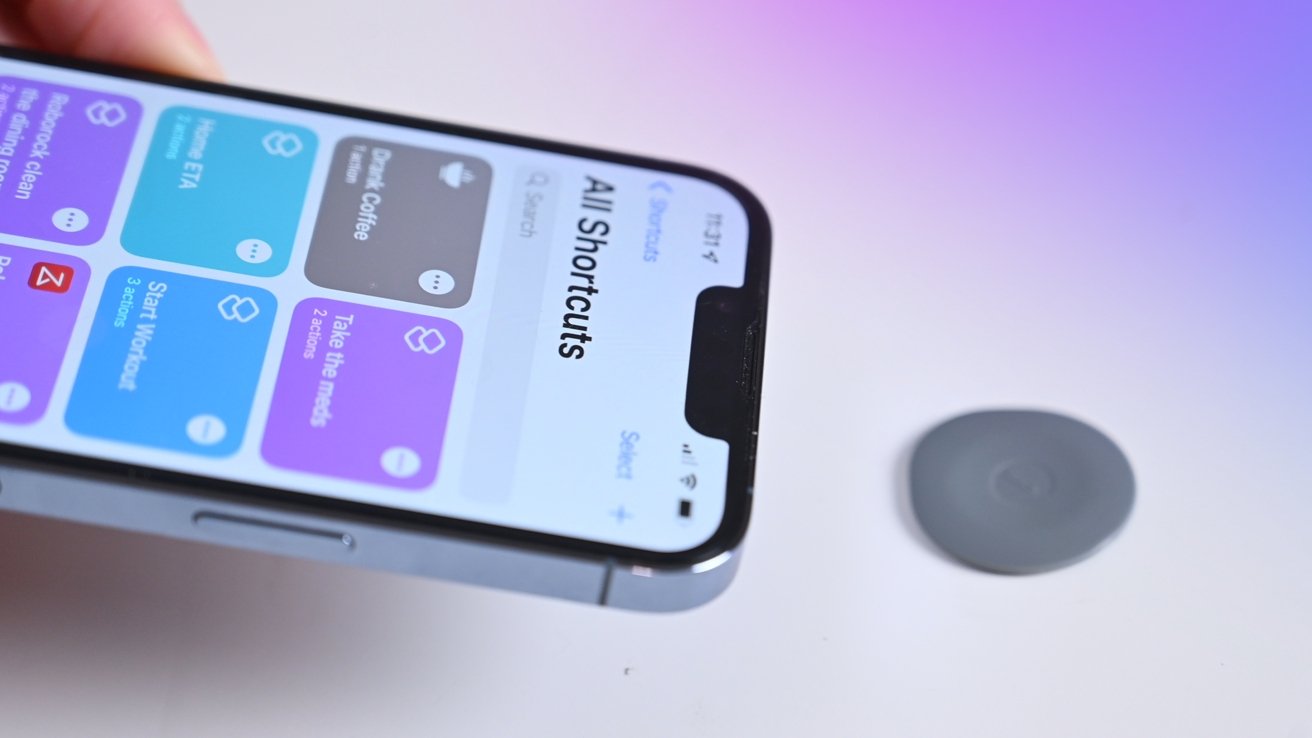
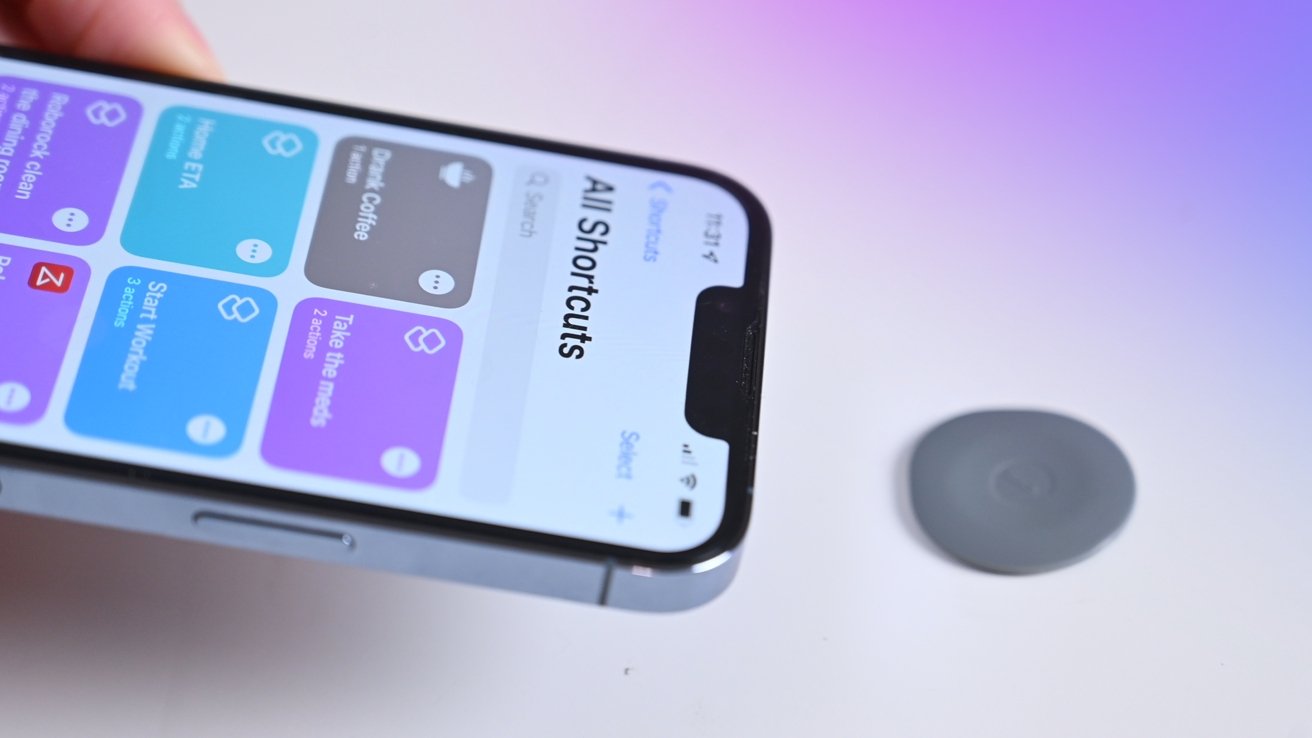
- Hold the top-back area of the phone near a compatible NFC tag.
- A notification appears if the tag contains readable data, such as a URL.
No app download is needed for tag scanning on iPhone 14. The phone handles the process automatically. Note that plain or empty tags will not trigger a response.
How to set up NFC payments with Apple Pay
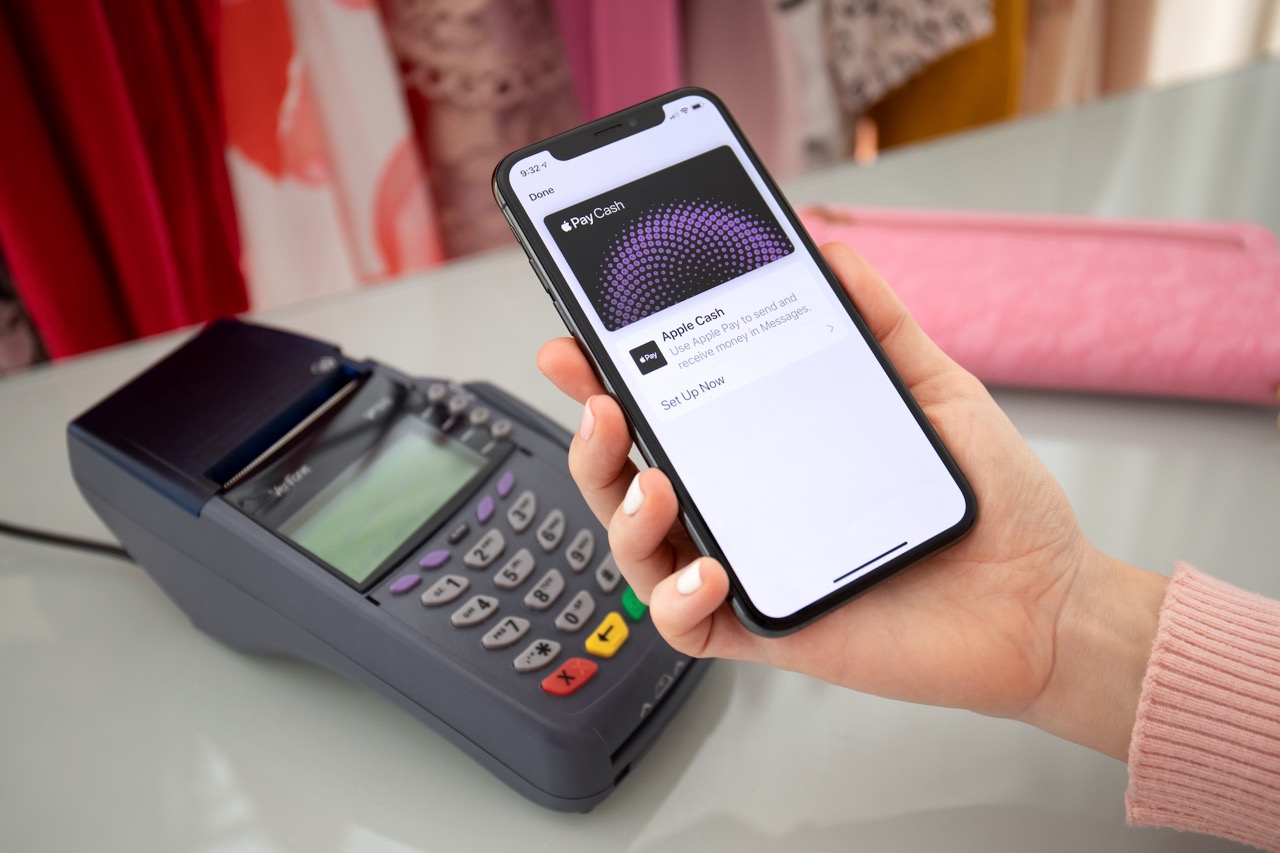
To use NFC for contactless payments, you need to set up Apple Pay. The documented setup starts in the Wallet app: tap the Plus sign icon and follow the prompts to add a card; one carrier help page for iPhone 14 Pro Max also says you can double-press the Side button to open your default payment card. The documented setup path is:
- Open the Wallet app on your iPhone 14.
- Tap the Plus sign icon to add a card.
- Follow the on-screen prompts to enter your card details and verify with your bank.
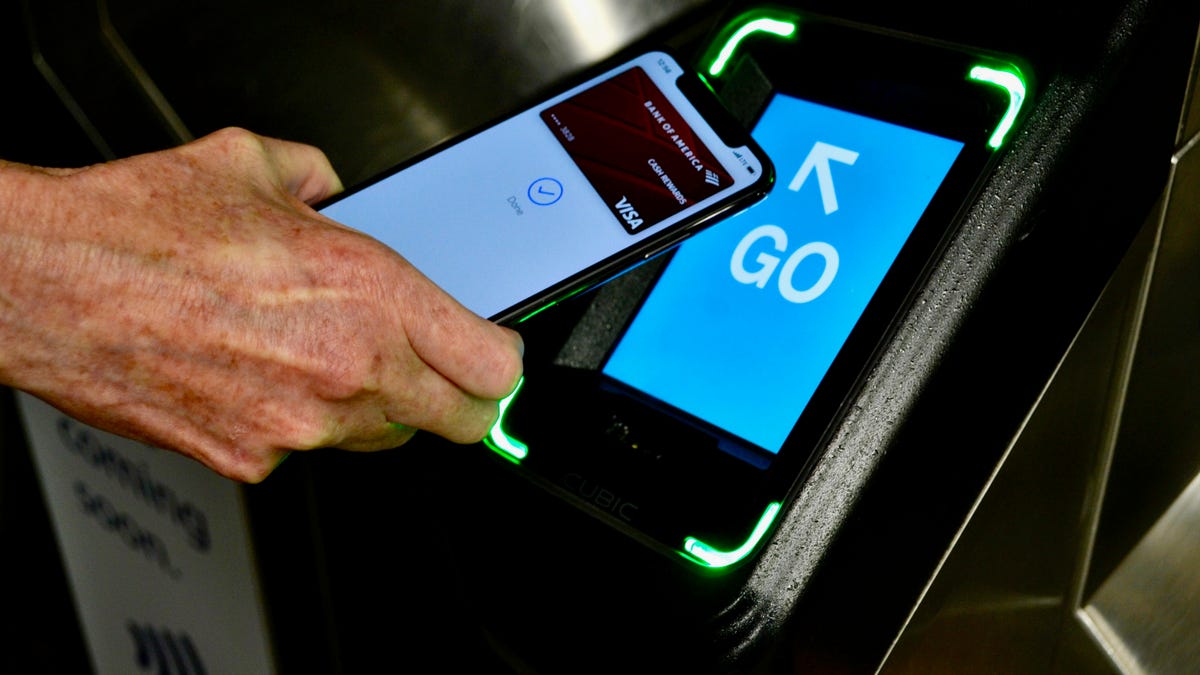
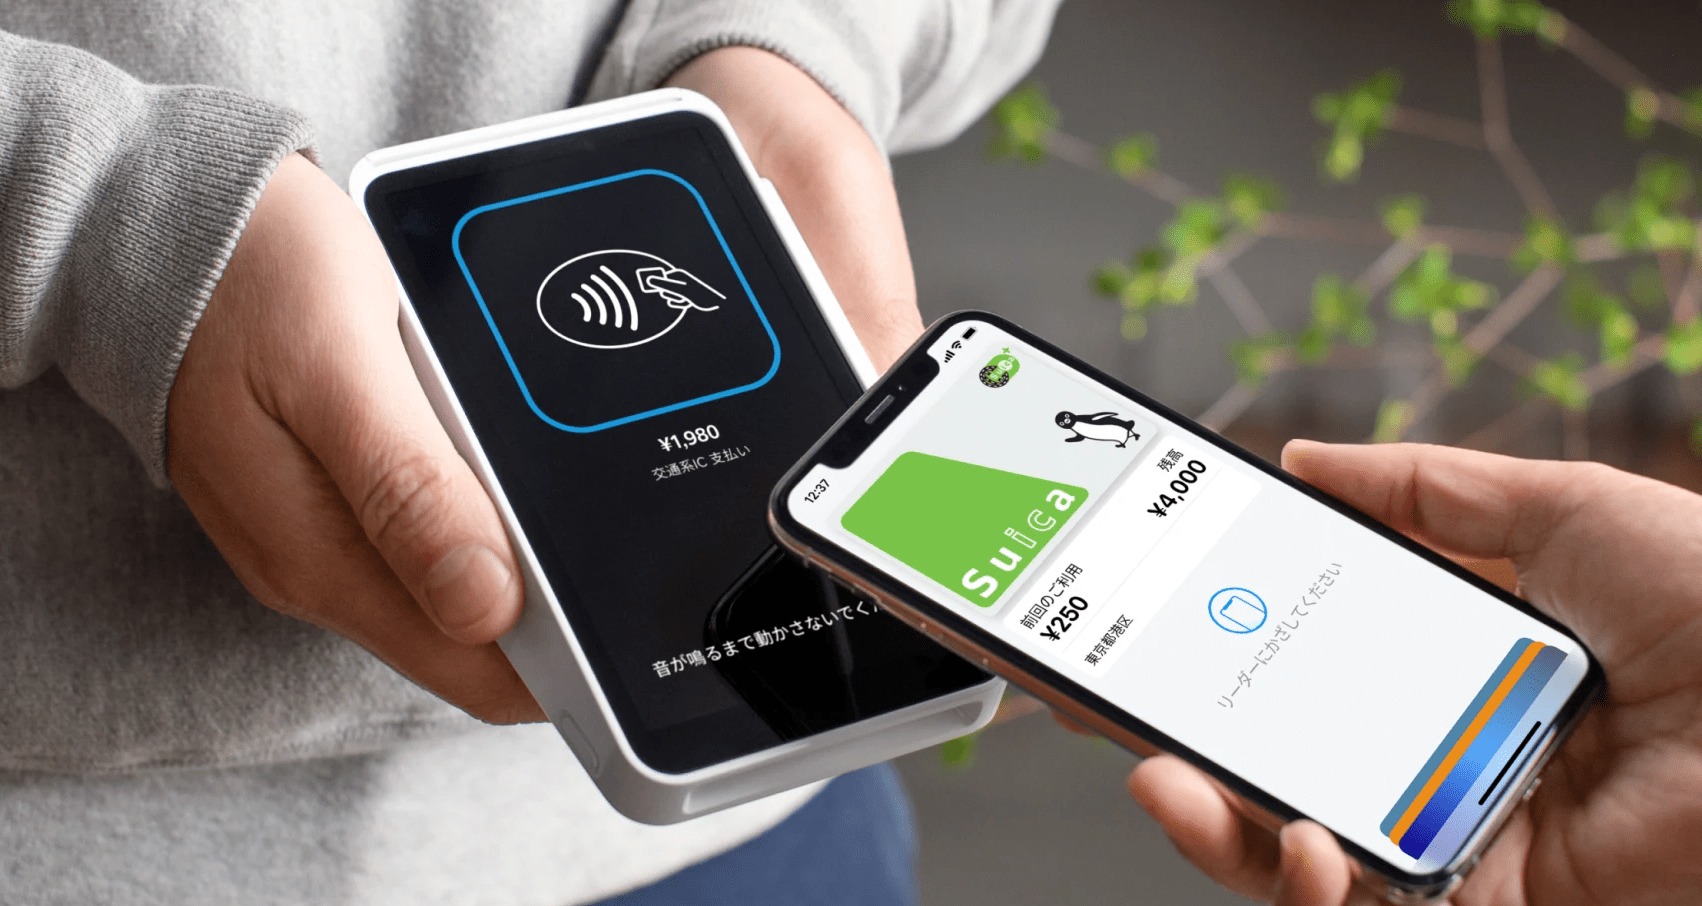
Once a card is added, double-press the Side button to open your default payment card. Hold the top of your iPhone near a contactless reader to complete the transaction. Express Cards with power reserve allow you to pay even when the phone needs charging.
Frequently Asked Questions
Is there an NFC toggle on iPhone 14?
No documented toggle was found for iPhone 14. NFC tag scanning is described as always enabled, so there is no switch to turn it on or off in Settings.
Do you need an app to scan NFC tags on iPhone 14?
No. Native background tag scanning works without any app. Wake your iPhone and hold it near a compatible tag to see a notification.
Can NFC be turned off for payments?
For most users, NFC remains active for Apple Pay and tag reading.
Why does my iPhone 14 say "Couldn't Read NFC Tag"?
This error typically appears when the tag is empty, damaged, or incompatible. The iPhone 14 only responds to tags with encoded data, such as a URL or contact information.
What is the NFC tag on Cash App?
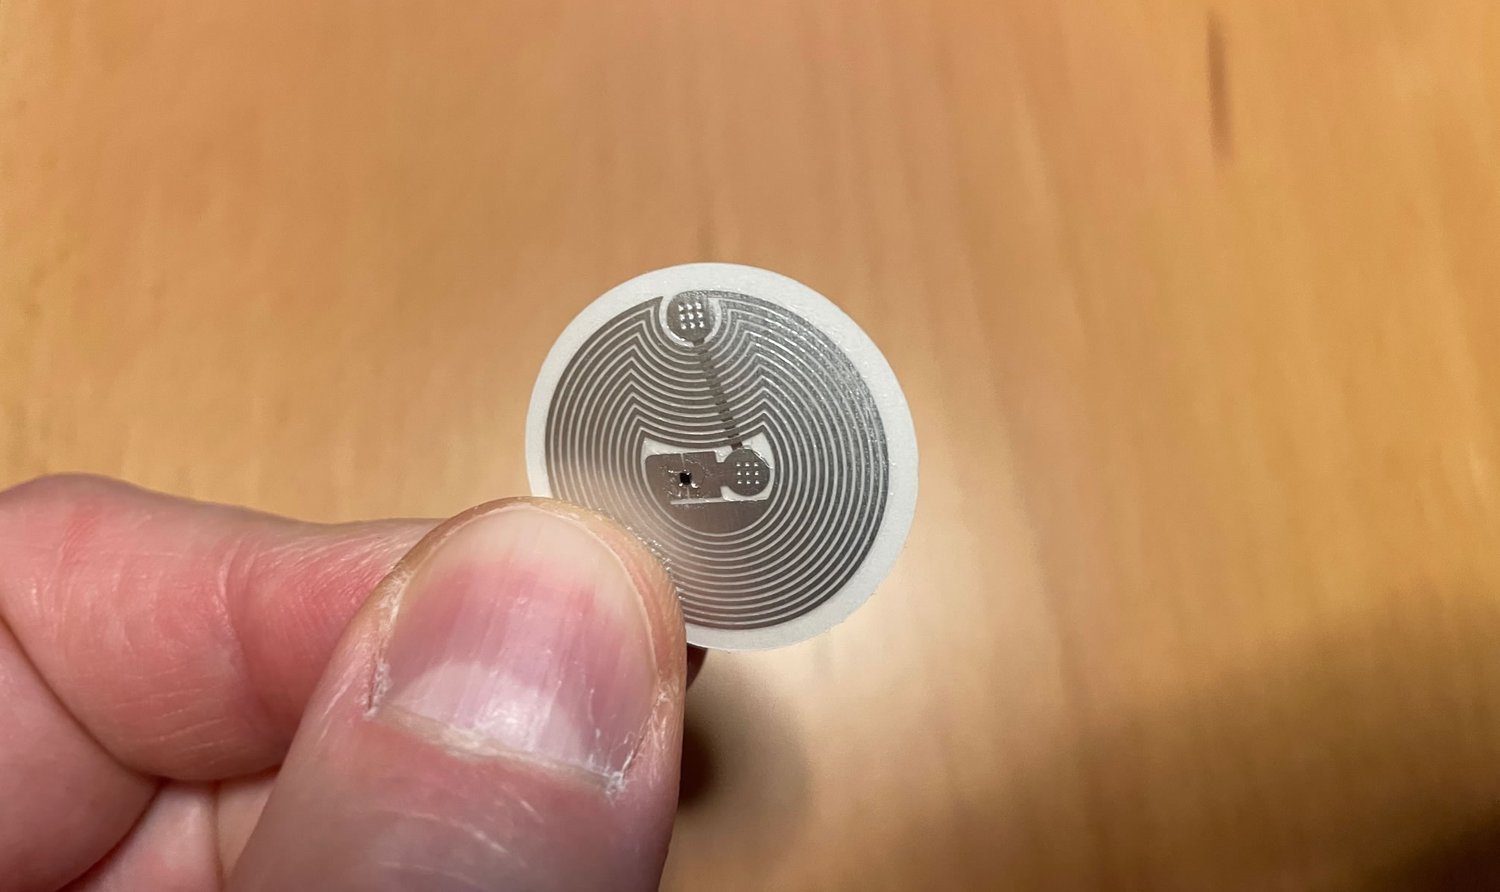
The NFC tag on Cash App refers to a physical card or sticker that uses NFC to trigger a payment or action in the app. It works similarly to other NFC tags: tapping your iPhone 14 to the tag opens Cash App for the configured transaction.
Where can I find NFC tags and readers explained?
NFC tags and readers explained in product documentation or retailer guides cover how tags store data and how phones like the iPhone 14 read them. The iPhone 14 acts as a reader for compatible tags without needing separate hardware.
Related reading: How To Enable NFC On IPhone 11.