
Are you constantly bombarded with notifications, calls, and messages on your iPhone 12, making it challenging to focus on the task at hand? If so, you're not alone. Fortunately, the Do Not Disturb feature on the iPhone 12 can provide the respite you need from these interruptions. This feature allows you to silence notifications, calls, and alerts, ensuring that you can concentrate without unnecessary disruptions. In this article, we'll explore how to turn on Do Not Disturb on your iPhone 12, enabling you to reclaim your focus and productivity. So, let's dive in and discover how to leverage this valuable functionality on your device.
Inside This Article
- Setting Up Do Not Disturb on iPhone 12
- Activating Do Not Disturb Manually
- Scheduling Do Not Disturb
- Customizing Do Not Disturb Settings
- Conclusion
- FAQs
Setting Up Do Not Disturb on iPhone 12
Do Not Disturb is a valuable feature on the iPhone 12 that allows you to silence calls, alerts, and notifications when you need some peace and quiet. Setting up Do Not Disturb is a straightforward process that can be customized to suit your specific needs and schedule.
To begin, navigate to the “Settings” app on your iPhone 12 and scroll down to find the “Do Not Disturb” option. Tap on it to access the various settings and options available for configuring this feature. Here, you can toggle the switch to activate Do Not Disturb manually or set it to turn on automatically during specific times.
Once inside the “Do Not Disturb” settings, you can personalize the feature further by choosing who can contact you even when it’s activated. You can allow calls from your favorites, specific contacts, or repeated calls to come through, ensuring that important communications are not missed while maintaining a peaceful environment.
Additionally, you can opt to receive notifications silently while in Do Not Disturb mode, preventing them from lighting up your screen or making any sounds. This is especially useful when you want to stay focused without being constantly interrupted by alerts.
Activating Do Not Disturb Manually
When you need some uninterrupted time with your iPhone 12, activating Do Not Disturb manually is a simple and effective way to minimize disruptions. Whether you’re in a meeting, enjoying a movie, or simply need some quiet time, this feature allows you to stay focused without being bothered by notifications.
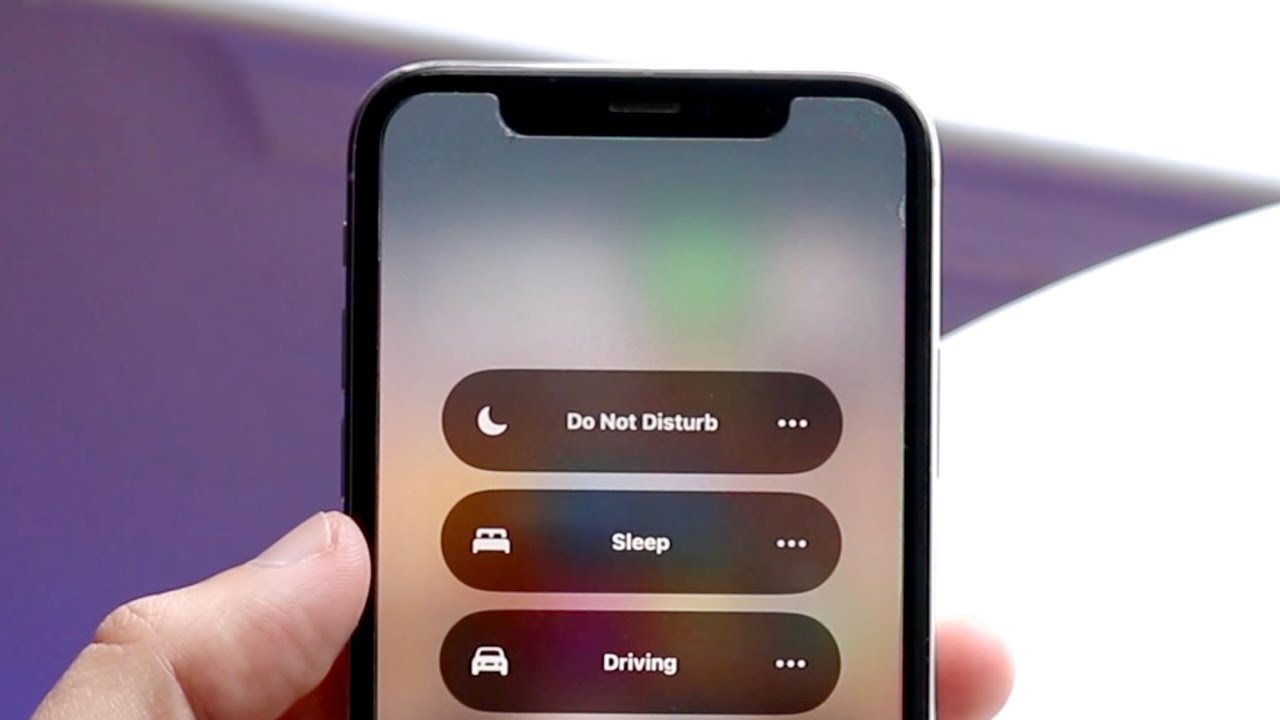
To activate Do Not Disturb manually on your iPhone 12, simply swipe down from the top-right corner of the screen to access the Control Center. Next, tap the crescent moon icon, which represents Do Not Disturb. Once activated, the crescent moon icon will appear blue, indicating that Do Not Disturb is now active.
Once Do Not Disturb is enabled, your iPhone will suppress all incoming calls, messages, and notifications, ensuring that you can concentrate on the task at hand without any interruptions. However, it’s important to note that you can still receive important calls from designated contacts if you have allowed them to bypass Do Not Disturb in your settings.
Sure, here's the content for "Scheduling Do Not Disturb" section:
Scheduling Do Not Disturb
One of the most convenient features of the iPhone 12’s Do Not Disturb mode is the ability to schedule it to automatically activate and deactivate at specific times. This is perfect for ensuring that you won’t be disturbed during important meetings, while sleeping, or at any other regular, predictable times.
To set up a schedule for Do Not Disturb, follow these simple steps:
- Open the “Settings” app on your iPhone 12.
- Scroll down and tap on “Do Not Disturb.”
- Toggle on the “Scheduled” switch.
- Select the “From” and “To” times for when you want Do Not Disturb to be active.
- You can also choose whether to allow calls from specific contacts by tapping “Allow Calls From” and selecting “Favorites” or “All Contacts.” This ensures that you won’t miss important calls from your loved ones or essential contacts even when Do Not Disturb is active.
Once you have set up the schedule, your iPhone 12 will automatically enter Do Not Disturb mode at the designated time, silencing calls, notifications, and alerts, and then exit the mode at the specified end time. This hands-free approach ensures that you can enjoy uninterrupted time without having to remember to activate Do Not Disturb manually.
Customizing Do Not Disturb Settings
Customizing the Do Not Disturb settings on your iPhone 12 allows you to tailor the feature to your specific needs and preferences. By accessing the settings, you can fine-tune Do Not Disturb to ensure it functions exactly as you desire.
One of the key customization options is to allow calls from certain contacts to bypass Do Not Disturb. This feature is particularly useful if you want to ensure that important calls can still reach you even when your phone is in Do Not Disturb mode.
Additionally, you can choose to enable repeated calls to break through Do Not Disturb. This means that if someone calls you twice within three minutes, the second call will not be silenced, ensuring that urgent matters can still reach you even when you’re in a state of tranquility.
Another aspect of customizing Do Not Disturb involves managing notifications. You have the flexibility to decide whether you want to receive notifications while your phone is locked, or if you prefer to only see them when you actively use your device.
Furthermore, you can set up a schedule for Do Not Disturb to automatically activate during specific time frames, such as during your sleeping hours or when you’re in an important meeting. This level of customization ensures that Do Not Disturb seamlessly aligns with your daily routine.
Conclusion
Mastering the art of using the “Do Not Disturb” feature on your iPhone 12 can significantly enhance your productivity and peace of mind. Whether you’re in a meeting, enjoying a movie, or simply need uninterrupted focus, this feature empowers you to manage your notifications seamlessly. By customizing the settings to suit your preferences and schedule, you can strike the perfect balance between staying connected and embracing moments of solitude. The intuitive nature of the “Do Not Disturb” feature ensures that you remain in control of your digital interactions, allowing you to savor moments of tranquility without sacrificing accessibility. With these insights, you can harness the power of this functionality to elevate your iPhone 12 experience and embrace a harmonious blend of connectivity and serenity.
FAQs
Q: How do I activate Do Not Disturb on my iPhone 12?
A: To activate Do Not Disturb on your iPhone 12, simply swipe down from the top-right corner of the screen to access Control Center, then tap the crescent moon icon to enable Do Not Disturb mode.
Q: Can I schedule Do Not Disturb on my iPhone 12?
A: Yes, you can schedule Do Not Disturb on your iPhone 12. Simply go to Settings > Do Not Disturb, then toggle on the Scheduled option and set the desired start and end times for Do Not Disturb mode.
Q: Will alarms still work when Do Not Disturb is enabled on my iPhone 12?
A: Yes, alarms will still work even when Do Not Disturb is enabled on your iPhone 12. Do Not Disturb mode silences calls, alerts, and notifications, but it does not affect alarms.
Q: Can I allow calls from specific contacts while in Do Not Disturb mode on my iPhone 12?
A: Yes, you can allow calls from specific contacts while in Do Not Disturb mode on your iPhone 12. Simply go to Settings > Do Not Disturb, then tap on Allow Calls From and choose the desired contacts or groups.
Q: How do I know if Do Not Disturb is active on my iPhone 12?
A: When Do Not Disturb is active on your iPhone 12, a moon icon will appear in the status bar at the top of the screen. Additionally, the crescent moon icon will be visible in Control Center when Do Not Disturb is enabled.