
Are you looking to delete your Facebook business page using your mobile device? In this comprehensive guide, we'll walk you through the step-by-step process of removing your Facebook business page directly from your mobile device. Whether you're rebranding your business, closing shop, or simply looking to streamline your online presence, deleting your Facebook business page can be a straightforward process when done through the mobile app. We'll cover everything from accessing the necessary settings to confirming the deletion, ensuring that you can confidently navigate this task with ease. So, grab your mobile device, and let's dive into the simple yet essential steps to delete your Facebook business page on mobile.
Inside This Article
- Step 1: Open the Facebook App
- Step 2: Go to Your Business Page
- Step 3: Access Page Settings
- Step 4: Remove Page
- Conclusion
- FAQs
Step 1: Open the Facebook App
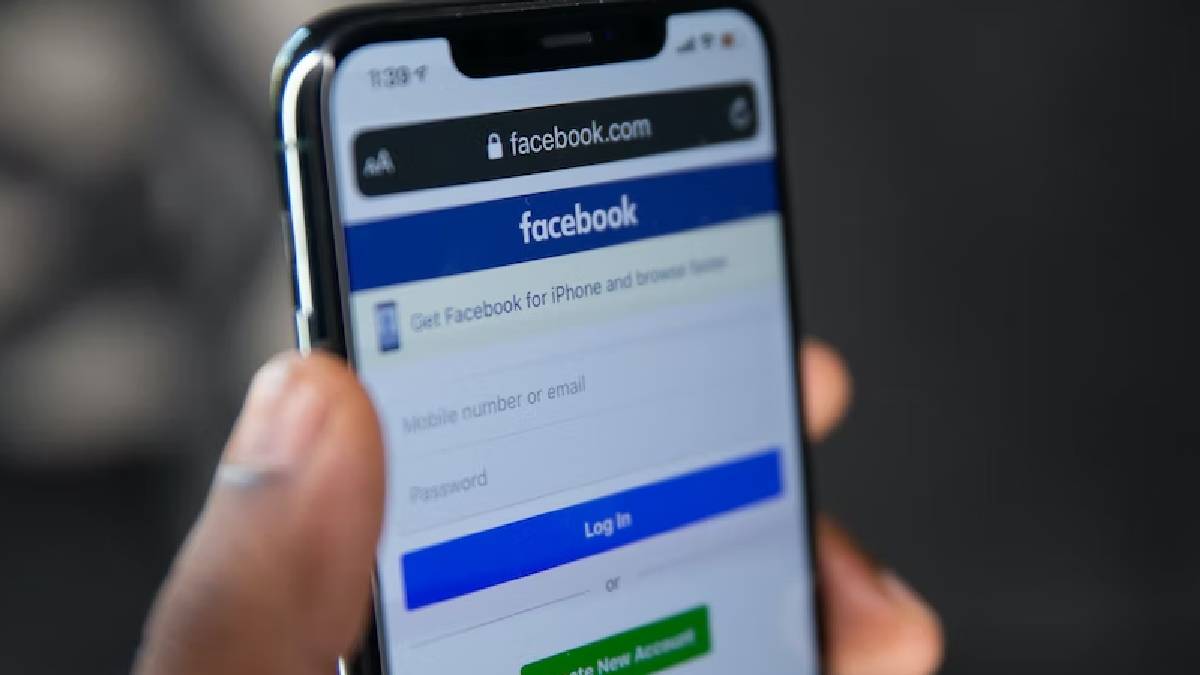
So, you've made the decision to part ways with your Facebook business page. Whether it's due to a change in business direction or a shift in your marketing strategy, knowing how to delete your Facebook business page on mobile is essential. The process begins with opening the Facebook app on your mobile device.
First, ensure that you have the Facebook app installed on your mobile device. If not, head to the App Store (for iOS devices) or the Google Play Store (for Android devices) to download and install the app. Once the app is installed, locate the familiar blue and white Facebook icon on your home screen or app drawer, and tap to open it.
Upon opening the Facebook app, you will be prompted to log in if you haven't done so already. Enter your login credentials – typically your email address or phone number and your password – and tap "Log In" to access your account.
If you have previously logged in and enabled the "Stay Logged In" feature, the app may open directly to your News Feed or the last section you were browsing. In this case, navigate to the app's home screen by tapping the three horizontal lines (the "hamburger" icon) in the bottom navigation bar. This will reveal the main menu, where you can proceed to the next step in the process of deleting your Facebook business page.
Opening the Facebook app is the crucial first step in the process of removing your business page. Once you have successfully accessed the app, you are ready to move on to the next step, which involves locating and accessing your business page within the app.
Remember, the process of deleting your Facebook business page should be approached thoughtfully. It's important to consider the implications and ensure that it aligns with your overall business strategy. With the Facebook app open on your mobile device, you are one step closer to effectively managing your business page and making informed decisions about its future.
Next, we will delve into the next step, guiding you through the process of locating your business page within the Facebook app.
Step 2: Go to Your Business Page
Once you have successfully opened the Facebook app on your mobile device, the next step is to navigate to your business page. This process allows you to access the specific settings and options related to your business page, including the ability to delete it if necessary.
To begin, tap the three horizontal lines, often referred to as the "hamburger" icon, located in the bottom navigation bar of the Facebook app. This action will reveal the main menu, providing access to various sections and features within the app. Look for the "Pages" option within the menu and tap on it to proceed.
Upon selecting the "Pages" option, you will be directed to a new screen displaying a list of pages associated with your account. If you manage multiple pages, they will be listed here. Take a moment to locate and tap on the business page that you intend to delete. This action will open the selected business page, allowing you to view its content and manage its settings.
Once you have accessed your business page, take a moment to review its content and ensure that you are indeed on the correct page. It's essential to verify that you are making changes to the intended business page to avoid any accidental modifications to other pages.
Navigating to your business page within the Facebook app is a crucial step in the process of deleting the page. It provides you with direct access to the specific settings and options that are pertinent to managing and, in this case, removing the page. By reaching this stage, you are ready to proceed to the next step, which involves accessing the page settings to initiate the deletion process.
Remember, the decision to delete your business page should be carefully considered, taking into account the potential impact on your online presence and overall marketing strategy. With the business page now accessible within the Facebook app, you are poised to move forward and navigate the subsequent steps with confidence and clarity.
Next, we will delve into the process of accessing the page settings, a pivotal step that sets the stage for the deletion of your Facebook business page.
Step 3: Access Page Settings
Accessing the page settings of your Facebook business page is a crucial step in the process of deleting the page. This step empowers you to navigate through the specific options and controls that govern the management and configuration of your business page. By accessing the page settings, you gain the ability to initiate the deletion process and ensure that it aligns with your overall business strategy.
To access the page settings, begin by locating the "Settings" option within your business page. This option is typically represented by a gear or three-dot icon and is commonly positioned in the top right corner of the page, adjacent to the page's cover photo. Tap on the "Settings" icon to proceed.
Upon tapping the "Settings" icon, you will be presented with a range of options and configurations that govern various aspects of your business page. These settings encompass a wide array of controls, including general page settings, page roles, messaging preferences, and more. It's essential to navigate through these settings thoughtfully, ensuring that you are making informed decisions that align with your business objectives.
As you explore the page settings, pay close attention to the "General" or "Page Info" section, as the option to delete your business page is typically located within this area. Depending on the Facebook app version and updates, the exact placement of the deletion option may vary. However, it is commonly found under the "General" or "Page Info" section, often labeled as "Remove Page," "Delete Page," or a similar variation.
Upon locating the deletion option, carefully review any additional information or prompts provided by Facebook. This step is crucial in ensuring that you fully understand the implications of deleting your business page. Facebook may offer alternative actions, such as unpublishing the page or merging it with another page, providing you with options to consider before proceeding with deletion.
Before initiating the deletion process, take a moment to review the consequences of deleting your business page. Consider the potential impact on your online presence, audience engagement, and marketing efforts. It's important to weigh these factors against your business objectives and overall strategy to make an informed decision.
Accessing the page settings of your Facebook business page equips you with the necessary controls to initiate the deletion process. By navigating through the settings thoughtfully and considering the implications, you can proceed with confidence, knowing that your decision aligns with your business goals.
With the page settings accessed and the deletion option located, you are now prepared to move on to the next step, which involves initiating the removal of your Facebook business page. This pivotal step sets the stage for the conclusive actions that will shape the future of your online presence.
Step 4: Remove Page
Initiating the removal of your Facebook business page is a significant decision that warrants careful consideration. As you navigate through the process of removing the page, it's essential to approach this step thoughtfully, taking into account the potential implications and ensuring that it aligns with your overall business strategy.
Once you have accessed the page settings and located the option to delete your business page, the next step involves initiating the removal process. This pivotal action sets in motion the irreversible deletion of your business page from the Facebook platform. To proceed with removing your page, carefully follow the steps outlined below:
-
Confirm Your Decision: Before proceeding with the deletion, take a moment to reaffirm your decision. Consider the reasons behind removing your business page and ensure that it aligns with your current business objectives. Reflect on the potential impact of this action on your online presence, audience engagement, and marketing efforts. By confirming your decision, you can proceed with confidence, knowing that it is a well-considered choice.
-
Initiate Deletion: Once you have confirmed your decision, tap on the option to delete your business page. Depending on the Facebook app version and updates, this option may be labeled as "Remove Page," "Delete Page," or a similar variation. Upon selecting this option, Facebook may prompt you to provide additional confirmation to proceed with the deletion. This serves as a safeguard to prevent accidental removal of pages and ensures that the deletion process is deliberate.
-
Review Deletion Details: After initiating the deletion, Facebook may present you with additional details regarding the process. This may include information about the timeframe for permanent deletion and the opportunity to cancel the deletion within a specified period. It's important to review these details attentively, ensuring that you are fully informed about the implications of the deletion process.
-
Finalize Deletion: Upon reviewing the deletion details, you will have the opportunity to finalize the removal of your business page. This may involve confirming your intent to delete the page and acknowledging any associated consequences. By finalizing the deletion, you are affirming your commitment to removing the page permanently from the Facebook platform.
-
Confirmation of Deletion: Once the deletion process is complete, Facebook will provide confirmation of the action. This confirmation serves as a conclusive step, indicating that your business page has been successfully removed from the platform. It signifies the completion of the deletion process and the irreversible nature of this action.
By following these steps, you can effectively navigate the process of removing your Facebook business page on mobile. It's important to approach this process with careful deliberation, ensuring that your decision aligns with your business objectives and overall strategy. Remember, the removal of your business page signifies a significant change in your online presence, and it's essential to consider the implications before proceeding with the deletion.
In conclusion, deleting a Facebook business page on mobile is a straightforward process that can be completed in a few simple steps. By following the guidelines provided in this article, users can effectively remove their business page, whether it's due to a change in business direction or other reasons. It's essential to consider the implications of this action, as it permanently removes all content associated with the page. Additionally, maintaining a professional online presence is crucial for businesses, so careful consideration should be given before deciding to delete a business page. Overall, understanding the steps involved in deleting a Facebook business page on mobile empowers users to make informed decisions regarding their online presence.
FAQs
-
Can I delete my Facebook business page using the Facebook mobile app?
Yes, you can delete your Facebook business page using the Facebook mobile app. The process involves a few simple steps to ensure that you can effectively remove the page from your account.
-
Is it possible to recover a deleted Facebook business page on a mobile device?
Unfortunately, once you delete a Facebook business page, it cannot be recovered. It's crucial to consider this irreversible action before proceeding with the deletion process.
-
Will deleting my Facebook business page on mobile affect my personal profile?
Deleting your Facebook business page on mobile will not impact your personal profile. Your personal account will remain unaffected, and you can continue using Facebook as usual.
-
Are there any alternatives to permanently deleting a Facebook business page on mobile?
Instead of deleting your Facebook business page, you can consider unpublishing it. This option allows you to hide the page from the public while retaining the ability to republish it in the future.
-
Can I delete a Facebook business page on mobile without administrator access?
No, only administrators of a Facebook business page have the authority to delete it. If you no longer have access as an administrator, you will need to regain administrative privileges before initiating the deletion process.