
If you’re an avid digital artist using the popular drawing app, Procreate, you may have encountered the need to move a layer at some point. Whether you want to rearrange your artwork, reposition elements, or bring a layer to the front or back, knowing how to effectively move layers can significantly enhance your creative process. In this article, we will delve into the various methods you can employ to move a layer in Procreate seamlessly. From drag-and-drop techniques to using the Transform tool, we’ll explore step-by-step instructions and tips to help you navigate the process effortlessly. So, whether you’re a beginner or an experienced Procreate user, read on to master the art of moving layers and take your digital artwork to the next level.
Inside This Article
- Understanding Layers in Procreate: What are layers in Procreate? How do layers affect your artwork?
- Moving a Layer in Procreate
- Advanced Techniques for Layer Movement
- Troubleshooting Layer Movement Issues
- Conclusion
- FAQs
Understanding Layers in Procreate: What are layers in Procreate? How do layers affect your artwork?
If you are an artist or designer using Procreate, understanding layers is crucial for creating complex and professional-looking digital artwork. Layers in Procreate are like transparent sheets that you can stack on top of each other and work on individually. Each layer can have its own content, such as sketches, colors, textures, or effects. They give you more flexibility and control over your artwork, allowing you to make changes to specific elements without affecting the rest of your composition.
Layers in Procreate allow you to work non-destructively, meaning you can edit, rearrange, or hide elements without permanently altering the original image or artwork. This is especially useful when experimenting with different ideas or making revisions to your design. It’s like having multiple versions or stages of your artwork that you can easily manage and manipulate.
When you add a new layer in Procreate, it is placed above the previous layer in the layer stack. The layer on top will appear in front of the others, just like how objects in the real world appear closer when placed on top of each other. This layering system allows you to create depth and add dimension to your artwork.
Layers also affect the way different elements interact with each other. For example, you can adjust the opacity of a layer to make it partially transparent, allowing the layers underneath to show through. You can also apply blending modes to layers, which change the way they interact with the layers below, creating various visual effects and blending options.
By utilizing layers in Procreate, you can easily separate different elements of your artwork, such as the background, foreground, characters, or objects. This separation makes it easier to modify or reposition specific elements without affecting the rest. Layers also enable you to experiment with various artistic techniques, such as layer blending, masking, and adjustment layers, to achieve the desired visual effects.
Furthermore, layers in Procreate enable better organization and control over your artwork. You can group layers, merge them together, or rearrange their order to create a more organized and cohesive composition. This flexibility allows for easier editing and refinement of your artwork throughout the creative process.
Moving a Layer in Procreate
Moving a layer in Procreate is a fundamental skill that allows you to rearrange elements on your canvas and create depth and desired compositions. Whether you want to reposition a particular element, adjust the layer’s order, or organize your artwork, Procreate provides several intuitive methods to accomplish this task.
Basic Layer Manipulation
The simplest way to move a layer in Procreate is by using the basic layer manipulation options. Start by selecting the layer you wish to move from the Layer Panel. Once selected, you can drag and drop the layer into a new position within the layer stack. This method is great for quickly rearranging layers or adjusting the order in which they appear.
Using the Transform Tool
If you need more precise control over the placement and size of a layer, you can utilize the Transform Tool in Procreate. To access this tool, select the layer and then tap on the Transform icon on the top toolbar. This will bring up a bounding box around the selected layer, allowing you to freely move, scale, rotate, or distort it.
To move the layer using the Transform Tool, simply place your finger or stylus on the layer and drag it to the desired position. As you move the layer, you’ll see a live preview of its new placement. Once satisfied, tap the Transform icon again or tap outside the bounding box to apply the changes.
Dragging and Dropping Layers
In addition to the basic layer manipulation options, Procreate also offers a convenient drag-and-drop feature for moving layers. To use this method, tap and hold on the layer you want to move until it becomes “floating”. With the layer in this floating state, you can then drag it to a new position within the layer stack or even drop it onto another layer to create a clipping mask or grouping effect.
Navigating the Layer Options
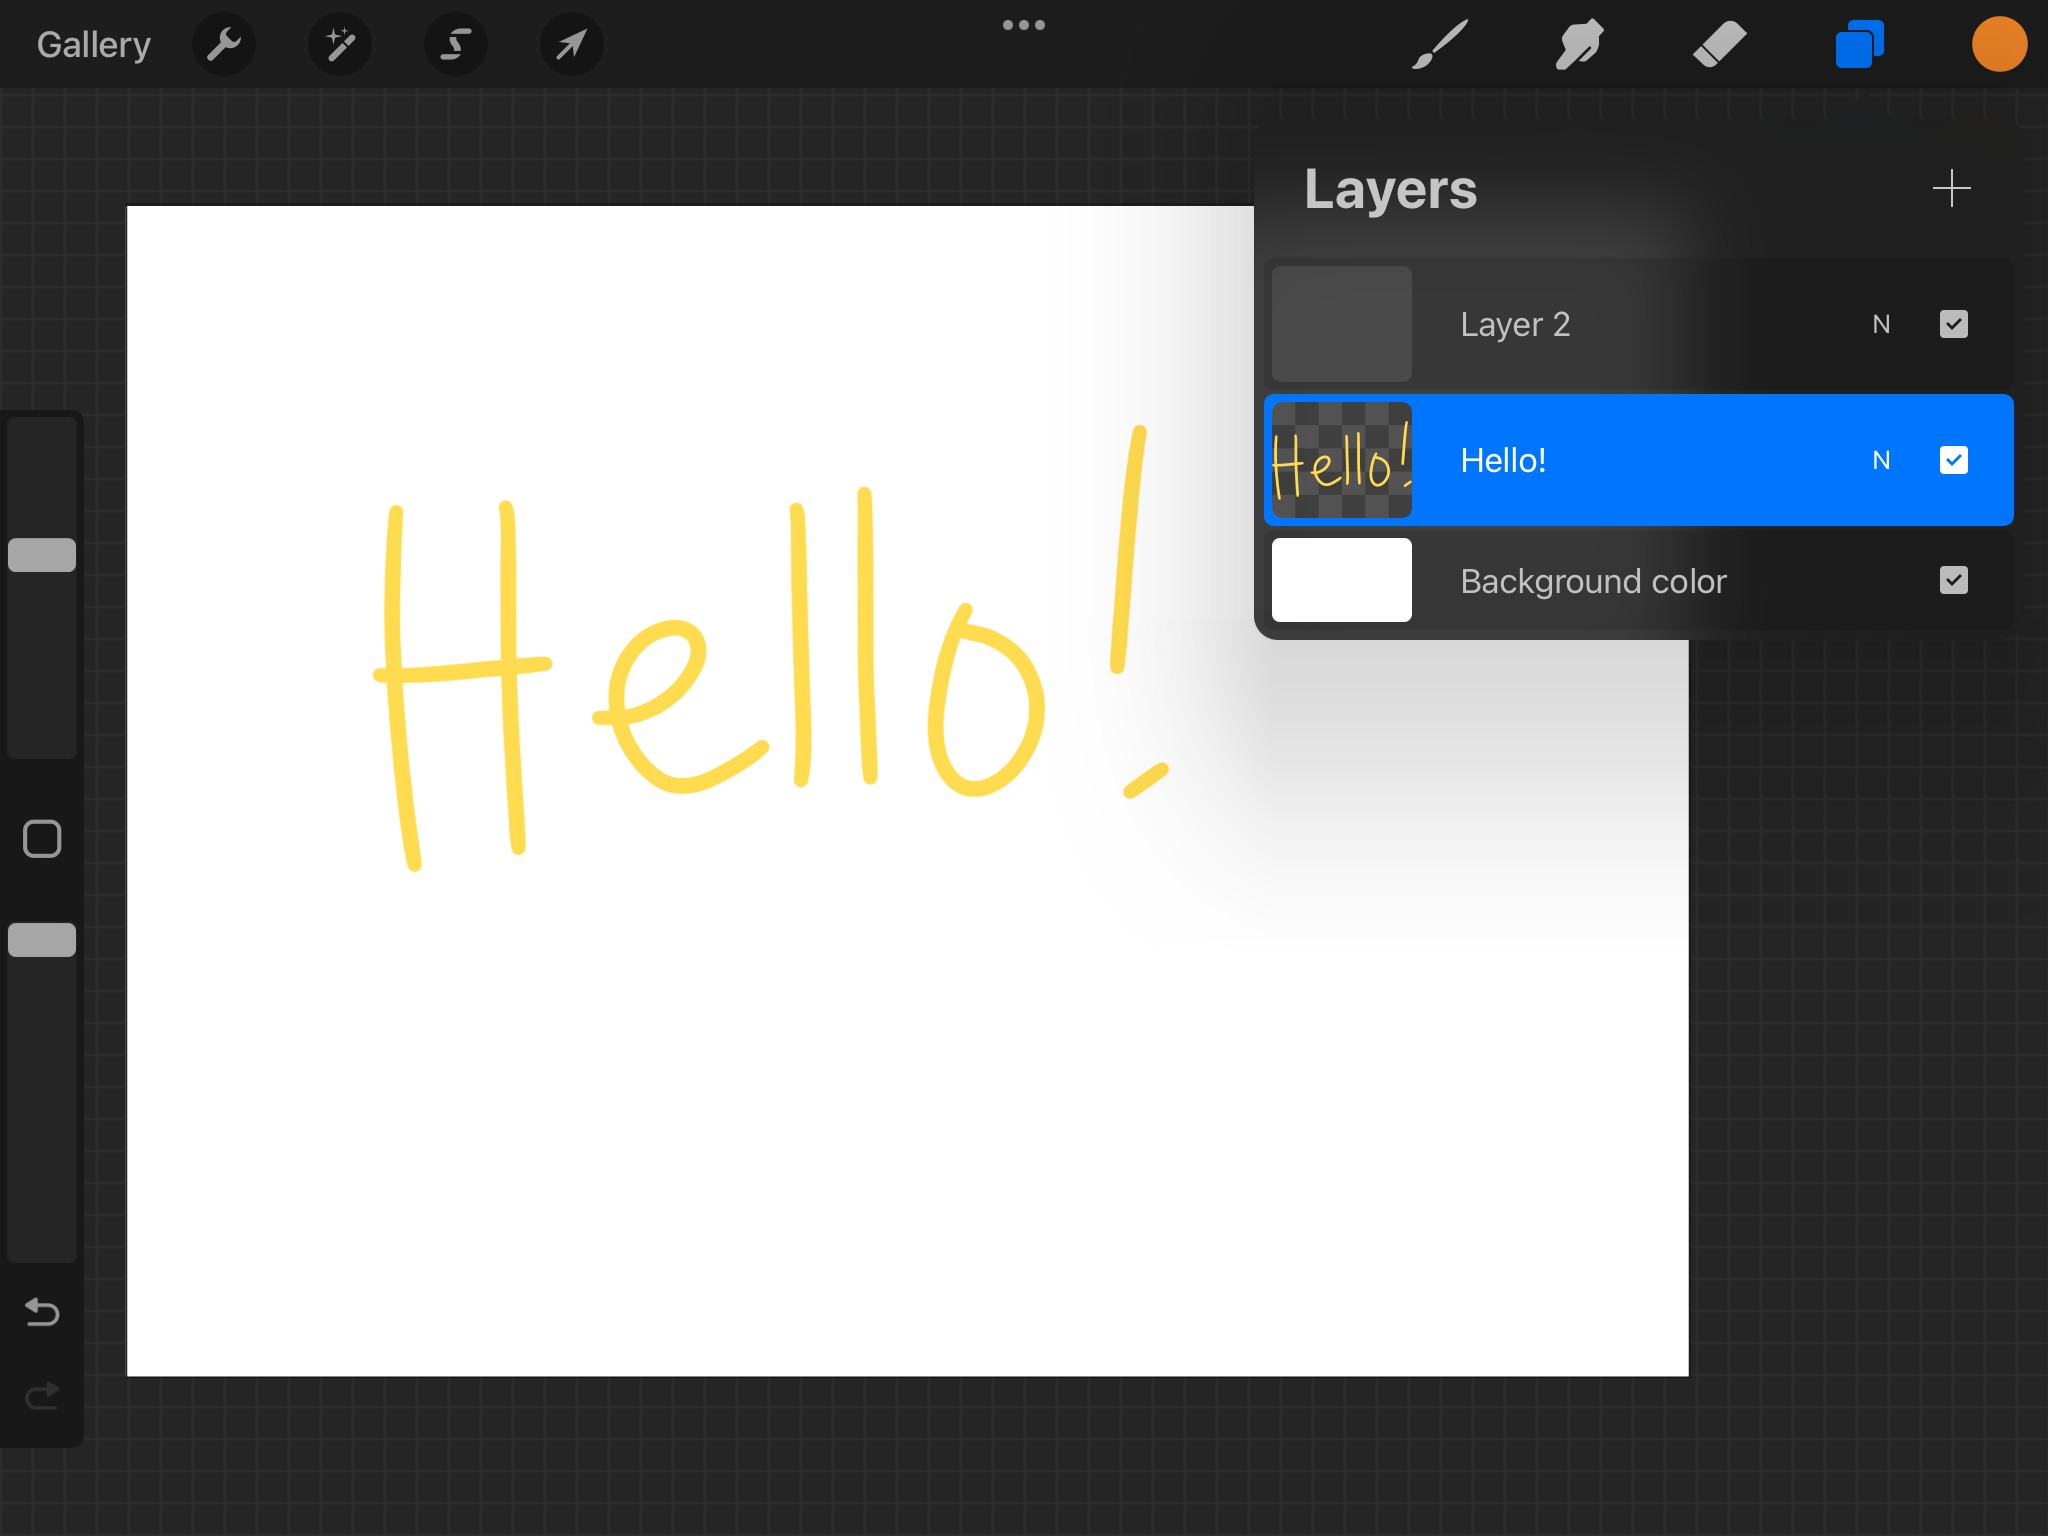
Procreate provides an array of layer options that can further assist in moving and organizing layers. The Layer Panel, located on the right side of the screen, allows you to access these options easily. You can swipe left or right on a layer to reveal additional options, such as duplicating, merging, or hiding a layer. By utilizing these options, you can efficiently manage, rearrange, and modify your layers.
With these techniques in your arsenal, you now have the knowledge to confidently move layers in Procreate. Whether you’re a beginner or an experienced artist, mastering layer manipulation will open up new possibilities for your digital artwork. So go ahead, experiment with different compositions and arrangements, and let your creativity soar!
Advanced Techniques for Layer Movement
When working with layers in Procreate, there are some advanced techniques you can use to further enhance your workflow. These techniques include locking and unlocking layers, grouping layers, and copying and pasting layers. Let’s dive deeper into each of these techniques:
Locking and Unlocking Layers
Locking a layer in Procreate allows you to protect its contents from accidental modifications. When a layer is locked, you won’t be able to make any changes to the artwork on that layer. This is especially useful when you want to preserve certain elements or details on a layer while working on other parts of your artwork.
To lock a layer, simply swipe left on the layer in the Layers panel and tap the lock icon. To unlock a layer, repeat the process and tap the unlock icon. This feature gives you greater control over your artwork and prevents any unwanted changes to your layers.
Grouping Layers
Grouping layers helps to organize and manage complex artworks with multiple layers. It allows you to group related layers together, making it easier to move, transform, or change the visibility of multiple layers at once. This technique is particularly useful when you want to apply specific effects or adjustments to a group of layers.
To create a layer group, simply tap and hold on a layer in the Layers panel, then drag it onto another layer. This will automatically create a layer group with the selected layers inside. You can then rename the layer group by tapping on its title and customize its properties as needed.
Copying and Pasting Layers
Copying and pasting layers is a powerful technique that allows you to duplicate and reuse existing layers in your artwork. This can save you time and effort when you want to replicate elements or apply similar adjustments to multiple parts of your artwork.
To copy a layer, swipe right on the layer in the Layers panel and tap the “Copy” button. Then, swipe right on another layer or tap the “+” button to create a new layer, and tap the “Paste” button to paste the copied layer onto the new layer.
You can also paste a copied layer onto a different artwork by creating a new canvas and pasting the layer onto it. This way, you can easily transfer elements between different projects or create variations of your artwork with ease.
With these advanced techniques for layer movement in Procreate, you have more control and flexibility in managing your digital artwork. Experiment with locking and unlocking layers, grouping layers, and copying and pasting layers to elevate your artistic creations to new heights!
Troubleshooting Layer Movement Issues
Are you encountering issues with moving layers in Procreate? Don’t worry, we’ve got you covered! In this section, we’ll address some common problems and provide solutions to help you troubleshoot layer movement issues.
Layers not moving as intended: If you find that your layers aren’t moving as expected, there could be a couple of reasons. First, make sure that the layer you want to move is selected. You can do this by tapping on the layer in the Layers panel. If a different layer is selected, it may not move as you want it to. Another possibility is that the layer is locked or has certain constraints that prevent movement. To check this, tap on the layer and look for any lock or constraint icons in the Layer Options menu.
Adjusting layer opacity: Sometimes, you may want to adjust the opacity of a layer to make it partially transparent. This can be useful when you want to blend multiple layers or create subtle effects. To adjust layer opacity, select the layer you want to modify and navigate to the Adjustments menu. Here, you’ll find the opacity slider that allows you to increase or decrease the transparency of the layer. Experiment with different opacity levels to achieve the desired effect.
Blending modes: Blending modes are a powerful feature in Procreate that allow you to control how layers interact with each other. By changing the blending mode of a layer, you can achieve various effects such as blending, overlay, or multiply. If your layers do not appear to be moving correctly, check the blending mode of each layer. It’s possible that the current blending mode is affecting the movement of the layers. Experiment with different blending modes to see if it resolves the issue.
By following these troubleshooting steps, you should be able to overcome any layer movement issues that you encounter in Procreate. Remember to select the correct layer, check for locks or constraints, adjust layer opacity if needed, and experiment with blending modes. With a little practice, you’ll be able to move your layers effortlessly and achieve stunning results in your artwork.
Conclusion
In conclusion, learning how to move a layer in Procreate opens up countless possibilities for creating dynamic and layered artwork. Whether you’re organizing your composition, adjusting the position of elements, or experimenting with different effects, moving layers is an essential skill to master.
By utilizing the various methods outlined in this article, such as the Transform tool, the Drag and Drop feature, and the QuickMenu options, you can easily manipulate layers and bring your artistic vision to life.
Remember to take advantage of Procreate’s intuitive interface and powerful tools to refine your artistic process. With practice and experimentation, you’ll soon become proficient at moving layers effortlessly, enabling you to create stunning digital artwork with ease.
FAQs
1. Can I move a layer in Procreate?
Absolutely! Procreate offers various options to move a layer within your artwork. Whether you’re working with a sketch, painting, or any other type of project, Procreate provides intuitive tools to help you reposition and rearrange layers with ease.
2. What are the methods to move a layer in Procreate?
Procreate offers multiple methods to move a layer:
- Using the Transform tool: Select the layer you want to move, tap on the Transform icon in the toolbar, and then drag the layer to its desired position.
- Using the Drag and Drop gesture: Tap and hold on the layer you want to move until it lifts off the canvas, then drag it to the desired location and release it to drop it there.
- Using the Layer Options menu: Swipe left on the layer you want to move, tap on the “Layer Options” button (represented by three dots), and choose the “Move” option to drag the layer around the canvas.
3. Can I move multiple layers at once in Procreate?
Yes, you can move multiple layers simultaneously in Procreate. To do this, first, make sure all the layers you want to move are selected. You can select multiple layers by holding down the “Select” tool and tapping on each layer you want to include. Once all the desired layers are selected, use any of the aforementioned methods to move them together.
4. Is it possible to resize and rotate a layer while moving it in Procreate?
Yes, Procreate allows you to resize and rotate a layer while moving it. When using the Transform tool or the Layer Options menu to move a layer, you’ll notice transformation handles appear around the layer. You can tap and drag these handles to resize and rotate the layer as desired. This gives you the flexibility to adjust the layer’s size and orientation while placing it in a new position on the canvas.
5. Can I undo a layer movement in Procreate?
Yes, if you want to undo a layer movement in Procreate, simply use the undo function. You can access this by tapping on the two-finger tap gesture on the canvas or using the undo button in the toolbar. This will revert the layer back to its previous position before the movement was made.