
Procreate is a powerful digital art app that has gained immense popularity among artists and designers. One of the many features that makes Procreate stand out is the ability to work with layers, allowing users to create complex and detailed artwork with ease. However, as an artist, you might sometimes want to adjust the opacity of a layer to create different effects or make certain elements more subtle. In this article, we will guide you on how to change the opacity of a layer in Procreate. Whether you’re a beginner just starting with Procreate or an experienced artist looking for new tips and tricks, this guide will help you unlock the full potential of your artwork by mastering the opacity adjustments in Procreate.
Inside This Article
- Understanding the Opacity of Layers
- Step 1: Opening the Layer Panel
- Step 2: Selecting the Layer to Adjust
- Conclusion
- FAQs
Understanding the Opacity of Layers
When working on digital artwork in Procreate, understanding how to adjust the opacity of layers can greatly enhance your creative process. Opacity refers to the degree of transparency or visibility of a layer. By changing the opacity, you can make a layer more or less transparent, allowing other layers or the canvas background to show through.
Opacity is measured on a scale from 0 to 100%, where 0% represents complete transparency (invisible) and 100% represents full visibility. Adjusting the opacity can help you create various effects, such as blending colors, highlighting specific elements, or creating subtle overlays.
Layers in Procreate work like virtual sheets of paper stacked on top of each other. Each layer can have its own opacity setting, allowing you to control the visibility of specific elements without affecting other parts of your artwork.
Understanding the role of opacity in layers is crucial for achieving the desired visual impact in your artwork. Whether you want to create depth, add shadows, or make certain elements more prominent, manipulating the opacity of layers can truly bring your artwork to life.
Step 1: Opening the Layer Panel
Being able to change the opacity of a layer in Procreate is a powerful tool that can add depth and creativity to your digital artwork. To begin adjusting the opacity of a layer, you first need to open the Layer Panel. Follow these simple steps to open the Layer Panel in Procreate:
- Launch the Procreate app on your device.
- Open the project or canvas you wish to work on.
- At the top right corner of the screen, you will find the Layers icon. It looks like two stacked squares. Tap on this icon to open the Layer Panel.
- The Layer Panel will open on the right side of the screen, revealing a list of all the layers in your project.
By opening the Layer Panel, you gain access to the various options and settings for each layer, including opacity. Now that the Layer Panel is open, you can move on to the next step of adjusting the opacity of a layer in Procreate.
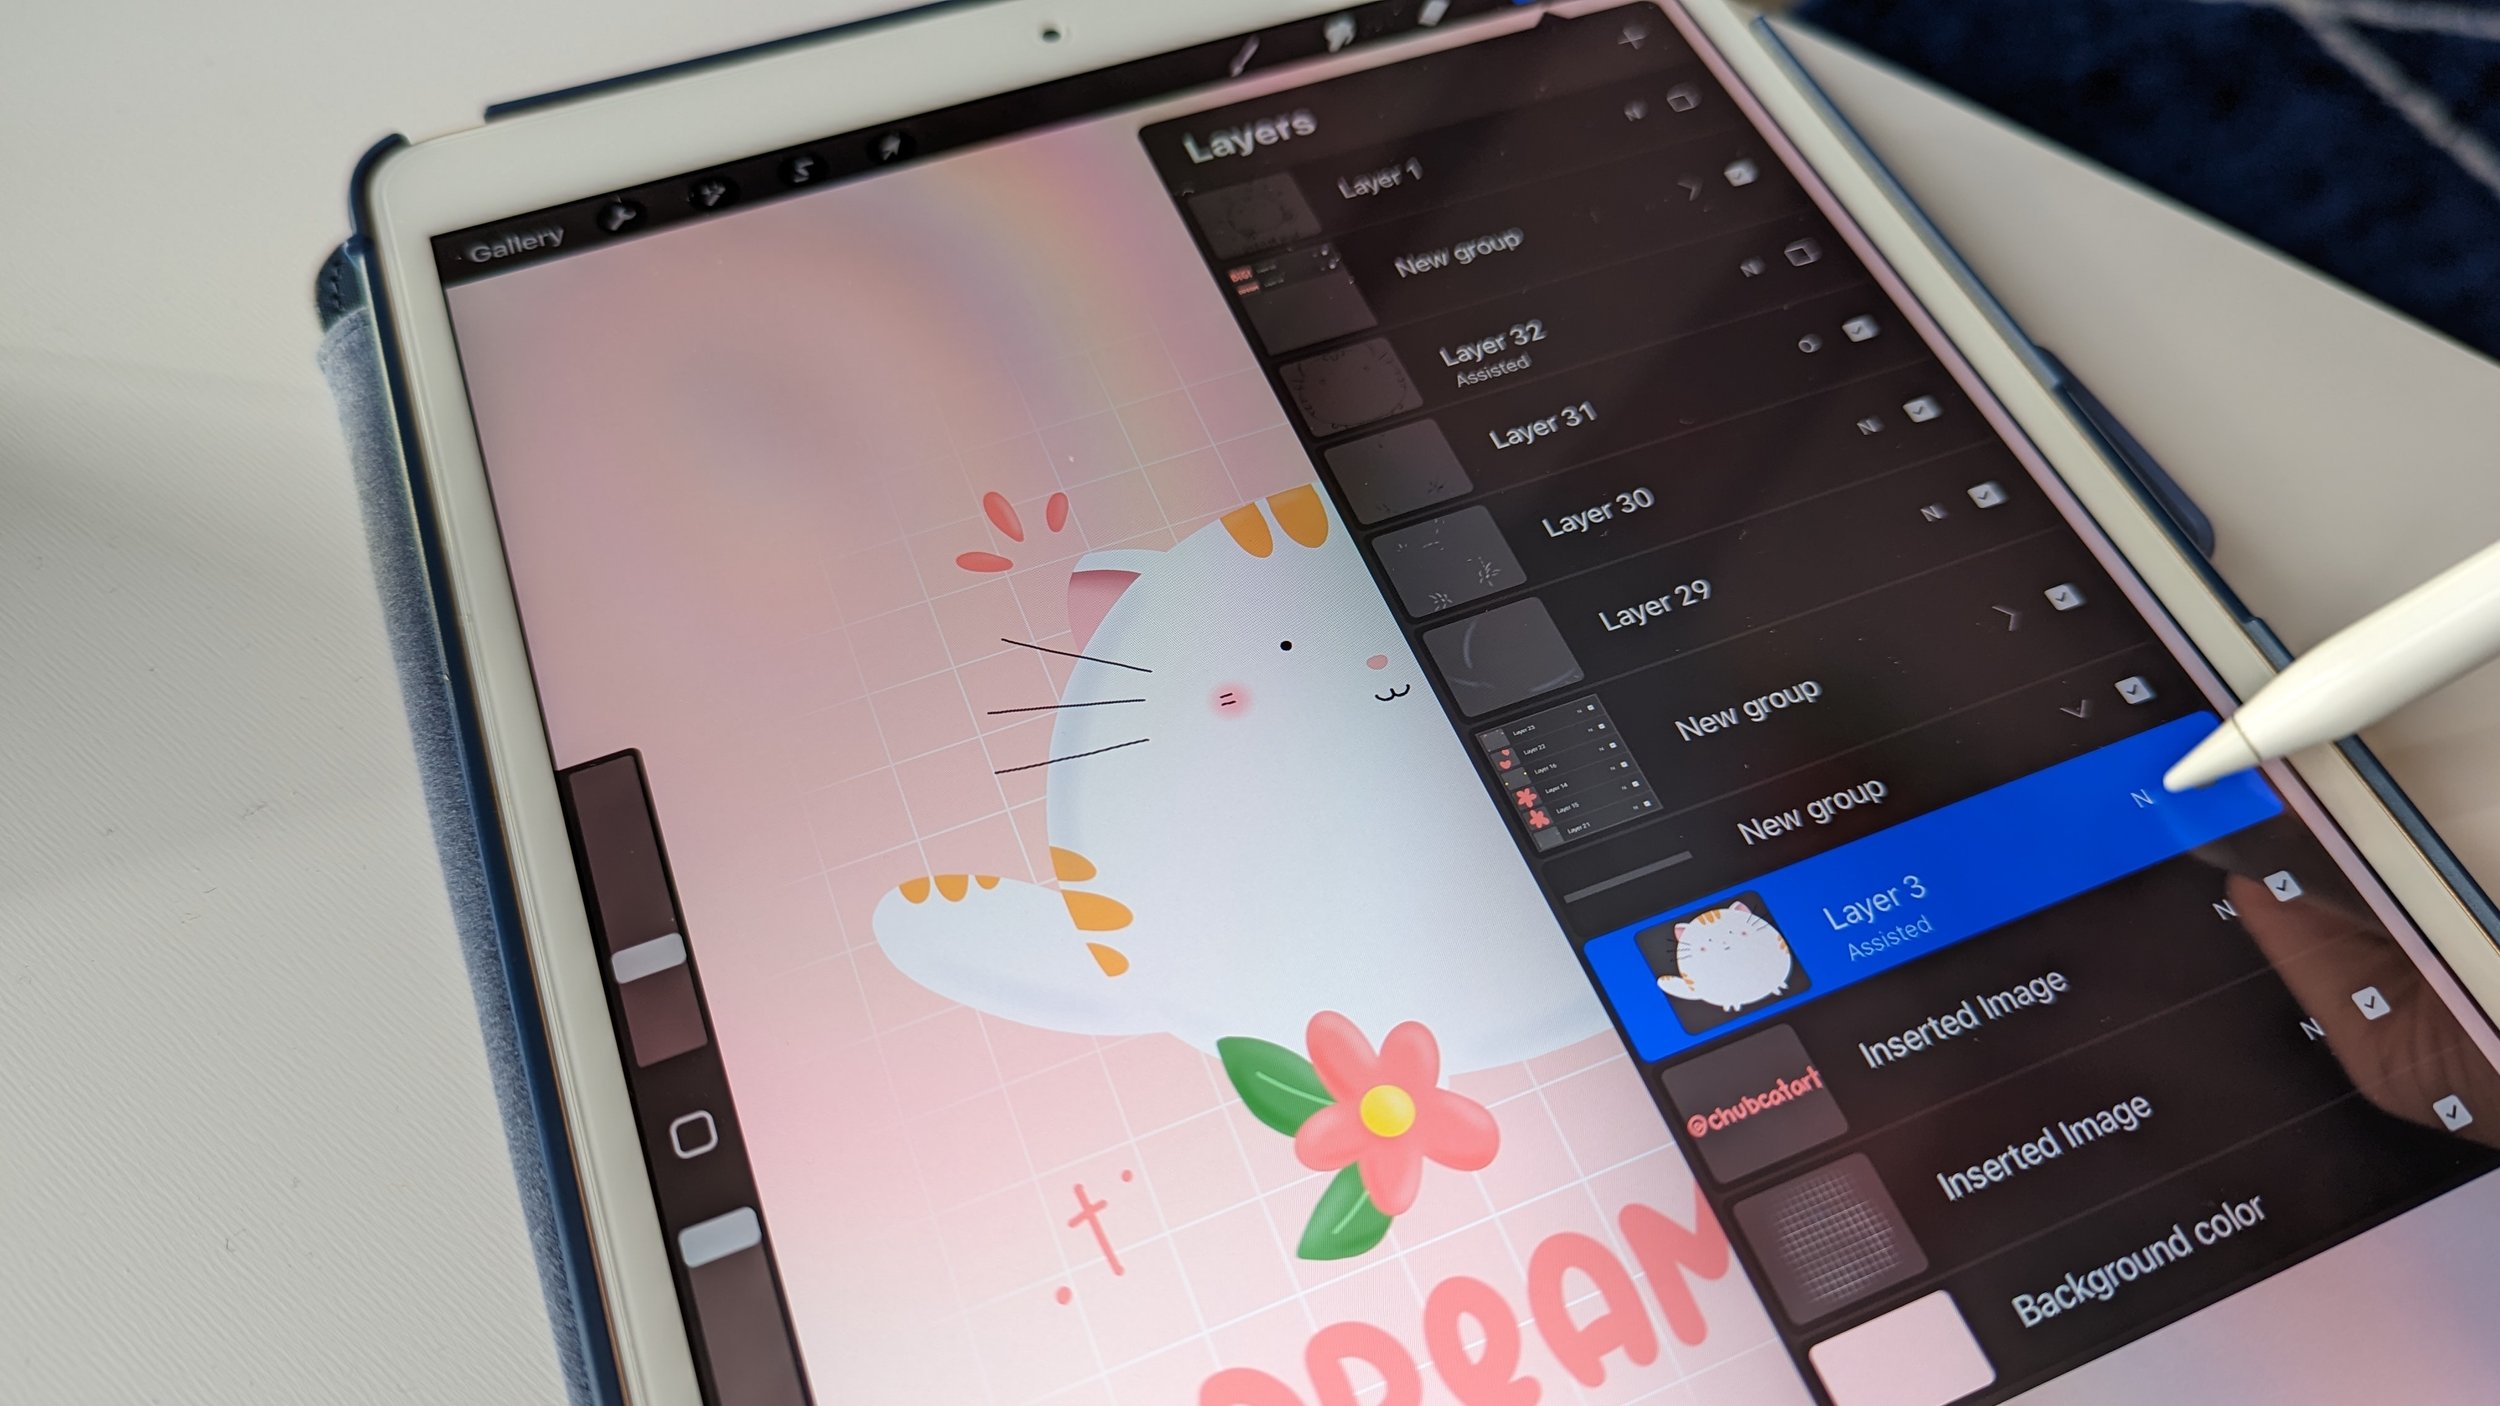
Step 2: Selecting the Layer to Adjust
Once you have opened the Layer panel in Procreate, it’s time to select the specific layer you want to adjust the opacity for. Procreate allows you to work with multiple layers, making it a powerful tool for digital artists and designers. Each layer can have its own opacity settings, giving you complete control over the transparency of your artwork.
To select a layer, simply tap on the layer thumbnail in the Layer panel. The selected layer will be highlighted, indicating that it is ready for adjustments. You can easily identify the active layer by the brighter highlight compared to the other layers.
If you are not sure which layer to select, you can always try toggling the visibility of different layers to identify the one you want to adjust. Tapping on the eye icon next to each layer will hide or show that particular layer. This feature can be helpful, especially when you have multiple layers stacked on top of each other.
Additionally, you can also rearrange the order of the layers by dragging and dropping them in the Layer panel. This can be useful if you want certain layers to appear in front or behind others. Simply tap and hold on a layer thumbnail, and then drag it up or down to the desired position.
Once you have selected the desired layer, you are ready to proceed to the next step of adjusting the opacity. Continue reading to learn how to modify the opacity settings for your selected layer on Procreate.
Conclusion
Changing the opacity of a layer in Procreate can add depth, dimension, and a touch of transparency to your artwork. Whether you want to create a subtle blend or a bold overlay, Procreate provides a simple and intuitive way to adjust the opacity of your layers. By following the steps outlined in this article, you can easily experiment with different opacity levels and achieve stunning effects in your digital artwork.
With Procreate’s powerful layer management capabilities and the ability to control opacity, you have the freedom to explore various techniques and styles in your creative process. So, don’t be afraid to experiment and try out different opacity settings to make your artwork truly unique. Harness the power of opacity adjustments to enhance your digital art with Procreate!
FAQs
1. Can I change the opacity of a layer in Procreate?
Yes, you can change the opacity of a layer in Procreate. Adjusting the opacity allows you to make a layer more transparent or more opaque, depending on your desired effect. This feature is particularly useful when you want to blend different elements or create subtle overlays.
2. How do I change the opacity of a layer in Procreate?
To change the opacity of a layer in Procreate, follow these steps:
– Select the layer you want to adjust by tapping it on the Layers panel.
– Tap on the layer again to access the Layer Options.
– Drag the Opacity slider left or right to increase or decrease the opacity.
– Release your finger when you’ve achieved the desired opacity level.
3. Can I animate the opacity of a layer in Procreate?
Yes, Procreate offers animation capabilities, allowing you to create dynamic and engaging artwork. While you can’t directly animate the opacity of a layer within the app, you can export your artwork as a video file and use external software or apps to add animation effects, including changes in opacity.
4. Can I adjust the opacity of specific elements within a layer in Procreate?
In Procreate, opacity adjustments are applied to the layer as a whole and cannot be selectively applied to specific elements within the layer. If you want to control the opacity of individual elements, you can consider using different layers for each element and adjust their opacity accordingly.
5. Will changing the opacity of a layer affect the underlying layers in Procreate?
By default, changing the opacity of a layer will only impact the visibility of the layer itself, not the underlying layers. However, if you have blending modes activated or specific layer settings enabled, the opacity changes may interact with the layers below, resulting in different blending effects.