
The iPhone 13 is packed with an impressive array of features and capabilities, and one of the standout functions is Live Listen. Whether you’re in a crowded room, attending a lecture, or simply looking to enhance your listening experience, Live Listen allows you to use your iPhone as a remote microphone, transmitting sound directly to your ears.
In this article, we’ll guide you through the steps to turn on Live Listen on your iPhone 13. Whether you’re a long-time iPhone user or just getting started with this latest model, discovering new features like Live Listen can help you get the most out of your device. So let’s dive in and learn how to harness the power of Live Listen on your iPhone 13.
Inside This Article
- Enabling Live Listen on iPhone 13
- Pairing Apple AirPods or Beats headphones
- Adjusting the Live Listen settings
- Troubleshooting Live Listen connectivity issues
- Conclusion
- FAQs
Enabling Live Listen on iPhone 13
Live Listen is a helpful accessibility feature available on the iPhone 13 that allows users to use their devices as remote microphones. This feature is particularly useful in situations where you may have difficulty hearing someone who is far away or in a noisy environment. By enabling Live Listen, your iPhone 13 can pick up sound from the surrounding area and transmit it directly to your AirPods or compatible Beats headphones.
To enable Live Listen on your iPhone 13, follow these steps:
- Open the Settings app on your iPhone 13. You can find it on your home screen or by swiping down and using the search bar at the top of the screen.
- Scroll down and tap on “Control Center.” This is where you can customize the settings for the control center.
- Under the “More Controls” section, find “Hearing” and tap on the green plus button next to it. This will add “Hearing” to your control center options.
- Exit the Settings app and swipe down from the top-right corner of your iPhone 13 to access the control center.
- In the control center, tap on the “Hearing” icon. It looks like an ear with soundwaves emanating from it.
- A menu will appear, and you’ll find the “Live Listen” option at the top. Tap on it to enable Live Listen.
Once you have enabled Live Listen, your iPhone 13 will start picking up sound and transmitting it to your AirPods or compatible Beats headphones. Make sure to keep your headphones connected to your device for this feature to work effectively.
Remember, Live Listen is a powerful feature that can enhance your listening experience, especially in situations where you might struggle to hear clearly. Whether you’re in a crowded restaurant or attending a lecture, Live Listen on the iPhone 13 can give you a boost in audio clarity and help you stay engaged with your surroundings.
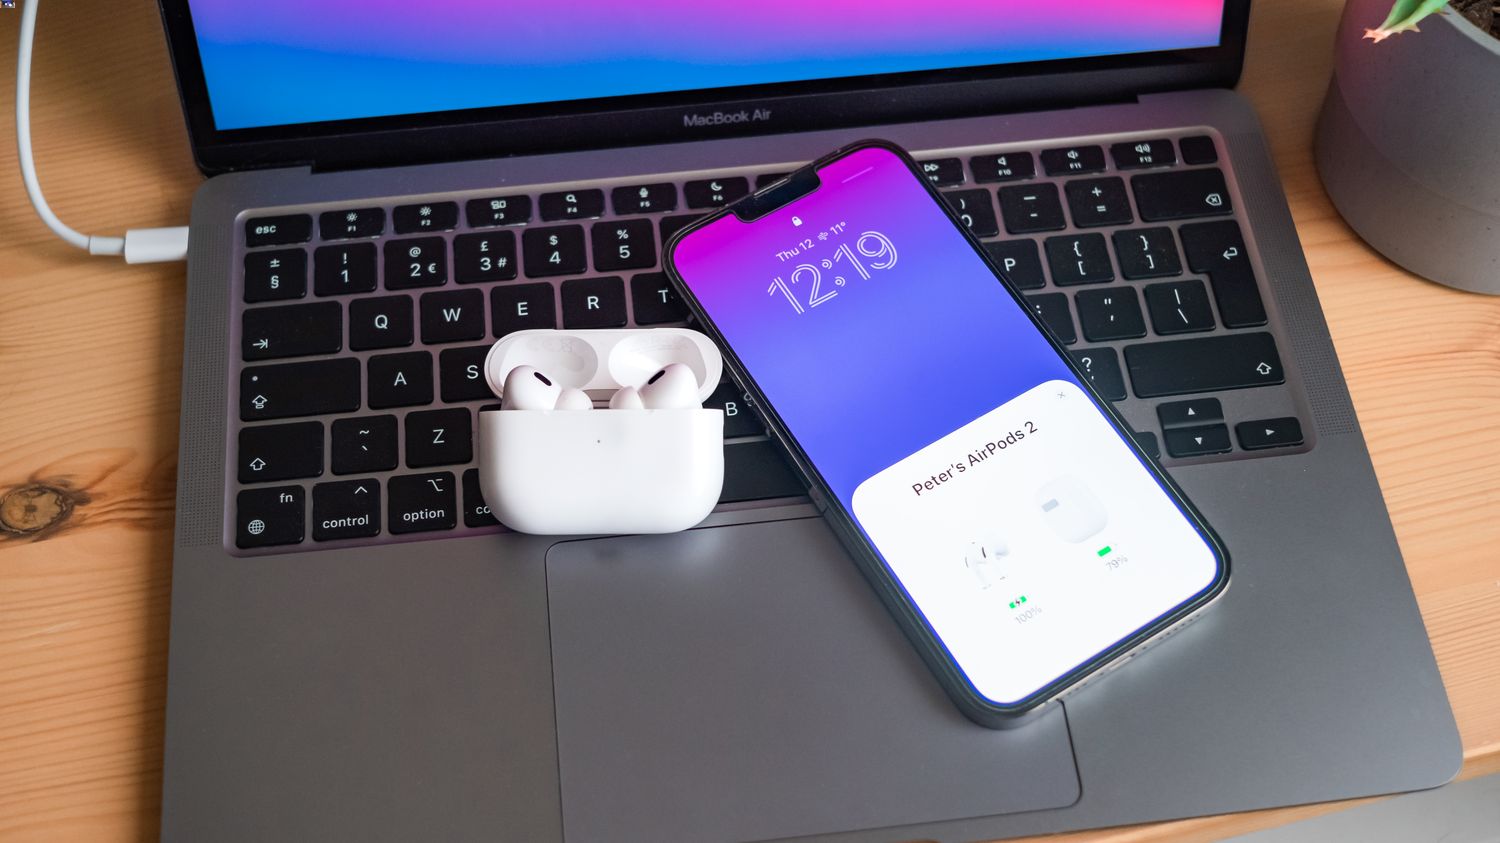
Pairing Apple AirPods or Beats headphones
Pairing your Apple AirPods or Beats headphones with your iPhone 13 is a straightforward process. Follow these steps to get started:
- Ensure that Bluetooth is enabled on your iPhone 13. You can do this by swiping down from the top-right corner of the screen to access the Control Center. Look for the Bluetooth icon and make sure it is toggled on.
- Open the lid of your AirPods case or power on your Beats headphones within close proximity of your iPhone 13. The Bluetooth pairing process should automatically initiate.
- On your iPhone 13, a notification will pop up displaying the name of your AirPods or Beats headphones. Tap on the notification to connect.
- If required, enter the passcode or use the Touch ID or Face ID authentication to complete the pairing process.
- Once the pairing process is complete, your AirPods or Beats headphones will be connected to your iPhone 13.
- You can verify the connection by going to the Control Center and looking for the Bluetooth icon, which should now be highlighted, indicating the successful pairing of your headphones.
It’s important to note that once you have paired your Apple AirPods or Beats headphones with your iPhone 13, they will automatically connect whenever they are in range and available.
Enjoy the convenience of wireless listening with your favorite headphones on your iPhone 13.
Adjusting the Live Listen settings
Once you have enabled Live Listen on your iPhone 13 and paired your Apple AirPods or Beats headphones, you can now adjust the Live Listen settings to optimize your listening experience. Here’s how:
1. Open the Control Center on your iPhone 13 by swiping down from the top right corner of the screen (or bottom if you have an older iPhone model).
2. Locate the hearing aid icon, which looks like an ear with sound waves coming out of it. Tap on it to access the Live Listen settings.
3. In the Live Listen settings menu, you’ll find various options to customize your listening experience. Here are some of the key settings you can adjust:
- Device Selection: If you have multiple compatible devices connected, such as iPhone, iPad, or Apple TV, you can select which device you want to stream audio from.
- Volume Control: Adjust the volume of the audio being streamed to your AirPods or Beats headphones. Move the slider left to decrease the volume and right to increase it.
- Microphone Selection: If you have multiple microphones on your iPhone 13, you can choose which microphone you want to use for Live Listen.
- Left/Right Sound Balance: If you have hearing loss in one ear, you can adjust the sound balance to favor either the left or right ear.
4. Experiment with these settings to find the perfect configuration that suits your individual needs. You can always go back and make adjustments if you want to fine-tune your listening experience.
5. When you’re done adjusting the Live Listen settings, simply exit the Control Center by swiping up from the bottom of the screen or tapping anywhere outside the Control Center panel.
By customizing the Live Listen settings on your iPhone 13, you can ensure that you’re getting the best possible audio experience while using the Live Listen feature with your AirPods or Beats headphones.
Troubleshooting Live Listen connectivity issues
If you’re experiencing connectivity issues with Live Listen on your iPhone 13, don’t worry. There are a few troubleshooting steps you can take to resolve the problem. Here are some common solutions to common connectivity issues:
1. Check Bluetooth Connection: Make sure that your iPhone 13 is properly connected to your Apple AirPods or Beats headphones via Bluetooth. Go to the Settings app and navigate to Bluetooth. Ensure that the Bluetooth switch is turned on and that your headphones are paired with your iPhone. If they are not connected, select your headphones from the list of available devices and tap Connect.
2. Restart Bluetooth: Sometimes, restarting the Bluetooth connection can help resolve connectivity issues. Go to the Settings app and navigate to Bluetooth. Tap on the Bluetooth switch to turn it off and wait for a few seconds. Then, tap the switch again to turn Bluetooth back on. This will refresh the Bluetooth connection and may resolve any connection problems.
3. Update iOS: Keeping your iPhone’s operating system up to date is essential for optimal performance. Check if there are any pending software updates for your iPhone by going to Settings > General > Software Update. If an update is available, download and install it. Updating your iOS can fix any bugs or issues that may be causing connectivity problems with Live Listen.
4. Reset Network Settings: Resetting the network settings on your iPhone can sometimes help fix connectivity issues. However, keep in mind that this will also reset any saved Wi-Fi passwords and cellular settings. To do this, go to Settings > General > Reset > Reset Network Settings. Enter your passcode if prompted, and confirm the reset. After the reset, reconnect to your Wi-Fi network and check if the Live Listen connectivity problem has been resolved.
5. Contact Apple Support: If none of the above solutions work and you’re still experiencing connectivity issues with Live Listen, it may be time to reach out to Apple Support. They have dedicated technicians who can provide further assistance in diagnosing and resolving the problem. You can visit the Apple Support website or call Apple Support directly for personalized support.
By following these troubleshooting steps, you should be able to resolve any Live Listen connectivity issues on your iPhone 13. Remember to verify that your Bluetooth connection is stable, keep your iOS up to date, and try resetting network settings if necessary. If all else fails, don’t hesitate to contact Apple Support for further assistance. Enjoy using Live Listen to enhance your audio experience!
Conclusion
In conclusion, the ability to use Live Listen on iPhone 13 is a fantastic feature that enhances the audio experience for users. Whether you want to amplify sounds in a crowded environment, discreetly listen to conversations, or simply enhance audio quality while wearing headphones, Live Listen offers a convenient solution. With just a few simple steps, you can activate Live Listen and begin enjoying its benefits.
By enabling this feature, you can transform your iPhone 13 into a powerful listening device. Whether you have hearing difficulties or simply want to enhance your audio experience, Live Listen provides a versatile solution. Take advantage of this feature to listen to lectures more clearly, participate in conversations in noisy environments, or enhance your multimedia experience. Get the most out of your iPhone 13 by utilizing Live Listen and enjoy a whole new level of audio clarity.
So, give it a try and harness the power of Live Listen on your iPhone 13 to amplify your audio experience!
FAQs
1. What is Live Listen on iPhone 13?
Live Listen is a feature on iPhone 13 that allows you to turn your device into a remote microphone. It uses the iPhone’s microphone to pick up sound and then streams it directly to your connected AirPods or other compatible hearing aids. This feature is particularly useful in situations where you may have difficulty hearing someone who is speaking from a distance or in a noisy environment.
2. How do I turn on Live Listen on iPhone 13?
To turn on Live Listen on iPhone 13, follow these steps:
- Make sure your AirPods or hearing aids are connected to your iPhone 13.
- Go to the Control Center by swiping down from the top-right corner of the screen (or up from the bottom on older iPhone models).
- In the Control Center, tap on the Hearing icon – it looks like an ear with soundwaves.
- Tap on Live Listen from the options that show up.
- A pop-up will appear with a warning about the potential impact on hearing health. Tap on “OK” to proceed.
- Now, your iPhone 13 is ready to use Live Listen.
3. Can I adjust the Live Listen volume on iPhone 13?
Yes, you can adjust the Live Listen volume on your iPhone 13. While Live Listen is active, you can use the volume buttons on your iPhone or the volume slider in the control center to increase or decrease the volume of the streamed sound to your AirPods or hearing aids.
4. Can I customize the settings of Live Listen on iPhone 13?
Yes, you can customize the settings of Live Listen on your iPhone 13. To do this, go to Settings, then tap on Accessibility, and select Hearing Devices. From there, you can access settings such as holding duration, microphone options, and noise reduction levels. Customizing these settings allows you to tailor the Live Listen feature to your specific needs and preferences.
5. Is Live Listen available on all iPhone models?
No, Live Listen is not available on all iPhone models. It is available on iPhone models that support iOS 12 or later. This includes iPhone 13, iPhone 12, iPhone 11, iPhone XS, iPhone XR, and newer models. If you’re unsure whether your iPhone model supports Live Listen, you can check the Apple website or contact Apple support for more information.