
Have you ever wondered how to screen record on your iPhone 14? Well, you’re in the right place! Screen recording is a useful feature that allows you to capture everything that happens on your iPhone’s screen. Whether you want to record a tutorial, capture gameplay footage, or save important information, screen recording can be incredibly handy.
In this article, we will guide you through the step-by-step process of how to screen record with your iPhone 14. From enabling the screen recording feature to saving and sharing your recordings, we will cover all the details you need to know. So, grab your iPhone 14 and let’s get started on this screen recording adventure!
Inside This Article
- Enabling screen recording on iPhone 14
- Using the Control Center for screen recording
- Adjusting screen recording settings on iPhone 14
- Saving and Accessing Screen Recordings on iPhone 14
- Conclusion
- FAQs
Enabling screen recording on iPhone 14
Screen recording is a nifty feature that allows you to capture and save whatever is happening on your iPhone 14’s screen. Whether you want to record a tutorial, save a funny video, or document a software bug, screen recording can come in handy.
To enable screen recording on your iPhone 14, follow these steps:
1. Open the Settings app on your iPhone 14.
2. Scroll down and tap on Control Center.
3. In the Control Center settings, locate the section titled “Included Controls” and tap on the “+” button next to Screen Recording.
4. This will add the Screen Recording option to your Control Center. You can rearrange the order of controls by tapping and holding the three horizontal lines next to each control and dragging them.
5. Once you’re done adding the Screen Recording control, exit the Settings app.
Now that you have enabled screen recording on your iPhone 14, you can easily access it from the Control Center.
Using the Control Center for screen recording
Screen recording on the iPhone 14 is made easy with the Control Center. By accessing this convenient feature, you can start and stop screen recordings with just a few taps. Here’s how to do it:
1. Swipe down from the top-right corner of your iPhone 14 to open the Control Center. You will see a range of customizable options displayed.
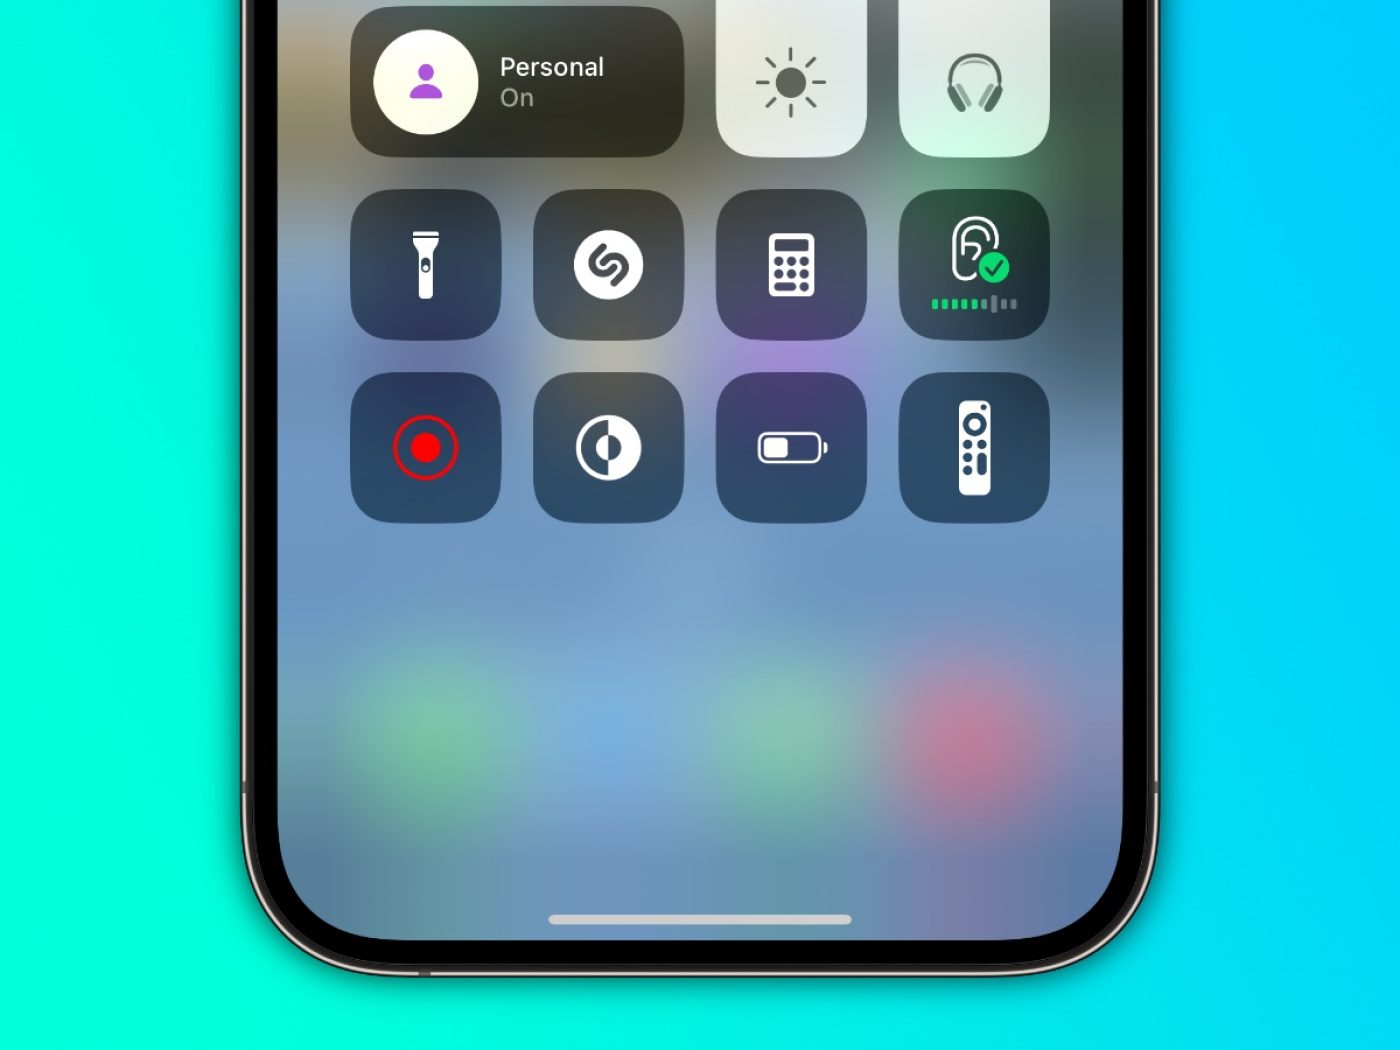
2. Look for the “Screen Recording” button, which looks like a circle inside a larger circle. If you don’t see it, you may need to customize your Control Center to include it. To do this, go to Settings > Control Center > Customize Controls, and tap the green plus icon next to “Screen Recording”.
3. Once you’ve located the “Screen Recording” button, simply tap on it to start the recording process. A three-second countdown will appear, indicating that the screen recording is about to begin.
4. Your iPhone 14 is now recording everything on your screen. You can freely navigate through apps, browse websites, or perform any actions you want to capture in the screen recording.
5. To stop the screen recording, return to the Control Center by swiping down from the top-right corner again. You will see a red blinking “stop” button in the top-right corner of the screen. Tap on it to end the recording.
6. After you stop the screen recording, you can access and manage your recordings by tapping on the notification that appears. Alternatively, you can find your screen recordings in the Photos app under the “Screenshots” album.
The Control Center provides a seamless and intuitive way to perform screen recordings on the iPhone 14. With just a few taps, you can capture and save important moments, create tutorials, or share your screen with others. It’s a powerful feature that adds versatility to your iPhone 14 experience.
Adjusting screen recording settings on iPhone 14
When using screen recording on your iPhone 14, you have the option to adjust various settings to suit your needs. These settings allow you to customize the recording experience and capture exactly what you want. Let’s take a look at how you can tweak the screen recording settings:
1. Enable microphone audio: By default, screen recording on iPhone 14 does not include audio from the microphone. However, if you want to include narration or any other audio from the environment, you can enable it by following these steps:
- Go to the Control Center by swiping down from the top right corner of the screen (or up from the bottom on older models).
- Long-press or force touch the screen recording button.
- Select “Microphone On” from the options.
2. Adjust screen recording quality: The screen recording quality on iPhone 14 is set to ‘High’ by default. However, if you want to conserve storage space or prefer a lower quality recording, you can change the settings by following these steps:
- Go to the Settings app on your iPhone 14.
- Scroll down and tap on “Control Center”.
- Select “Customize Controls”.
- Tap on the green plus icon next to “Screen Recording” to add it to the Control Center.
- Now go back to the Control Center and tap on the screen recording button.
- You will see options for adjusting the recording quality. Choose either “High Efficiency” for better quality or “Most Compatible” for smaller file sizes.
3. Customize recording shortcuts: If you frequently use screen recording on your iPhone 14, you can customize the recording shortcut to make it more accessible. Here’s how:
- Go to the Settings app on your iPhone 14.
- Scroll down and tap on “Control Center”.
- Select “Customize Controls”.
- Under the “More Controls” section, you will find “Screen Recording”. Tap on the green plus icon next to it to add it to the Control Center.
- You can now rearrange the order of the controls by tapping and dragging the three horizontal lines next to each control.
By adjusting these screen recording settings on your iPhone 14, you can enhance your recording experience and tailor it to your specific requirements. Whether you want to include audio, adjust the recording quality, or customize the shortcut, your screen recordings will be more personalized and efficient.
Saving and Accessing Screen Recordings on iPhone 14
Once you have finished recording your screen on iPhone 14, you will want to save and access your recordings for future use. Luckily, the process is simple and straightforward. Here’s how to save and access your screen recordings:
- After you stop the screen recording, go to the Photos app on your iPhone 14. You can find the Photos app icon on your home screen.
- Open the Photos app and navigate to the “Albums” tab at the bottom of the screen. Tap on it to proceed.
- In the Albums section, you will see a folder named “Screenshots & Screen Recordings.” Tap on it to access your screen recordings.
- Inside the “Screenshots & Screen Recordings” folder, you will find all your saved screen recordings. They will be listed along with your screenshots. Tap on the screen recording you wish to view or edit.
- Once you select a screen recording, you can play it, trim it, or share it with others. To play the recording, simply tap on the play button. To trim the recording, tap on the “Edit” button and use the trimming controls to select the desired portion of the recording. Finally, to share the recording, tap on the share button and choose the desired sharing method.
Additionally, you can also access your screen recordings through the Files app on iPhone 14. The Files app allows you to manage and organize your files, including your screen recordings. Here’s how to access your screen recordings using the Files app:
- Open the Files app on your iPhone 14. The Files app icon can be found on your home screen.
- Navigate to the “Browse” tab at the bottom of the screen and tap on it.
- Under the “On My iPhone” section, you will see a folder named “Screenshots & Screen Recordings.” Tap on it to access your screen recordings.
- Inside the “Screenshots & Screen Recordings” folder, you will find all your saved screen recordings. Tap on the screen recording you wish to view or manage.
- From here, you can play, rename, move, or delete the screen recording as needed. The Files app provides you with more flexibility and control over your screen recordings.
With these simple steps, you can easily save, access, and manage your screen recordings on iPhone 14. Whether you want to review them, make edits, or share them with others, the Photos app and the Files app have got you covered. Enjoy capturing and reliving your favorite moments with screen recording on iPhone 14!
Conclusion
The iPhone 14 is not only a powerhouse of performance and design but also a capable device for screen recording. With its advanced features and user-friendly interface, capturing and sharing your screen has never been easier. Whether you want to create engaging tutorials, share your gaming achievements, or record important video calls, the iPhone 14 has you covered.
By following the simple steps outlined in this article, you can seamlessly record your screen and achieve professional-looking results. The built-in screen recording feature, coupled with the powerful hardware of the iPhone 14, ensures smooth and high-quality recordings every time.
So, go ahead, unleash your creativity, and make the most of your iPhone 14’s screen recording capabilities. Capture, share, and inspire with the incredible features of this cutting-edge device.
FAQs
1. Can I screen record with my iPhone 14?
Yes, you can screen record on your iPhone 14 using the built-in screen recording feature. It allows you to capture everything that appears on your screen, including apps, games, and video calls.
2. How do I enable screen recording on my iPhone 14?
To enable screen recording on your iPhone 14, simply go to the Control Center by swiping down from the top right corner of the screen. Then, tap on the screen recording icon, which looks like a circle with a dot inside it. You can customize the settings by tapping and holding the screen recording icon.
3. Is there a time limit for screen recording on the iPhone 14?
No, there is no time limit for screen recording on the iPhone 14. You can record as long as you have sufficient storage space available on your device. However, keep in mind that longer recordings will take up more storage.
4. Can I record audio while screen recording on my iPhone 14?
Yes, you can record audio while screen recording on your iPhone 14. When you enable screen recording, you have the option to include microphone audio. This allows you to capture both the visual and audio elements of the screen recording.
5. Where can I find my screen recordings on my iPhone 14?
After you finish a screen recording on your iPhone 14, it is automatically saved to your Photos app. To access your screen recordings, simply open the Photos app and go to the “Albums” tab. From there, you will find a folder named “Screenshots” or “Videos,” where your screen recordings are stored.