
Are you tired of your iPhone constantly buzzing and interrupting your daily activities? Do you want to enjoy some uninterrupted ‘me’ time without being disturbed by notifications and calls? Well, you’re in luck! In this article, we will guide you on how to make use of the ‘Do Not Disturb’ feature on your iPhone. Whether you’re in a meeting, enjoying a movie, or simply need some peace and quiet, this handy feature will allow you to customize your notifications and put a temporary halt to all distractions. Say goodbye to incessant ringing and buzzing, and say hello to uninterrupted productivity and tranquility. Let’s dive in and discover how to master the art of ‘Do Not Disturb’ on your iPhone.
Inside This Article
- Enabling Do Not Disturb Mode on iPhone
- Customizing Do Not Disturb Settings
- Scheduling Do Not Disturb on iPhone
- Using Bedtime Mode with Do Not Disturb
- Conclusion
- FAQs
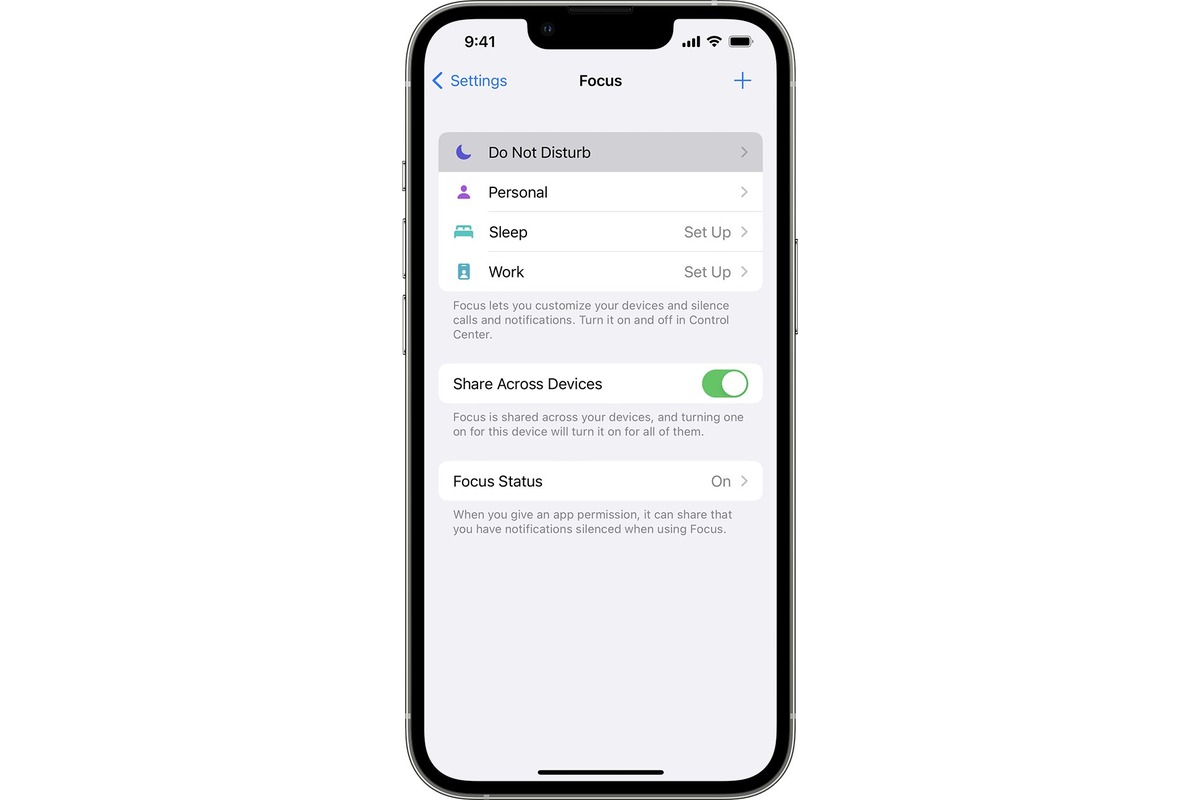
Enabling Do Not Disturb Mode on iPhone
Do Not Disturb mode is a useful feature on the iPhone that allows you to have uninterrupted quiet time, free from unnecessary notifications and distractions. To enable Do Not Disturb mode on your iPhone, follow these simple steps:
- Open the Settings app on your iPhone.
- Scroll down and tap on “Do Not Disturb.”
- You will see a switch next to “Do Not Disturb.” Tap on the switch to turn on the feature.
Once Do Not Disturb mode is enabled, you will notice a crescent moon icon in the status bar at the top of your iPhone screen. This indicates that Do Not Disturb mode is active.
In Do Not Disturb mode, your iPhone will suppress incoming calls, messages, and notifications. However, you can customize the settings to allow important calls or enable specific contacts to bypass the feature.
Now that you have enabled Do Not Disturb mode, you can enjoy uninterrupted time without interruptions from your iPhone. This feature is particularly useful when you are in meetings, sleeping, or simply need some peace and quiet.
Customizing Do Not Disturb Settings
Do Not Disturb mode on iPhone allows you to customize its settings to ensure that you have control over the notifications and interruptions you receive. Here are some ways you can customize the Do Not Disturb settings on your iPhone:
Silence Calls: By default, Do Not Disturb mode silences calls and sends them to voicemail. You can choose to allow calls from specific contacts to come through even when Do Not Disturb is enabled. To do this, go to Settings, tap on Do Not Disturb, and then select the option “Allow Calls From.” From there, you can choose to allow calls from everyone, no one, your favorites, or specific groups.
Repeated Calls: Sometimes, you may want to allow calls from the same person to come through even if they call again within a short period of time. To enable this feature, go to Settings, tap on Do Not Disturb, and toggle on the “Repeated Calls” option. This ensures that if someone calls you back within three minutes of their initial call, it will ring through, indicating that it might be an urgent matter.
Allowing Notifications: While Do Not Disturb mode is active, you can choose whether or not to receive notifications for incoming messages, emails, or other app notifications. To customize this, go to Settings, tap on Do Not Disturb, and select the “Allow Notifications” option. From there, you can choose between “Everyone,” “No One,” or “Favorites” to control who can send you notifications when Do Not Disturb mode is enabled.
Schedule: In addition to manually enabling Do Not Disturb mode, you can also set a schedule for it to automatically activate and deactivate at specific times. To do this, go to Settings, tap on Do Not Disturb, and enable the “Scheduled” option. From there, you can set the start and end times for Do Not Disturb mode to be active every day.
Bedtime Mode: If you use the Bedtime feature in the Clock app, you can integrate it with Do Not Disturb mode. When Bedtime mode is enabled, it automatically activates Do Not Disturb, silencing calls and notifications while you’re sleeping. To configure this, go to Settings, tap on Do Not Disturb, and enable the “Bedtime Mode” option. From there, you can set your bedtime and wake-up time to ensure a peaceful and uninterrupted sleep.
By customizing the Do Not Disturb settings on your iPhone, you can tailor it to your specific needs and preferences. Whether it’s allowing important calls, managing notifications, or scheduling quiet hours, Do Not Disturb offers you the flexibility to control your device interruptions for a more focused and productive experience.
Scheduling Do Not Disturb on iPhone
Do Not Disturb mode on your iPhone is a handy feature that allows you to silence notifications and calls during specified time periods. It can be particularly useful when you want uninterrupted time for work, sleep, or any other activity without being disturbed by incoming alerts.
Setting up a schedule for Do Not Disturb mode is a straightforward process. Here’s how you can do it on your iPhone:
- Open the Settings app on your iPhone.
- Scroll down and tap on “Do Not Disturb.”
- Toggle on the “Scheduled” option.
- Tap on “From” to set the start time for Do Not Disturb mode.
- Choose the desired time by scrolling the dials or entering it manually.
- Once you have set the start time, tap on “To” to set the end time for Do Not Disturb mode.
- Again, select the desired time using the dials or manual input.
- You can also choose to repeat the schedule on specific days by tapping on “Repeat.”
- Select the days that you want the schedule to repeat on.
- After setting the schedule and repeat options, you can exit the Settings app.
With Do Not Disturb scheduled, your iPhone will automatically enter into silent mode during the specified time period. You won’t be bothered by any incoming calls, messages, or notifications until the scheduled time ends.
It’s worth noting that you can also allow calls from specific contacts to come through even during Do Not Disturb mode. By enabling the “Allow Calls From” option in the Do Not Disturb settings, you can select “Favorites” to allow calls only from your favorite contacts, or “All Contacts” to allow calls from anyone in your contact list.
Scheduling Do Not Disturb on your iPhone provides a convenient way to control your phone’s notifications and maintain focus during specific times of the day. Whether you’re working, sleeping, or simply want uninterrupted personal time, Do Not Disturb ensures that you can stay undisturbed and in control.
Using Bedtime Mode with Do Not Disturb
Bedtime Mode is a feature on the iPhone that works in conjunction with Do Not Disturb to help you maintain a consistent sleep schedule and reduce nighttime distractions. When Bedtime Mode is enabled, your iPhone will automatically enter Do Not Disturb mode during your specified bedtime hours, silencing incoming calls, notifications, and alerts.
To use Bedtime Mode with Do Not Disturb, follow these steps:
- Open the Clock app on your iPhone.
- Tap the “Bedtime” tab at the bottom of the screen.
- Set up your desired bedtime and wake-up time.
- Tap on the “Options” button located at the top left of the screen.
- Toggle on the “Bedtime Mode” switch.
Once Bedtime Mode is enabled, your iPhone will automatically activate Do Not Disturb during the scheduled bedtime hours. This means that calls, notifications, and alarms will be silenced, and the screen will dim to avoid disturbing your sleep.
However, Bedtime Mode allows certain calls to come through in case of emergencies or important contacts. To customize this feature, you can select “Allow Calls From” and choose to allow calls from specific contacts even when Do Not Disturb is active.
Additionally, Bedtime mode enables a gentle wake-up function. Instead of the usual disruptive alarm, you will be gradually awakened by a softer sound or vibration pattern to help you start your day on a more peaceful note.
Bedtime Mode with Do Not Disturb is a handy feature for those looking to establish a consistent sleep routine and reduce distractions during bedtime. By seamlessly integrating with Do Not Disturb, it provides a more peaceful and uninterrupted sleep experience, while still allowing important calls to come through if necessary.
In conclusion, learning how to use the Do Not Disturb feature on your iPhone can greatly enhance your mobile experience. Whether you want some uninterrupted quiet time, need to remain focused during an important meeting, or simply wish to customize your notification settings, Do Not Disturb offers a powerful solution. By following the steps outlined in this article, you can easily activate and customize Do Not Disturb to suit your specific needs. Remember to utilize the scheduled and customizable options, as well as the exceptions feature, to ensure you never miss important calls or notifications. Take control of your iPhone and enjoy uninterrupted moments with Do Not Disturb!
FAQs
1. How do I activate Do Not Disturb on my iPhone?
To activate Do Not Disturb on your iPhone, simply follow these steps:
1. Open the Control Center by swiping down from the top-right corner of the screen (or up from the bottom on older iPhones).
2. Tap on the crescent moon icon to enable Do Not Disturb. The icon will turn white when it’s activated.
Alternatively, you can go to “Settings” > “Do Not Disturb” and toggle the switch to enable it.
Once enabled, Do Not Disturb will silence calls, alerts, and notifications, allowing you to focus or have uninterrupted sleep.
2. Can I still receive important calls while Do Not Disturb is active?
Yes, you can configure Do Not Disturb to allow calls from specific contacts or repeat callers. Follow these steps to set it up:
1. Go to “Settings” > “Do Not Disturb”.
2. Scroll down and tap on “Allow Calls From”.
3. Choose the desired option – “Favorites” (calls from your favorite contacts), “All Contacts” (calls from anyone in your address book), or “No One” (no calls allowed except for those you add to the “Emergency Bypass” list).
Additionally, you can enable the “Repeated Calls” option, which allows a second call from the same person within three minutes to come through, in case of emergencies.
3. Will Do Not Disturb silence alarms and timers?
By default, Do Not Disturb does not silence alarms and timers, ensuring that you don’t miss important reminders or wake-up calls. However, it’s essential to confirm the settings by following these steps:
1. Go to “Settings” > “Sounds & Haptics”.
2. Scroll down and ensure that the “Ringer and Alerts” volume slider is not set to zero.
3. Check that the “Change with Buttons” option is enabled to allow the volume buttons to control the alert volume.
If the volume slider is set too low or the “Change with Buttons” option is disabled, your alarms and timers may be silent while Do Not Disturb is active.
4. Can I schedule Do Not Disturb to activate automatically?
Absolutely! You can schedule Do Not Disturb to activate and deactivate based on your preferred time or location. Here’s how you can set it up:
1. Go to “Settings” > “Do Not Disturb”.
2. Tap on “Scheduled” and toggle the switch to enable it.
3. Set the desired start and end time or select “From” and “To” for more specific time ranges.
4. To enable location-based activation, go back to “Do Not Disturb” settings and tap on “Location”.
5. Add your desired locations, and your iPhone will activate Do Not Disturb when you reach those locations.
With scheduled activation, you can ensure that Do Not Disturb is automatically enabled during meetings, sleep hours, or any time you prefer.
5. Do notifications appear while Do Not Disturb is active?
By default, notifications are silenced when Do Not Disturb is enabled on your iPhone. However, you can customize this behavior to allow certain notifications to come through. Here’s how:
1. Open “Settings” > “Notifications”.
2. Choose the app for which you want to allow notifications during Do Not Disturb.
3. Toggle off the “Allow Notifications” option to silence notifications, or toggle on the “Critical Alerts” option if you want important alerts to come through.
Remember that critical alerts bypass Do Not Disturb and are reserved for emergencies or high-priority notifications from specific apps, such as alarm systems or health-related apps.