
Are you tired of the same old default ringtone on your iPhone? Why not add a personal touch by setting your favorite song as your iPhone ringtone? Not only will it bring a smile to your face every time someone calls, but it will also make your phone stand out from the crowd. In this article, we’ll walk you through the simple steps to make your favorite song your iPhone ringtone and add a touch of personalization to your device. Whether you’re a fan of a catchy pop tune, a soothing ballad, or a high-energy rock anthem, we’ve got you covered. So, let’s dive in and create a unique and exciting ringtone that matches your musical taste!
Inside This Article
- Step 1: Choose the Song
- Step 2: Prepare the Song File
- Step 3: Convert the Song to the AAC Format
- Step 4: Rename the File Extension
- Step 5: Add the Ringtone to iTunes
- Step 6: Sync Your iPhone
- Step 7: Set the Ringtone on Your iPhone
- Conclusion
- FAQs
Step 1: Choose the Song
Choosing the right song for your iPhone ringtone is the first step towards personalizing your device and making it truly unique. Whether you want to set a catchy pop track, a soothing melody, or even a nostalgic throwback as your ringtone, the choice is entirely up to you.
There are a few things to consider when selecting the perfect song to turn into a ringtone. First and foremost, make sure that the song is in a format compatible with your iPhone. Most popular audio file formats like MP3, M4A, and WAV should work fine.
Next, think about the length of the song. Ideally, you’ll want to choose a section of the song that is around 30 seconds long, as this is the standard duration for iPhone ringtones. You can pick the most memorable and catchy part of the song or even create a custom edit to capture the essence of the tune.
Another important factor to consider is the volume level of the song. Since your iPhone ringtone will play in various environments, it’s best to choose a song that is not too quiet or too loud. Aim for a song with a moderate volume level that can be easily heard without being overwhelming.
It’s also a good idea to pick a song that you genuinely enjoy listening to. After all, your ringtone will be playing countless times throughout the day, so selecting a song that brings you joy and resonates with your personal taste will make the experience even more enjoyable.
Once you’ve carefully considered these factors and have chosen the perfect song, you’re ready to move on to the next step in making it your iPhone ringtone.
Step 2: Prepare the Song File
Before you can turn your favorite song into your iPhone ringtone, you need to prepare the song file. This step involves selecting the specific section of the song that you want to use as your ringtone and trimming it to the desired length.
Here are a few simple steps to help you prepare the song file:
- Open the song in a music editing software: Use a music editing software like Audacity or GarageBand to open the song file. These programs allow you to manipulate and edit the song, which is necessary for creating your ringtone.
- Select the section of the song: Listen to the song and identify the part that you want to use as your ringtone. It could be the catchy chorus, a guitar solo, or any other section that you find appealing. Once you’ve identified the section, use the audio editing software to select it.
- Trim the selected section: After selecting the desired section, trim it to the desired length. Keep in mind that iPhone ringtones have a maximum duration of 30 seconds, so make sure your selection falls within that limit.
Preparing the song file is an essential step in customizing your iPhone ringtone. Make sure to save the edited version of the song file, as you will need it in the upcoming steps of the process.
Step 3: Convert the Song to the AAC Format
Once you have selected the perfect song to use as your iPhone ringtone, the next step is to convert it to the AAC format. AAC (Advanced Audio Coding) is the audio format commonly used for ringtones on iPhones.
To convert the song to AAC, you will need to use iTunes, the default media player for Apple devices. Follow these simple steps to convert your chosen song:
- Launch iTunes on your computer and ensure that the song you want to convert is in your iTunes library.
- Select the song by clicking on it once, and then go to the “Files” menu at the top of the screen. Click on “Convert” ? “Create AAC Version”.
- Wait for iTunes to convert the song to the AAC format. The converted file will appear right below the original song in your iTunes library.
- You may notice that the converted song has a shorter duration than the original. Don’t worry, this is normal and won’t affect the quality of your ringtone.
That’s it! You have now successfully converted your chosen song to the AAC format. The next step is to rename the file extension, which we will cover in the next section.
Step 4: Rename the File Extension
Once you have converted your chosen song to the required AAC format, the next step is to rename the file extension. This is an important step in ensuring that your iPhone recognizes the file as a ringtone.
To rename the file extension, follow these simple steps:
- Go to the location on your computer where you have saved the AAC file.
- Right-click on the file and select “Rename” from the menu.
- Delete the existing file extension, which is typically “.m4a”, and replace it with “.m4r”.
- Press Enter or Return to save the changes.
By changing the file extension to “.m4r”, you are indicating to your iPhone that this file is specifically a ringtone. This step is crucial for the successful recognition and usage of the song as your iPhone ringtone.
It is important to note that on some computers, file extensions may be hidden by default. If you cannot see the file extension when renaming the file, you can enable the display of file extensions in your computer settings.
Renaming the file extension may seem like a small and simple step, but it is an essential part of the ringtone creation process.
Once you have successfully renamed the file extension, you are now ready to add the ringtone to iTunes and sync it with your iPhone.
Step 5: Add the Ringtone to iTunes
Now that you have successfully converted your favorite song into a ringtone, the next step is to add it to iTunes. iTunes will serve as the platform through which you can sync the ringtone to your iPhone.
Follow these simple steps to add the ringtone to iTunes:
- Launch iTunes on your computer. If you don’t have iTunes installed, you can download it from the Apple website.
- Click on the “File” tab located in the top left corner of the iTunes window.
- Select “Add File to Library” or “Add Folder to Library” from the dropdown menu.
- Locate the ringtone file that you created in Step 4 and click “Open”.
- You will now see the ringtone file listed in your iTunes library.
It’s important to note that since the ringtone is in the AAC format, it will be added to the “Music” section within your iTunes library. Don’t worry, this is perfectly normal.
In order to proceed with syncing the ringtone to your iPhone, you will need to change its file extension back to .m4r. Please refer to Step 4 for a detailed explanation on how to do this.
Once you have renamed the file extension, you are now ready to move on to the final step of this process — syncing your iPhone.
Step 6: Sync Your iPhone
Once you have converted and added your custom ringtone to iTunes, the next step is to sync your iPhone to transfer the ringtone onto your device. Follow these simple steps to synchronize your iPhone and enjoy your personalized ringtone:
1. Connect your iPhone to your computer using the USB cable that came with it.
2. Open iTunes on your computer and select your iPhone from the list of devices.
3. Click on the “Tones” tab on the left-hand side of the screen. This will display the ringtone section for your iPhone.
4. Check the option to “Sync Tones” and choose the option to sync “All tones” or “Selected tones.” If you select the latter option, make sure to check the box next to your custom ringtone.
5. Click the “Apply” or “Sync” button at the bottom of the iTunes window to start the synchronization process.
6. Wait for iTunes to transfer the ringtone to your iPhone. The time it takes will depend on the size of the ringtone file and the speed of your computer.
7. Once the synchronization is complete, disconnect your iPhone from the computer.
8. Go to the Settings app on your iPhone and select “Sounds & Haptics” or “Sounds” depending on your iOS version.
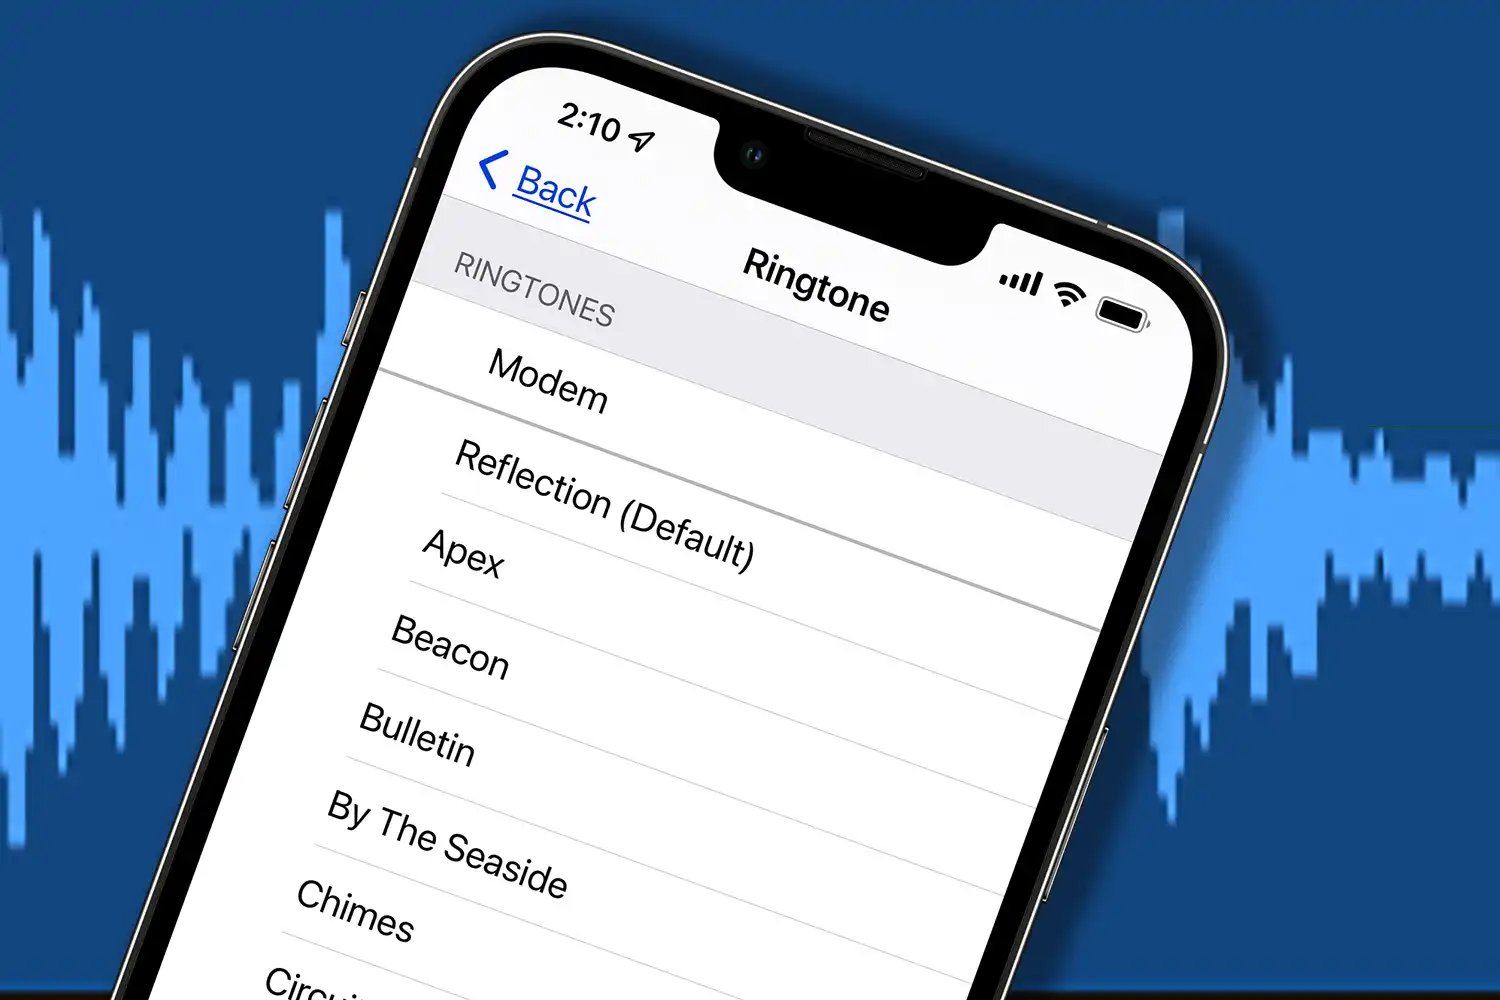
9. Tap on “Ringtone” and scroll down to find your custom ringtone listed under the “Ringtones” section.
10. Select your custom ringtone and exit the settings. Your iPhone is now configured to use your favorite song as the ringtone for incoming calls.
Remember, whenever you want to change your ringtone, simply repeat the steps above and sync your iPhone to update the ringtone selection.
Syncing your iPhone is a crucial step in the process of making your favorite song your iPhone ringtone. It allows you to transfer your custom ringtone from iTunes to your device, making it easily accessible for setting as your default ringtone. Enjoy the personalized touch that your favorite song brings to your iPhone!
Step 7: Set the Ringtone on Your iPhone
After following all the previous steps to create your customized ringtone, the final step is to set it as your ringtone on your iPhone. Here’s how you can do it:
1. Open the “Settings” app on your iPhone. It can usually be found on your home screen.
2. Scroll down and tap on “Sounds & Haptics”.
3. In the “Sounds and Vibration Patterns” section, tap on “Ringtone”.
4. On the “Ringtone” screen, you’ll see a list of available ringtones. Scroll down to find the newly created custom ringtone. It should be listed with the name you gave it earlier.
5. Tap on the custom ringtone to set it as your default ringtone. A checkmark will appear next to the selected ringtone.
6. You can also set the custom ringtone for specific contacts. To do this, go back to the “Ringtone” screen and scroll down to the “Contacts” section. Tap on “Individual” and select the contact for which you want to set the custom ringtone.
7. Once you’ve set the custom ringtone as your default or for specific contacts, you can exit the “Settings” app. Your chosen song will now play whenever you receive a call from the selected contacts or as your default ringtone.
It’s important to note that if you ever decide to change your ringtone, you can always revisit the “Sounds & Haptics” settings and choose a different option.
Now that you know how to set your custom ringtone, you can enjoy hearing your favorite song every time your phone rings, adding a personal touch to your iPhone experience.
Conclusion
Creating your favorite song as your iPhone ringtone is a fun and personalized way to make your device truly yours. With the right tools and techniques, you can easily turn any song into a unique ringtone that reflects your style and taste.
Remember, the process may vary slightly depending on your iPhone model and iOS version, but the general steps and concepts remain the same. Don’t be afraid to get creative and experiment with different songs and editing options to find the perfect ringtone for you.
Now that you know how to make your favorite song your iPhone ringtone, you can add a touch of personality to every call you receive. So go ahead, follow the steps outlined in this article, and start enjoying a customized ringtone that will make you smile every time your phone rings.
FAQs
Q: Can I use any song as my iPhone ringtone?
A: In most cases, you can use any song as your iPhone ringtone. However, there are some limitations. Songs downloaded from streaming services or protected by digital rights management (DRM) cannot be directly used as ringtones. You may need to convert the file format or purchase the song from iTunes to use it as a ringtone.
Q: How long can an iPhone ringtone be?
A: The maximum duration for an iPhone ringtone is 30 seconds. If your chosen song is longer than that, you will need to trim it down to the desired length using audio editing software or apps.
Q: Can I create a custom ringtone from a song I already have on my iPhone?
A: Yes, you can create a custom ringtone from a song already on your iPhone. There are several apps available on the App Store that allow you to easily edit and create custom ringtones from your existing music library.
Q: What file format should the ringtone be in?
A: The file format for iPhone ringtones should be in .m4r format. If you have a song in a different format, such as .mp3, you will need to convert it to .m4r before you can use it as a ringtone. There are various online converters or software available that can help you with the conversion process.
Q: How do I set a custom ringtone on my iPhone?
A: To set a custom ringtone on your iPhone, go to Settings > Sounds & Haptics. Then, tap on “Ringtone” and select the custom ringtone you want to use from the list. You can also assign specific ringtones to individual contacts by editing their contact information in the Phone or Contacts app.