Sure, here's the introduction in HTML with a word count of 100-150 words:
html
Have you ever wanted to capture a memorable moment on your iPhone 11 by recording your screen? Whether it’s to save a video call with a loved one, demonstrate a new app feature, or create engaging content, screen recording can be a valuable tool. In this article, we’ll explore the step-by-step process of screen recording on your iPhone 11. From enabling the feature to accessing the recording controls, you’ll learn how to effortlessly capture and share your screen activities. Let’s dive into the exciting world of screen recording on the iPhone 11!
Inside This Article
Setting Up Screen Recording
Setting up screen recording on your iPhone 11 is a straightforward process that allows you to capture and share your device’s screen activity with ease. Whether you want to demonstrate a new app, create a tutorial, or simply record a memorable moment, the screen recording feature provides a convenient way to do so.
To begin, navigate to your iPhone’s Settings and select Control Center. Here, you can customize which features are accessible via the Control Center, including the screen recording function. Tap Customize Controls to add the Screen Recording option to the Control Center, ensuring quick access to this useful tool.
Once you have added screen recording to the Control Center, you can initiate a recording with just a few taps, making it a seamless and efficient process. With this feature readily available, you can effortlessly capture and share your iPhone 11’s screen content whenever the need arises.
**
Starting a Screen Recording
**
To start a screen recording on your iPhone 11, you can follow these simple steps. First, navigate to the Control Center by swiping down from the top-right corner of the screen. This action will reveal a variety of shortcuts and options.
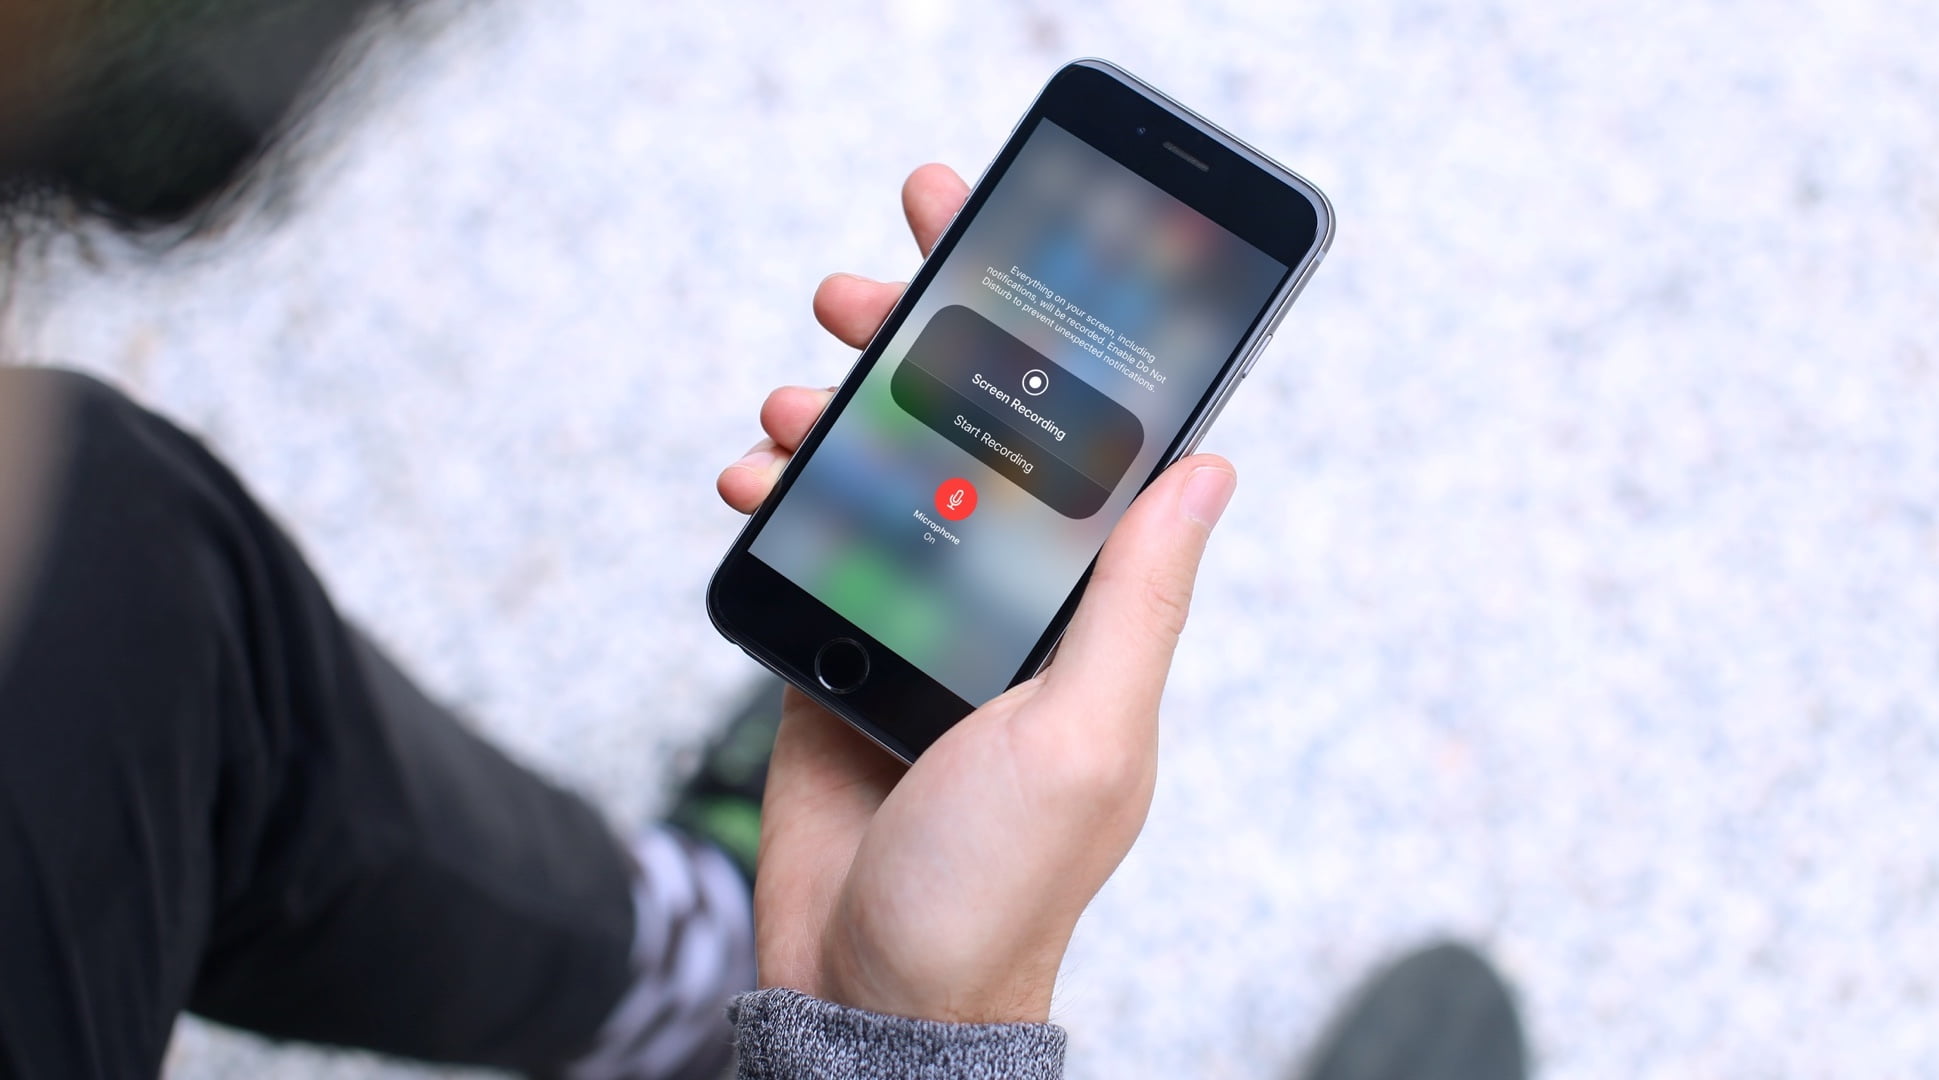
Next, locate the “Screen Recording” icon, which looks like a solid circle surrounded by a dotted circle. Tap this icon to initiate the screen recording process. Upon tapping the icon, a countdown will appear, signaling that the recording is about to begin.
Once the countdown completes, the screen recording will commence, capturing everything displayed on your iPhone’s screen. You can now proceed with demonstrating or recording the desired content, whether it’s a tutorial, gameplay, or any other on-screen activity.
Remember that the screen recording feature allows you to record both the visual and audio aspects of your device’s display. This means that any sounds, including dialogue, music, or in-app audio, will be captured alongside the visual content.
Stopping a Screen Recording
Once you’ve finished recording your iPhone 11 screen, it’s essential to know how to stop the recording properly. Here’s a simple guide on stopping a screen recording on your iPhone 11.
To stop the screen recording, swipe down from the top-right corner of the screen to access the Control Center. Then, tap the red recording icon at the top of the screen. A prompt will appear asking if you want to stop the recording. Tap “Stop” to end the recording.
Alternatively, you can also stop the recording by tapping the red status bar at the top of the screen. A similar prompt will appear, allowing you to confirm the stop action.
After you’ve stopped the screen recording, you can access the recorded video in the Photos app under the “Recents” album. From there, you can edit, share, or delete the recording as needed.
Conclusion
Screen recording on your iPhone 11 is a powerful feature that allows you to capture and share moments with ease. Whether you’re showcasing a new app, creating a tutorial, or simply preserving a memorable conversation, the screen recording function offers a versatile tool for various purposes. With just a few taps, you can start recording and effortlessly save and share the footage. The ability to capture both audio and visual content makes it an invaluable asset for personal and professional use. As technology continues to evolve, the iPhone 11’s screen recording feature exemplifies the device’s adaptability and user-friendly design, empowering users to unleash their creativity and share their experiences seamlessly.
FAQs
1. How do I screen record on my iPhone 11?
To screen record on your iPhone 11, simply swipe down from the top-right corner of the screen to access the Control Center. Then, tap the circular Record button, which looks like a solid white circle inside a black circle. After a 3-second countdown, the recording will start. To stop the recording, tap the red status bar at the top of the screen and confirm by tapping "Stop."
2. Where can I find my screen recordings on iPhone 11?
After stopping a screen recording, it is automatically saved to the Photos app. You can access your screen recordings by opening the Photos app and navigating to the "Recents" or "Videos" album.
3. Can I record audio while screen recording on iPhone 11?
Yes, you can record audio while screen recording on your iPhone 11. To enable this feature, long-press or 3D Touch the Screen Record button in the Control Center. Then, tap the microphone icon to turn on audio recording. This allows you to capture both the on-screen activities and audio simultaneously.
4. How can I edit my screen recordings on iPhone 11?
To edit your screen recordings on iPhone 11, open the Photos app and select the recording you want to edit. Tap "Edit" and use the built-in tools to trim, crop, or annotate the recording. Additionally, you can use third-party video editing apps from the App Store for more advanced editing options.
5. What should I do if screen recording is not working on my iPhone 11?
If screen recording is not working on your iPhone 11, ensure that the feature is enabled in the Control Center. Go to Settings > Control Center > Customize Controls, then add Screen Recording if it's not already included. If the issue persists, restarting your device or updating to the latest iOS version may resolve the problem.
