Getting started with your smart home app
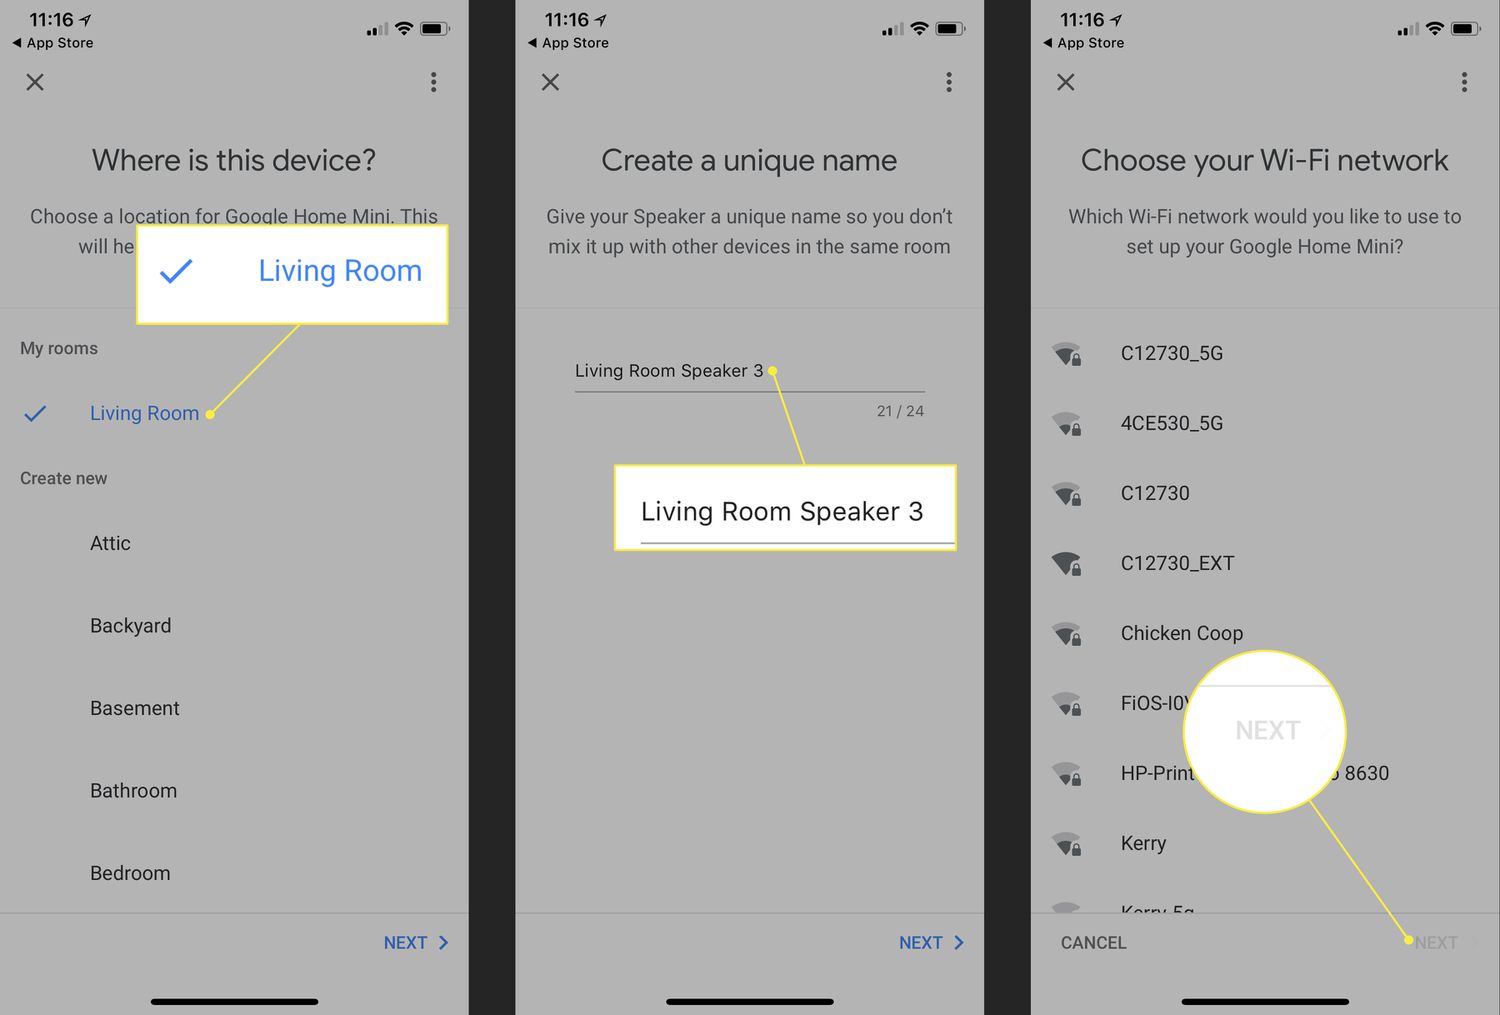
The real foundation of any smart home app setup is the account on the phone you will use, so before you add a single bulb or lock, understand that for an Amazon ecosystem, the first step is learning how to connect a phone to an Alexa speaker, which happens entirely through the Alexa app by signing into your Amazon profile and selecting the device rather than using your phone’s standard Bluetooth menu. Once that initial link is established, you may need to connect Alexa to hotspot if your home WiFi is unavailable; for Amazon Tap, open the Alexa app, select Devices, select your Amazon Tap, select Change next to Wi‑Fi Network, scroll down and select Use this device as a Wi‑Fi hotspot, select Start, enter the hotspot network name and password, select Connect, then turn on the phone’s hotspot in the phone’s settings. To activate calling and messaging features, you also need to add a phone number to Alexa by going to More > Settings > Communication, selecting your carrier, and following the on-screen instructions to link the account. If your primary phone is an Android device, use Alexa on Android phone through the Alexa app, which requires microphone permission for voice use. For those committed to Apple’s ecosystem, set up and use your smart home with HomeKit devices starting in the Home app on an iPhone or iPad by going to Settings > [your name] > iCloud and setting up iCloud for Home on your devices. The most important rule to remember across platforms is that sharing access with family members means each person downloads the app and accepts a digital invitation from the primary profile holder.
Installing and pairing doorbells and chimes
Charge the removable battery pack fully before you begin. Press the setup button until the light spins white to broadcast a temporary network. The Ring app uses that network to pass your home Wi‑Fi credentials to the device. If the QR scan fails, tap Set up a non-Ring device or choose manually to continue. The process shifts when you set up Arlo wireless doorbell hardware. The Arlo Secure app guides you through a hardwired installation that begins with turning off power at the breaker and removing the chime box cover. For a quick and reliable upgrade, you’ll want to install a wireless ring doorbell because it takes under an hour and requires no professional help.
Your phone must join the visitor alert unit’s own setup network before you can link wireless doorbell to chime. On an iPhone, the app explicitly asks you to tap Join. On Android, the connection typically happens automatically once you grant the necessary permissions. For wired Nest models, understanding the Nest Chime connector explained simply is critical. This small puck-shaped component lets the existing chime wires deliver constant power to the device while preventing buzzing or random ringing. It is mandatory for the wired Nest Doorbell but unnecessary for the battery-powered version, so check your model before buying extra parts.
Install a wireless ring doorbell at eye level to capture faces rather than the tops of heads, and you’ll get the clearest visitor identification every time, which is the main reason you’d want to install a wireless ring doorbell in the first place. Use the included wedge mount if your entryway sits perpendicular to the walkway. Pair wireless doorbell hardware with a compatible smart speaker immediately after mounting, which ensures you never miss an alert when you’re in the back of the house. Assign the speaker as the primary indoor chime before you tidy up your tools. Confirm the video feed loads quickly on both Wi‑Fi and cellular data. Adjust the motion zone boundaries by dragging the corner pins in the app until only your porch and front walkway are highlighted.
Connecting security cameras to your phone
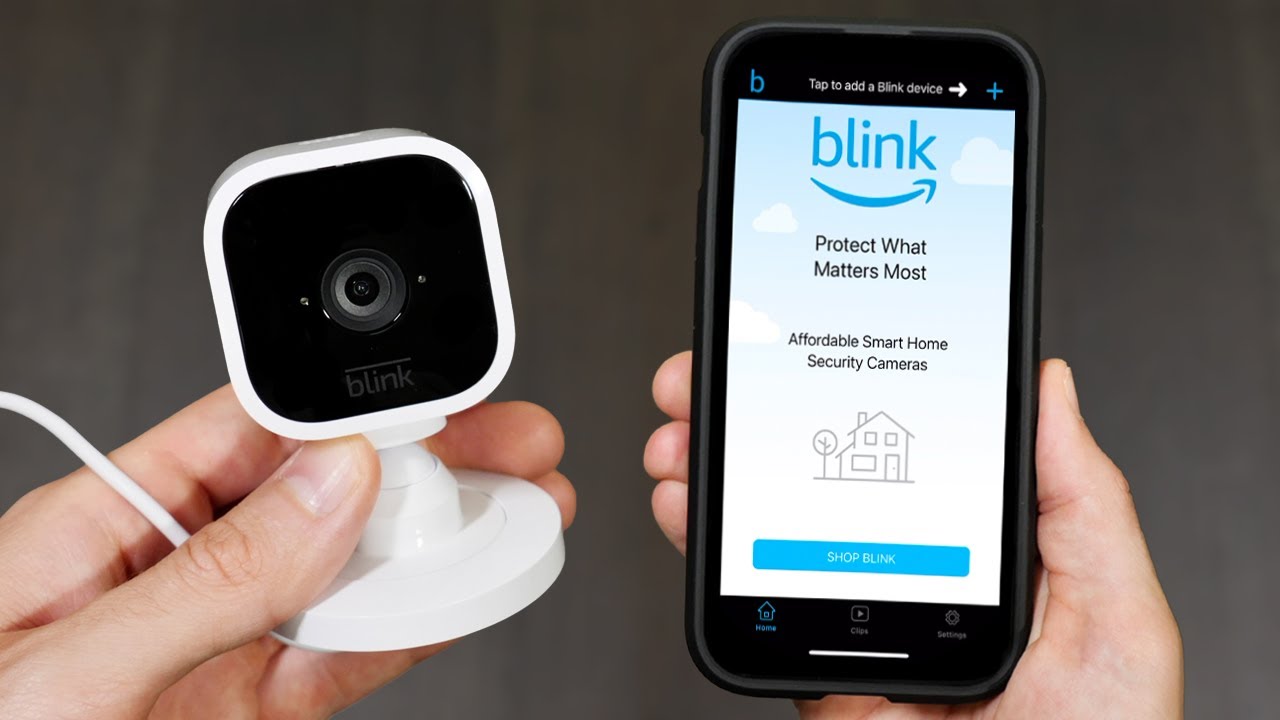
Most security cameras need a steady 2.4GHz WiFi network to function, and Ring cameras without WiFi lose nearly all functionality. They cannot send alerts, store footage to the cloud, or stream a live view until the connection is restored. Some Ring models also support 5GHz bands, but none can use a mobile phone hotspot as a substitute. When you are ready to connect Swann security cameras to phone, download the Swann Security app on a device running at least Android 9 or iOS 15. Stand-alone cameras only appear on mobile, while recorder-based systems can also be accessed from a computer. To add phone to Blink camera, open the Blink app on the new device. Sign into the same profile that owns the system and accept the permissions prompt that appears. If you are troubleshooting the device, you should check what does a blue light on a blink camera mean, since that indicator often signals active recording or a pending setup mode rather than a malfunction. If the glow becomes distracting at night, you can turn off blue light on Ring camera through the device settings in the Ring app. Remember that any family member who wants access must install the app on their own phone and accept a digital invitation sent from the primary profile.
Sharing device access with family
Once your devices are up and running, the next step is making sure the right people get the alerts. When you want to add a second phone to my Ring doorbell, the process relies entirely on the Ring app’s Shared User feature rather than a simple phone number entry. Navigate to the Control Centre and tap Shared Users. Send a time-sensitive email invitation that expires after seven days. The person you invite must create their own Ring account to accept. Individually select which cameras or video doorbells they can see from your device list. For voice assistants, the approach is different because you are linking a caller ID rather than granting device control. If you need to add a phone number to Alexa for calling and messaging, this is done through the Link Your Mobile Number with Alexa feature for Alexa Calling and Messaging. Should your primary contact details change, you would then need to change the telephone number Alexa uses by updating that same mobile number link in your profile. Just remember that shared users on Ring can get limited voice control through Alexa, but the exact capabilities depend on the specific hardware you own.
Managing batteries and power
Keeping your smart home running often comes down to a simple battery swap you can do in under a minute. For the Nest Thermostat (2020 model), you can change battery in Nest thermostat by pulling the display straight off its base, where two AAA batteries sit tucked into the back. The Nest Thermostat E and Nest Learning Thermostat handle power differently, as their internal cells are sealed, so when you see a low-battery warning you should plug the display into a USB cable rather than attempting a swap. On the video side, your actual Nest Doorbell battery duration depends heavily on how many events it records, with Google estimating about one month for a busy entryway capturing 25 to 30 events daily, roughly 2.5 months for a typical doorstep, and up to six months in a quiet setting. The same pattern holds true for Nest Camera battery duration, where a camera facing a calm backyard can run far longer than one monitoring a high-traffic driveway. If you own a Ring device and need to change battery in ring doorbell, once you understand the battery life of a Ring Doorbell you will develop a natural rhythm for recharging based on your own home's activity level. For Arlo camera battery lifespan.
Controlling thermostats and sensors from your phone
Adjusting your home’s temperature from anywhere starts when you control Nest thermostat from phone using the Nest app or, for compatible models, the Google Home app. After setup, drag your finger along the ring on the home screen to change the target temperature or tap the up and down arrows for finer adjustments. If the thermostat is set to Off or Eco, switch it to Heat, Cool, or Heat • Cool mode before making changes. The thermostat displays an Entry Key during initial pairing.
PetSafe wireless fences rely on a different kind of pairing. When you connect collar to petsafe wireless system, the collar listens for a signal from the base transmitter. Over time, you may need to reset a petsafe wireless collar if it stops responding to the boundary zone by holding the collar’s power button in a specific sequence until its indicator light flashes. Since the exact steps vary by model, check your collar’s indicator light pattern.
Open the Alexa app and tap Communicate at the bottom of the screen. To activate calling and messaging features, navigate to the Communication section within the app’s preferences and complete the verification step. Once verified, you can ask your Echo device to dial any contact from your synced address book. Say “Alexa, call Mom” or “Alexa, drop in on the kitchen” to connect instantly with another room or household.
Tap Devices at the bottom of the Alexa app, then select your video unit from the list. Turn on the motion announcement feature to receive alerts on your phone whenever someone approaches and choose a specific alert tone that stands out from your other notifications. If you own a Ring video unit, open its dedicated control panel and set up motion zones by drawing a custom area on the screen so you only get alerts for activity in the driveway and ignore the busy sidewalk.
Open the Ring app and select your video unit from the dashboard. Tap Device Options and then select Notification Settings to customize your alerts. Toggle on Rich Notifications to see a snapshot of the visitor directly on your lock screen without opening the app. If you want to silence the indoor chime during nap time, go into the chime configuration and slide the volume all the way down. To review a missed visitor, tap the History timeline and scroll back through the recorded motion events.
Open the Google Home app and select your video unit from the list of linked products. Tap the gear icon to access the device configuration panel and turn on the visitor announcement feature so your Nest speakers broadcast a chime and show the live feed on your Nest Hub display. If you want to talk to the person outside, press and hold the microphone button on the event card and your voice will come through the speaker on the unit, allowing you to tell the courier where to leave the package.
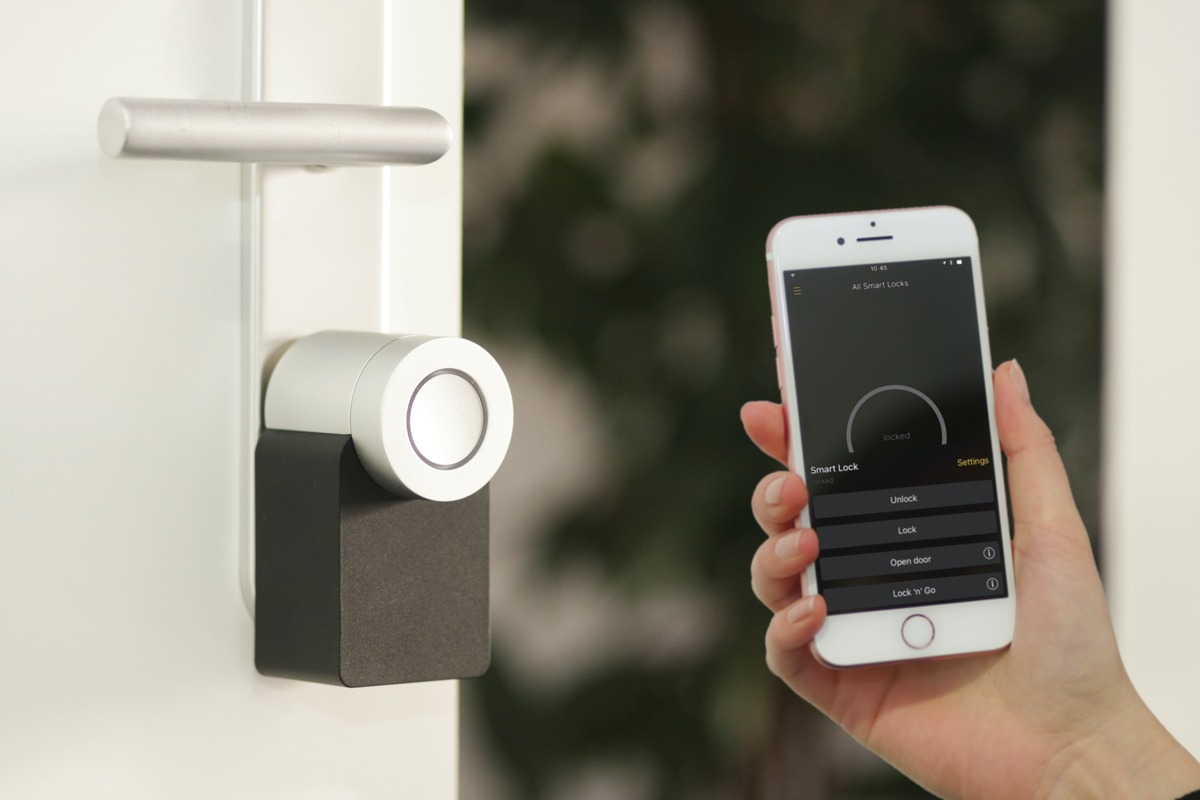
Open the manufacturer’s app and navigate to the device configuration for your smart lock. Tap Access Codes and then create a new entry for your guest, setting a schedule that limits the code to specific days of the week and a narrow window of time. Copy the temporary code and send it to your visitor via text message. When they arrive, they will punch the digits into the keypad to enter, you will receive a push notification the moment the door opens, and the code will expire automatically at the end of the scheduled window.
Open the SmartThings app and tap the Automations tab at the bottom of the screen. Create a new routine and choose “Arrival” as the trigger condition, then select your phone’s location as the presence sensor that starts the sequence. Add an action to disengage the smart lock on your front door and a second action to turn on the entryway lights. Save the automation so that pulling into your driveway automatically unlocks the door and illuminates the hallway before you step inside.
Open the Apple Home app and tap the Add Accessory button in the top corner. Scan the HomeKit setup code printed on the device or its box, then assign the accessory to a room so you can control it with Siri by saying “Siri, turn on the living room lamp.” If the code won’t scan, tap “Enter Code Manually” and type the eight digits printed beside the blurry label. After pairing completes, tap the accessory tile to build an automation that triggers the light at sunset each evening.
Open the Alexa app and tap More, then select Routines. Tap the plus sign to build a new routine and name it “Bedtime,” then add a voice trigger by typing “Alexa, goodnight” into the phrase field. Add an action to lock the front door by selecting your smart lock from the list, a second action to turn off all the downstairs lights, and a final action to set the thermostat to 67 degrees. Save the routine and say those words from bed to shut down the entire house without walking back downstairs.
Using Alexa on wearables and Bluetooth
Wrist-based voice control brings Alexa out of the speaker and onto your body, starting with the moment you use Alexa on my Fitbit Versa 2 by opening the Alexa app directly on the watch face while the Fitbit app runs in the background on your phone. The watch responds with on-screen text and audio through its built-in speaker. Ask for weather or set a timer without reaching for your pocket.
The broader process to set up Alexa on Fitbit follows the same path across models. Open the Fitbit app, tap the Today tab, select your profile picture, choose your device tile, and pick Amazon Alexa. Then sign into your Amazon profile. On newer wearables, the menu label shifts slightly when you set up Alexa on Fitbit Sense 2. The app lists Voice Assistant instead of Amazon Alexa. The login flow remains identical once you select the Amazon option. On Versa 2, assign the left button on the watch to launch Alexa through Settings > Left Button for a physical shortcut. Away from the wrist, you can pair Bluetooth speakers to Alexa to fill a room with richer sound. This gives your Echo device a larger audio footprint for music and announcements.
Troubleshooting and maintenance
When a wireless doorbell stops responding, the problem is rarely the button itself. Start with your home network. Unplug the Wi‑Fi router for a full 30 seconds and plug it back in. Next, open the doorbell’s app and confirm the password is correct by tapping the eye icon in the password field. In the Blink app, for example, tap the More icon on the doorbell thumbnail. Navigate to Device Settings and then General Settings to check the Connection to Wi‑Fi under Network. If the signal meter shows two bars or less, move the Sync Module closer to the doorbell to restore a stable link. A VPN running on your phone or certain conflicting apps can also cause the unit to fall offline. Disable them temporarily during setup or troubleshooting.
Status lights on your hardware are your fastest diagnostic tool. Software features need their own kind of attention, and this is where you’ll want to read about how Amazon'S Alexa gains reminders and timer labels, allowing you to attach a short, descriptive name to any kitchen or laundry timer instead of relying on a generic chime. Keep a timer label to three words or fewer. Describe the task plainly. Avoid including any sensitive personal details. The label should also match the language you normally speak to the device, unless you have a specific reason to use another. While the developer console enables these named timers and reminders behind the scenes, the capability flows directly into your daily routine. Say, “Alexa, set a pasta timer,” to see it in action.
To fix a wireless doorbell that keeps dropping offline, first disable VPN on the mobile device or uninstall conflicting apps, which is the same troubleshooting step you’d follow if you wanted to fix a wireless doorbell that won’t stay connected due to network interference.
Frequently Asked Questions
What does the Nest Thermostat Entry Key do during pairing?
The Nest Thermostat displays an Entry Key during initial pairing to securely link the device to your account in the Nest or Google Home app. You enter this key in the app when prompted to prove you have physical access to the thermostat.
How do I change the phone number Alexa uses for calls?
Update the mobile number link in your Alexa profile by going to More, then Settings, then Communication in the Alexa app. The available sources do not document the full step-by-step flow for changing an existing number, only the initial linking process.
Can I access my Swann security system from a computer?
Recorder-based Swann systems can be accessed from a computer, while stand-alone cameras are only viewable on mobile devices through the Swann Security app. The app requires a phone running at least Android 9 or iOS 15.
Does the Nest Doorbell battery version need the chime connector?
No, the Nest Doorbell battery version does not need the chime connector for wired or battery-powered installation. The chime connector is only mandatory for the wired Nest Doorbell model to deliver constant power and prevent buzzing.