What kind of screen protector installation do you have
Before you attempt any screen protector installation repair, look closely at what is actually on your screen, because the material determines whether you can salvage it. If you have a tempered glass screen protector, you are holding a rigid sheet designed to take impacts instead of your panel, and lifting it back up often ruins the adhesive, making re-installation difficult. Trying to spray and wipe a liquid screen protector work into an existing installation will not fix trapped debris, since that invisible layer bonds to bare glass and is not meant for filling gaps under a sheet of glass or polymer. You might also be dealing with a mirror screen protector, which doubles as a reflective surface when the screen is off but still relies on a clean, dust-free bonding layer along the edges. Understanding what a screen protector made of glass, layered film, or a spray-on compound actually is will tell you whether tape-lifting the sticky side can save it or if you are better off starting fresh.
Choosing a new protector or case
Before you buy, match the protector to how you actually use the phone. A glossy tempered glass sheet preserves the screen’s sharpness. If you write or draw often, the best paperlike screen protector adds enough tooth to make a stylus feel less slippery, at the cost of some clarity. For heavy impacts, many people find that a Zagg screen protector is best when paired with a rigid case, since the two work together to spread force away from the glass. If you are shopping for a case at the same time, screen protector pricing often shifts with the bundled coverage a brand offers. Check whether the kit includes an alignment tray, a cleaning wipe, and a squeegee, or just the film. A case that pinches the edges will lift even an expensive protector. That is why looking at the best phone case brands in 2022 reveals which manufacturers machine their lips to leave a consistent gap around the panel. The difference becomes obvious in an OtterBox vs LifeProof iPhone 7 case comparison: each brand takes a different approach to protection, and each presses on the screen perimeter differently. If you choose an OtterBox phone case, note that its multi-part construction sometimes requires you to install the protector after the case to avoid corner lift.
Pre-installation checks and prep
Before you open any packaging, work under a bright light and wipe your table down with a damp cloth. This settles dust that would otherwise float onto the bonding layer. If you are not sure what is already on your screen, a quick way to tell if you have a screen protector on your phone is to check the front camera cutout and the edges around the earpiece speaker. A factory panel sits nearly flush with the frame, while a protector leaves a distinct rim or a punched-out hole you can feel with a fingernail. When damage is visible, you need to tell if screen protector or screen is cracked by angling the phone under a desk lamp so the light catches the fracture. A protector crack often splinters in a tight web that stops at the cutout. Display glass damage continues under the bezel and can distort the pixels beneath it. If the sheet is intact but lifting, you can often clean the sticky side of screen protector by pressing a strip of clear packing tape firmly across the silicone. Peel it straight off to lift trapped lint without smearing the grip layer. Anything that refuses to budge, especially a single strand, usually requires a second fresh piece of tape to get hair off screen protector. Hair tends to embed rather than sit on the surface, and tweezers will gouge the bonding film permanently.
Installing a standard screen protector
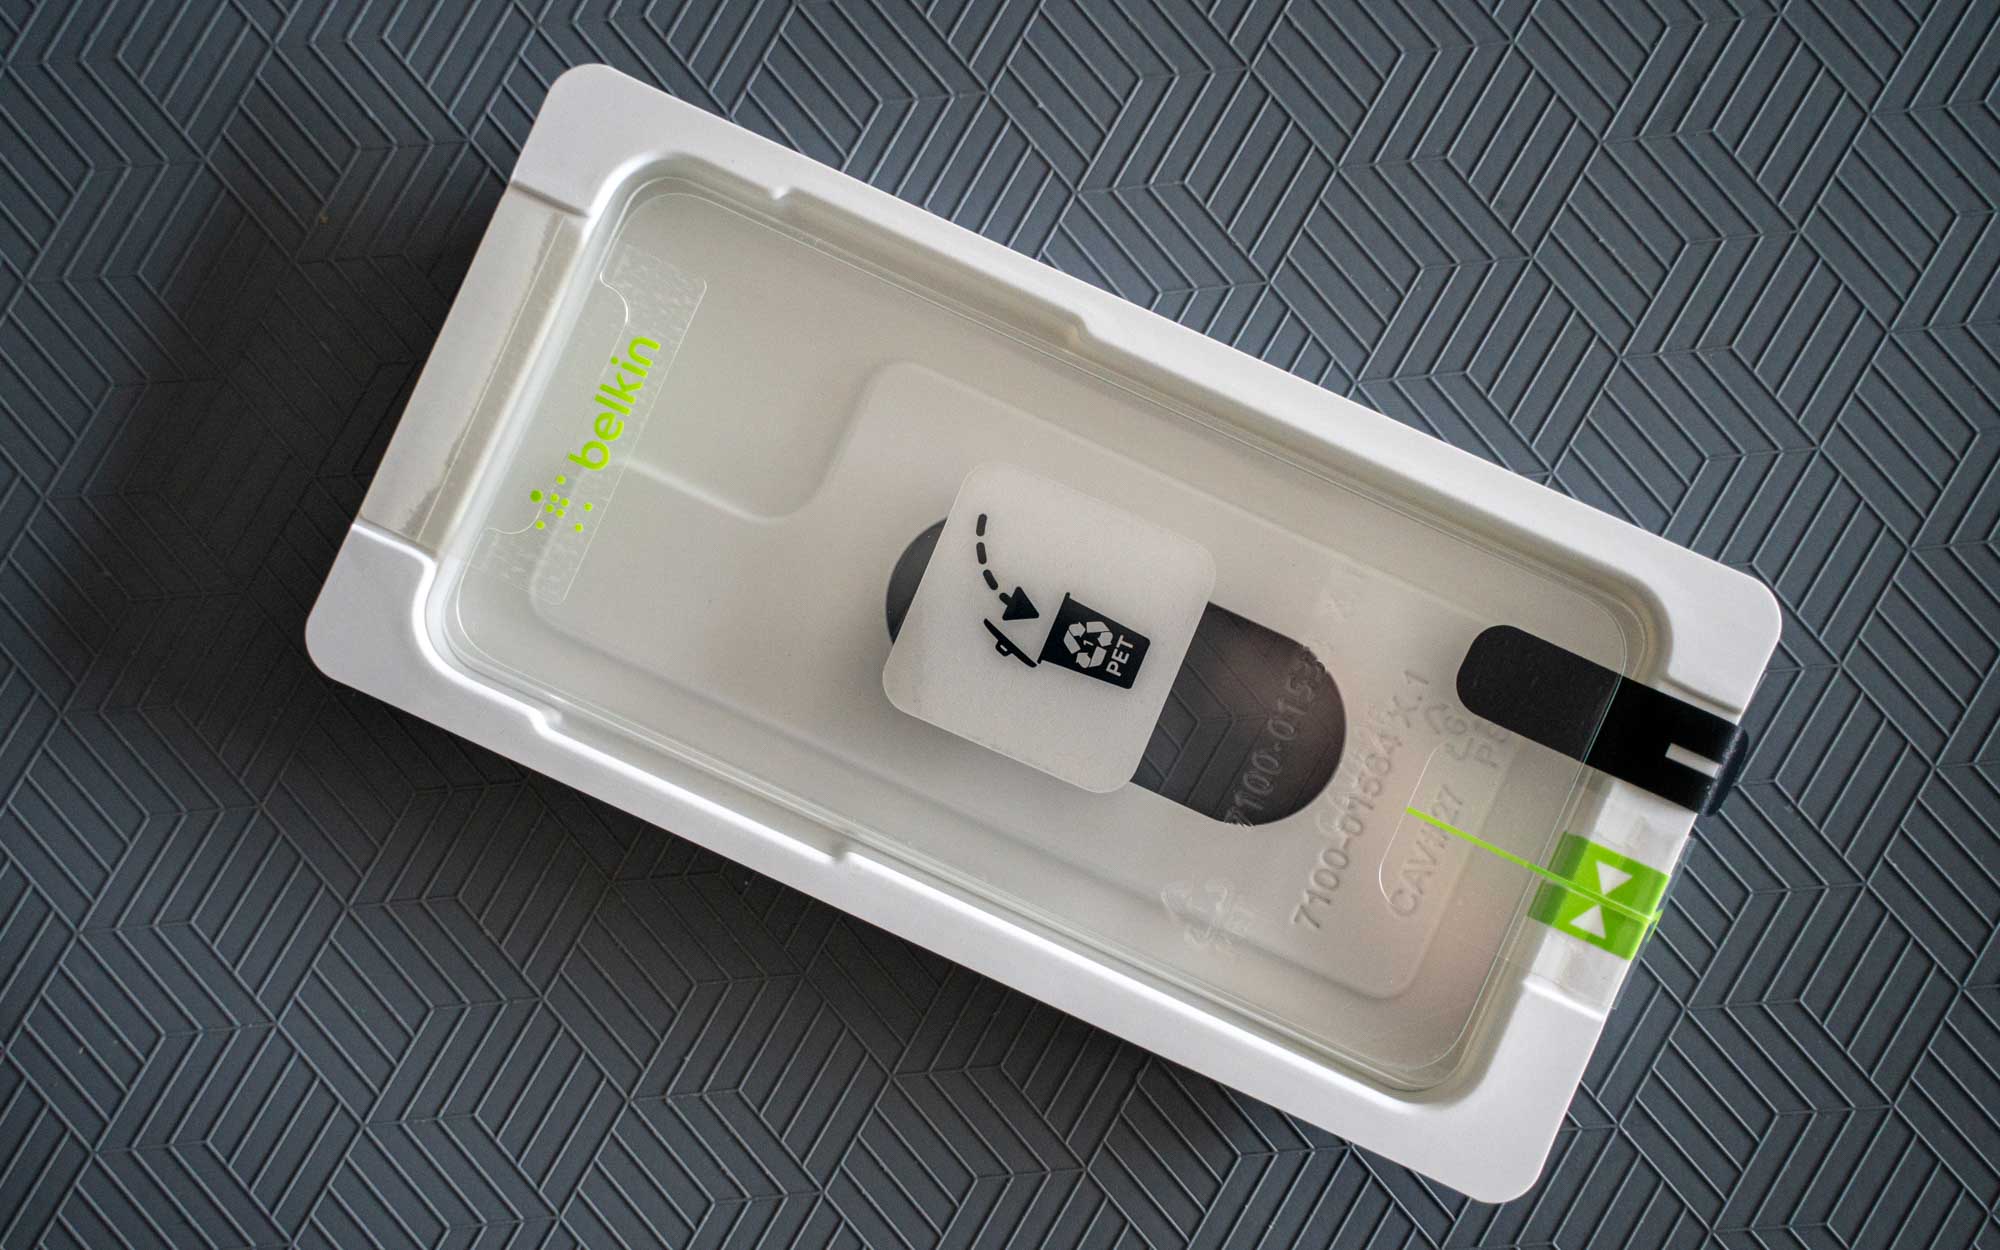
Most installation problems start before the protector ever touches the glass. Work under bright light and use the included dust sticker to lift particles you cannot see. Even a single speck creates a permanent bubble that no amount of squeegeeing can remove, so take your time on this stage. Then press outward toward the nearest edge with a microfiber cloth rather than chasing individual pockets of air. Belkin includes an Easy Align frame or tray with some models. Other brands rely on different tools. The same principle holds if you install tauri screen protector sheets: the sticky side needs to be completely clean before it meets the screen, and that dedicated guide shows you the precise technique to avoid dust traps, ensuring your protector adheres smoothly. A strip of clear packing tape pressed onto the tacky surface can rescue a misaligned first attempt by lifting off lint that a cloth cannot reach.
- apply screen protector without bubbles
- put on Belkin screen protector
- install tauri screen protector
- put on glass screen protector
- apply Zagg screen protector
Installing liquid and specialty protectors
When you put on liquid glass screen protector kits, the process looks simpler than a traditional sheet but the preparation demands the same discipline. Wipe the screen thoroughly with the supplied alcohol pad and dry it completely with a microfiber cloth before you open the vial, because any fingerprint or smudge may seal beneath the coating and create a hazy patch. Crack open the sachet and spread the liquid evenly across the glass surface, working quickly since the formula begins to bond on contact. Let the phone sit untouched while the initial layer sets, then buff off the excess residue with a clean microfiber cloth. Full curing continues for some time, so avoid pressing the phone into a tight pocket or snapping on a case that could disturb the still-hardening surface. If the result looks uneven or streaky after drying, options to fix liquid glass screen protector mistakes may be limited because the coating bonds strongly and typically cannot be peeled away like a film. Your best move is to clean the panel again with a solvent-free screen cleaner, and reapplying a fresh layer may fill in thin spots and restore uniformity.
Installing case-integrated protectors
Rugged cases that promise all-in-one protection can still frustrate you with a hazy or unresponsive plastic window. Many OtterBox has a built in screen protector option within its Defender Series, though that integrated shield is a distinct product version rather than a feature of every rugged case in the lineup. If the built-in layer feels sticky or looks cloudy, pop the plastic frame out of the case and clean it thoroughly to remove grime that ordinary wipes leave behind. Before you install OtterBox Defender iPhone 14 cases with the integrated shield, check that the phone’s bare screen is completely free of lint and confirm the case frame snaps together without pinching the plastic sheet, since even slight pressure on one corner will cause a permanent lifted edge. When you install OtterBox Defender pro iPhone 11 models, verify whether your specific version includes the sealed front cover or the screenless edition that relies on a separate glass protector. If the built-in window repeatedly cracks in the same corner, inspect the case’s outer frame for a bent lip that is transferring uneven force onto the plastic.
Fixing bubbles, halo, and adhesion issues
When you try to fix bubbles on screen protector sheets that were applied minutes or hours ago, start by identifying whether the spot is clear or contains a dark speck. A small clear pocket can often be left alone, as tiny bubbles may shrink on their own within 24 to 48 hours. For anything larger or obviously trapping lint, lift the nearest corner just enough to reach the problem area, then use a dust removal sticker to dab the sticky side and the glass underneath before lowering the film again. Persistent air bubbles under screen protectors that keep returning after you press them out usually point to a case lip nudging the edge, so remove the phone case and check for interference before reseating the lifted portion. If the corner still refuses to stay down, hold firm pressure on it for a full 30 seconds.
Removing standard and old protectors
Before you change screen protector sheets, power down the phone and take off the case so nothing blocks the edges. Work a fingernail, toothpick, or plastic card under one corner and lift slowly, keeping the pull low and steady rather than yanking straight up. If the film resists, try again, stopping to address any section that still feels stuck. A cracked sheet demands the same gentle pace, since forcing it can send splinters across the screen. Once the old layer is off, wipe the bare glass with a microfiber cloth and inspect the frame for bent spots or debris. If the sticky side is still clean and you want to reuse a screen protector, press a strip of packing tape across the bonding face to lift any dust. Should the glass underneath show a fresh crack, pause and consider cracked screen protector next steps. Check whether the phone’s frame or a case lip is bent and transferring stress into the same corner, because a fresh sheet will only fail again if that pressure goes uncorrected.
Removing brand-specific protectors
Removing a brand-specific protector starts with identifying how it attaches, since prying a flexible film the same way you would tempered glass can tear the material. To remove Zagg screen protector glass, lift one corner gently and peel the sheet away. You remove OtterBox Defender screen protector by carefully working the built-in shield free from the case. If any polymer layer resists, warm it with a hair dryer on the lowest setting to soften the bond. When the sticky side picks up lint, carefully lift the nearest corner and use tape to dab the debris off the screen and the protector's adhesive side, then slowly reapply. Inspect the surrounding surfaces closely before installing a fresh shield. The same principles apply when you remove ailun screen protector, remove paperlike screen protector, remove old phone screen protector, remove a liquid screen protector, remove halo effect from screen protector, or remove UV cured screen protector, because the removal technique depends on the brand’s bonding formula and whether the shield is a standalone sheet or integrated into a rugged case.
Removing liquid, uv, and camera protectors
Removing tiny bonded protectors, especially the glass discs that sit over a phone’s camera lenses, requires a different touch than peeling a full-screen sheet. The small surface area concentrates the grip of the bonding agent and makes the shard more likely to splinter under pressure. Before you attempt to get camera screen protector off, consider that the only official removal guidance found is to slowly lift one corner to separate the overlay from the screen, letting you lever the edge without scratching the lens ring or the surrounding metal trim; reading the linked article will show you the exact technique to avoid damaging the lens. If the disc has been in place for months and feels immovable, a few seconds of low heat from a hairdryer directed at the lens bump softens the bond enough to let you lift a corner without snapping the glass. No official removal steps for liquid-applied or UV-cured protectors are documented. Once the old layer is off, inspect the bare lens for any leftover haze from the bonding layer and wipe it with a dry microfiber cloth before deciding whether the glass underneath is clean enough to leave uncovered.
Removing console and other device protectors
Before you try to peel a Nintendo Switch protector, check which model you have. The rules are not the same across the family. If you need to take off Nintendo Switch screen protector film from an original Switch or Switch Lite, you are working with a user-applied accessory. If it resists, lift gently with a plastic card, since these flexible sheets can tear if you pull at a steep angle. The situation changes entirely on Switch OLED and Switch 2. There, the factory-bonded anti-scattering layer is not designed for removal at all, and prying it up risks damaging the panel underneath. Once the protector separates, you can press a strip of tape across the sticky side to lift any trapped dust. If misaligned, affix cellophane tape to one corner and carefully peel it off, then start over. After the old layer is off, wipe the bare screen with a microfiber cloth and look closely at the synthetic bezel for warping or debris that might have caused uneven pressure. Pay special attention if the same corner kept lifting before.
Diagnosing cracks, scratches, and screen damage
Before ordering a new panel, separate what is actually broken. If the crack sits on the top surface and the picture underneath looks normal, the screen protector absorbed the impact. When touch stops working or dark blobs spread behind the glass, the phone itself is damaged. Samsung directs Galaxy owners to an Authorized Service Center or the Book a Repair option to check warranty eligibility, while Apple directs users to My Support or the Apple Support app. The repair-assistant workflow may require the device to be updated before you can access relevant service history information in Settings.
Recurring damage in the same spot points to a frame problem, not defective glass. Among the most overlooked screen protector cracking causes is a bent corner on the phone body or a tight case that transfers uneven pressure into the edge every time you pocket the device, which is why you should read our article on why your screen protector is cracking. Remove the shield and run your fingernail along the surrounding trim to feel for a raised lip before installing a fresh one. If you are trying to get scratches out of blue light glasses, note that the coating layers behave differently than bare phone glass, and techniques that work on a tempered shield can strip anti-reflective treatments and leave the lens hazy, so check our guide on how to get scratches out of blue light glasses before proceeding. The same caution applies when you attempt to get scratches out of smartwatch faces, especially models with curved edges where polishing compounds can seep into the gap between the crystal and the housing, which is why our article on how to get scratches out of a smartwatch is essential reading. Vertical or horizontal bars that persist after a restart are a panel fault. The first step to get rid of lines on phone screen is removing any case or protector to confirm the issue is not trapped debris, then testing the affected area after a reboot, as detailed in our guide on how to get rid of lines on your phone screen. Dark, spreading patches that resemble a leaking pen are liquid-crystal damage, and the only reliable way to fix ink on phone screen is a full panel swap through the manufacturer or a qualified repair shop, so refer to our article on how to fix ink on a phone screen for the complete process.
Cleaning and maintaining protectors and cases
Keeping your gear spotless does more than improve the view; it often solves problems that look like trapped air. If a corner keeps lifting, pause to clean a screen protector by carefully peeling it off, then use an appropriate method to lift the hidden specks that a squeegee cannot move. Once the bonding side is dust-free, you can realign the sheet and let it settle without chasing the same phantom bubble. For the case wrapped around the phone, wiping it with mild soap and warm water or a damp microfiber cloth can make your clear phone case clear again by cutting through the skin oils and grime. Scrub the corners with a soft cloth and let it air dry completely before putting it back on. The same gentle soap-and-water method is often enough to get stains off phone case surfaces.
Dealing with glue and adhesive residue
Before reaching for anything wet, lift the visible clump by pressing a strip of packing tape firmly against the spot and pulling it straight up; this mechanical lift often grabs the bulk of the spill without smearing it across the glass. Dampen a corner of a microfiber cloth with a small amount of 70% isopropyl alcohol and rub in gentle, circular motions, then immediately wipe the area dry so no liquid lingers near the earpiece or seams. Warm water on the cloth can soften stubborn residue, but skip acetone or nail-polish remover entirely, as they may damage the screen's surface. Once the surface feels completely smooth, inspect the edges of your case and frame with your fingertip to make sure no hidden drip ran into a crevice, since hardened bonding agent inside a button gap causes a different kind of trouble later. If the shield itself lifted during the mishap, treat the underside with the same tape-cleaning method before pressing it back down; forcing a cover over leftover glue creates a permanent lump that no squeegee can flatten.
Warranty registration and replacement
Before you can request a fresh shield, you need to register your Zagg screen protector on ZAGG.com, which ensures your product is linked to your account so you can later initiate a replacement. Orders placed while signed into a ZAGG account are often registered automatically at checkout. Once the product appears in your dashboard, you can replace Zagg screen protector by selecting it from the Registered Products list and choosing the warranty replacement option, a straightforward process that saves you from buying a new protector. To claim Belkin screen protector warranty, scan the QR code on the dust-removal sticker to add the item to your account, then pick the eligible shield and click Request Hassle-Free Replacement or Submit a Warranty Claim, choosing the reason from the dropdown, this is the quickest way to get a replacement if your protector is damaged. If you have ever paused mid-install and wondered how do I register my Belkin screen protector after the fact, you can also do it manually through the Belkin registration page as long as you have the dated receipt, which ensures you don’t lose your warranty coverage. For both brands, a valid credit card may be required to process the request and the claim must be submitted within the warranty window after the defect appears. No replacement will ship without that purchase record.
- claim Belkin screen protector warranty
- register your Zagg screen protector
- register my Belkin screen protector
- replace Zagg screen protector
Replacement frequency and cutting to fit
Most people wrestle with a scratched shield far longer than they need to. There is no universal screen protector replacement frequency set in stone; swap it the moment a gouge distorts the panel or the edges refuse to stay anchored after a proper tape-cleaning. For owners of a Galaxy Z series device, Samsung may offer re-application services, so check their current policy before attempting a DIY alignment on a folding screen. Timing that claim before the year expires can save you the trouble of a DIY alignment on a folding screen. If you carry an unusual or older gadget that no brand supports, you may be tempted to cut a tempered glass screen protector to size, but the process often shatters the sheet or leaves a jagged edge that splinters under a case. The simplest way to get a screen protector installed on an oddball device is to visit a kiosk that stocks bulk film and can trim it on the spot, avoiding the glass dust and microfractures a DIY score line creates. Before you commit to a custom trim, pull your case off and run a fingertip along the phone frame to confirm that no bent lip is what really killed the last shield.