Getting started with procreate tools and setup
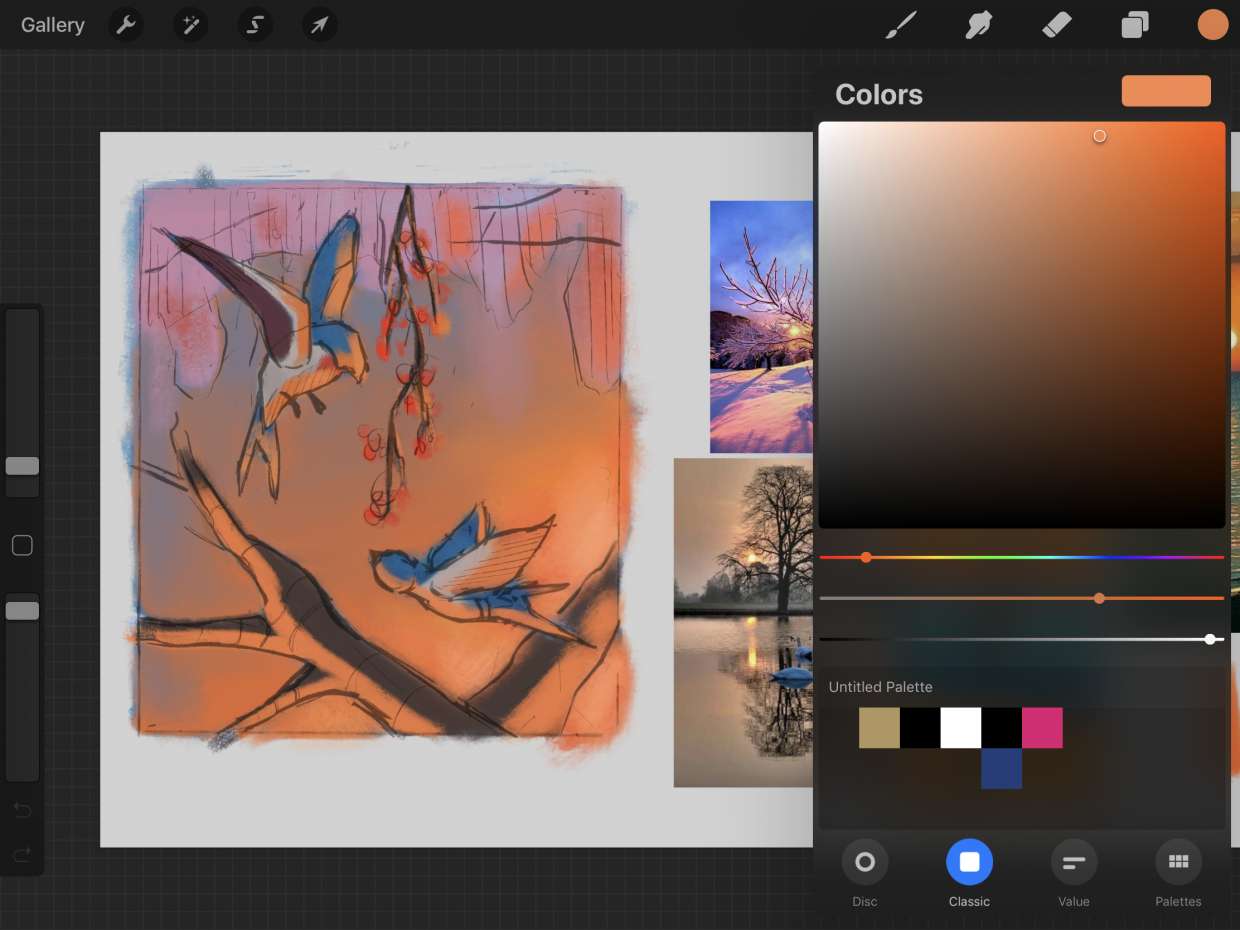
If you ever replace your device or reinstall the app, you will want to know how to restore Procreate drawings from a current iCloud or local backup rather than hunting for a missing menu command. When a workspace quirk or a misbehaving tool makes you want a clean slate, you can reset Procreate drawing guide grid by opening an artwork, going to Actions → Canvas, selecting the Edit Drawing Guide option, choosing 2D Grid, and adjusting the settings to return the grid to its default position. To build a structured layout, you can add grid on Procreate through that same Drawing Guides panel, where dragging the blue and green nodes lets you fine-tune the line spacing for perspective or symmetry. While you work, it often helps to add reference photo in Procreate by toggling the Reference companion on under Actions → Canvas and choosing Image → Import Image, which floats a resizable window above your canvas so you can sample colours or check proportions while keeping your current view intact.
Making selections and moving content
When you need to isolate part of your artwork, tap the Selection button in the top menu and pick a mode from the toolbar. Freehand lets you draw around complex shapes, while Automatic selects an area with a single touch. In Automatic mode, drag your finger left or right to fine-tune the threshold. Once a selection is active, tapping Copy & Paste duplicates the content onto a new layer labeled “From selection,” which is a reliable way to cut out an image in Procreate while keeping your original pixels intact. If you need to move something in Procreate, tap Transform after making a selection, then drag anywhere on the canvas to reposition the bounding box and its contents. The Freehand mode essentially functions as a lasso in Procreate, giving you the precision to trace irregular outlines that Rectangle or Ellipse cannot capture. For duplicating elements, you can combine a selection with Copy & Paste to effectively clone in Procreate. Remember that every transformation slightly softens your pixels, so finalise your composition before scaling repeatedly.
Layers and organization
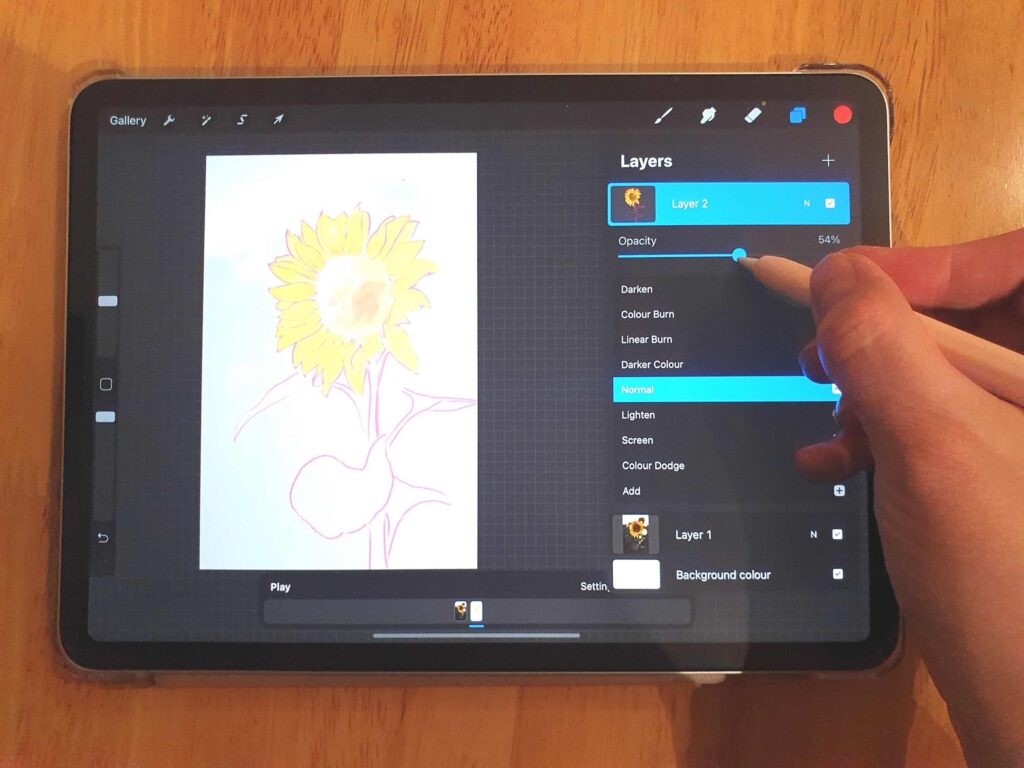
Keeping your artwork structured starts with where each element sits in the layer stack. When you need to move a layer in Procreate, open the Layers panel, press and hold the layer until it lifts, then drag it above or below others to control which details sit in front, finalizing your stacking order early rather than nudging items repeatedly. For controlling where paint lands while preserving the layer's transparency, Alpha lock in Procreate is a common technique that confines brush strokes to existing opaque pixels, though the official handbook documents a right-to-left swipe followed by selecting Lock to prevent any further edits on that layer.
As your file grows, combining elements simplifies the stack and keeps the interface responsive. When you merge layers in Procreate. Should a collection outlive its usefulness, you can release the items from their container; to ungroup in Procreate, the Layers panel offers a Group button for gathering layers but no single Ungroup command. Organizing thoughtfully from the start preserves both clarity and the crispness of your original pixels.
Drawing and painting tools
Every mark you make on the canvas starts with a brush, and customizing your toolkit keeps frequently used tools recognizable. If a default name no longer describes how you use a particular tip, you can press and hold any brush, brush set or brush library in the panel and choose Rename from the menu to give it a label that matches your workflow. To learn how to customize your brush labels for better organization, you can read the article on how to rename a brush in Procreate. When you need to remove pigment without switching to a different brush engine, you erase in Procreate by selecting the Erase tool and then picking any brush from your library to use as the eraser shape; for a deeper guide on removal techniques, see the article on how to erase in Procreate. This removes paint from the canvas with the same texture and opacity behavior you expect from that brush. Keeping these core actions close at hand lets you shift between precise linework, broad fills and quick corrections with no need to hunt through menus, so your attention stays on the artwork rather than the interface.
- use Bucket tool in Procreate
- use Eyedropper in Procreate
- rename a brush in Procreate
- erase in Procreate
Text, tracing, and image editing
Typography in Procreate begins as crisp, editable vectors, so when you are adding text in Procreate you can style it with the full font library before committing to pixels. Selecting the layer thumbnail reopens the bounding box and keyboard whenever you need to edit text on Procreate, but the moment you apply paint, a transform, or a filter the app will prompt you to Rasterize, permanently converting those sharp letterforms into a pixel layer.
Importing outside visuals follows a similar logic. Using Insert a file or Insert a photo places a flat reference on a layer, which is ideal when you want to trace an image in Procreate on a fresh layer above it. For compositional changes, the Transform tool is your primary instrument: dragging a corner node lets you resize image in Procreate freely, while choosing a node opens a numeric keypad for pixel-exact dimensions where the Link icon toggles between Freeform and Uniform scaling. To crop an image on Procreate, you can use the Crop & Resize function available through the Transform tool or Actions menu.
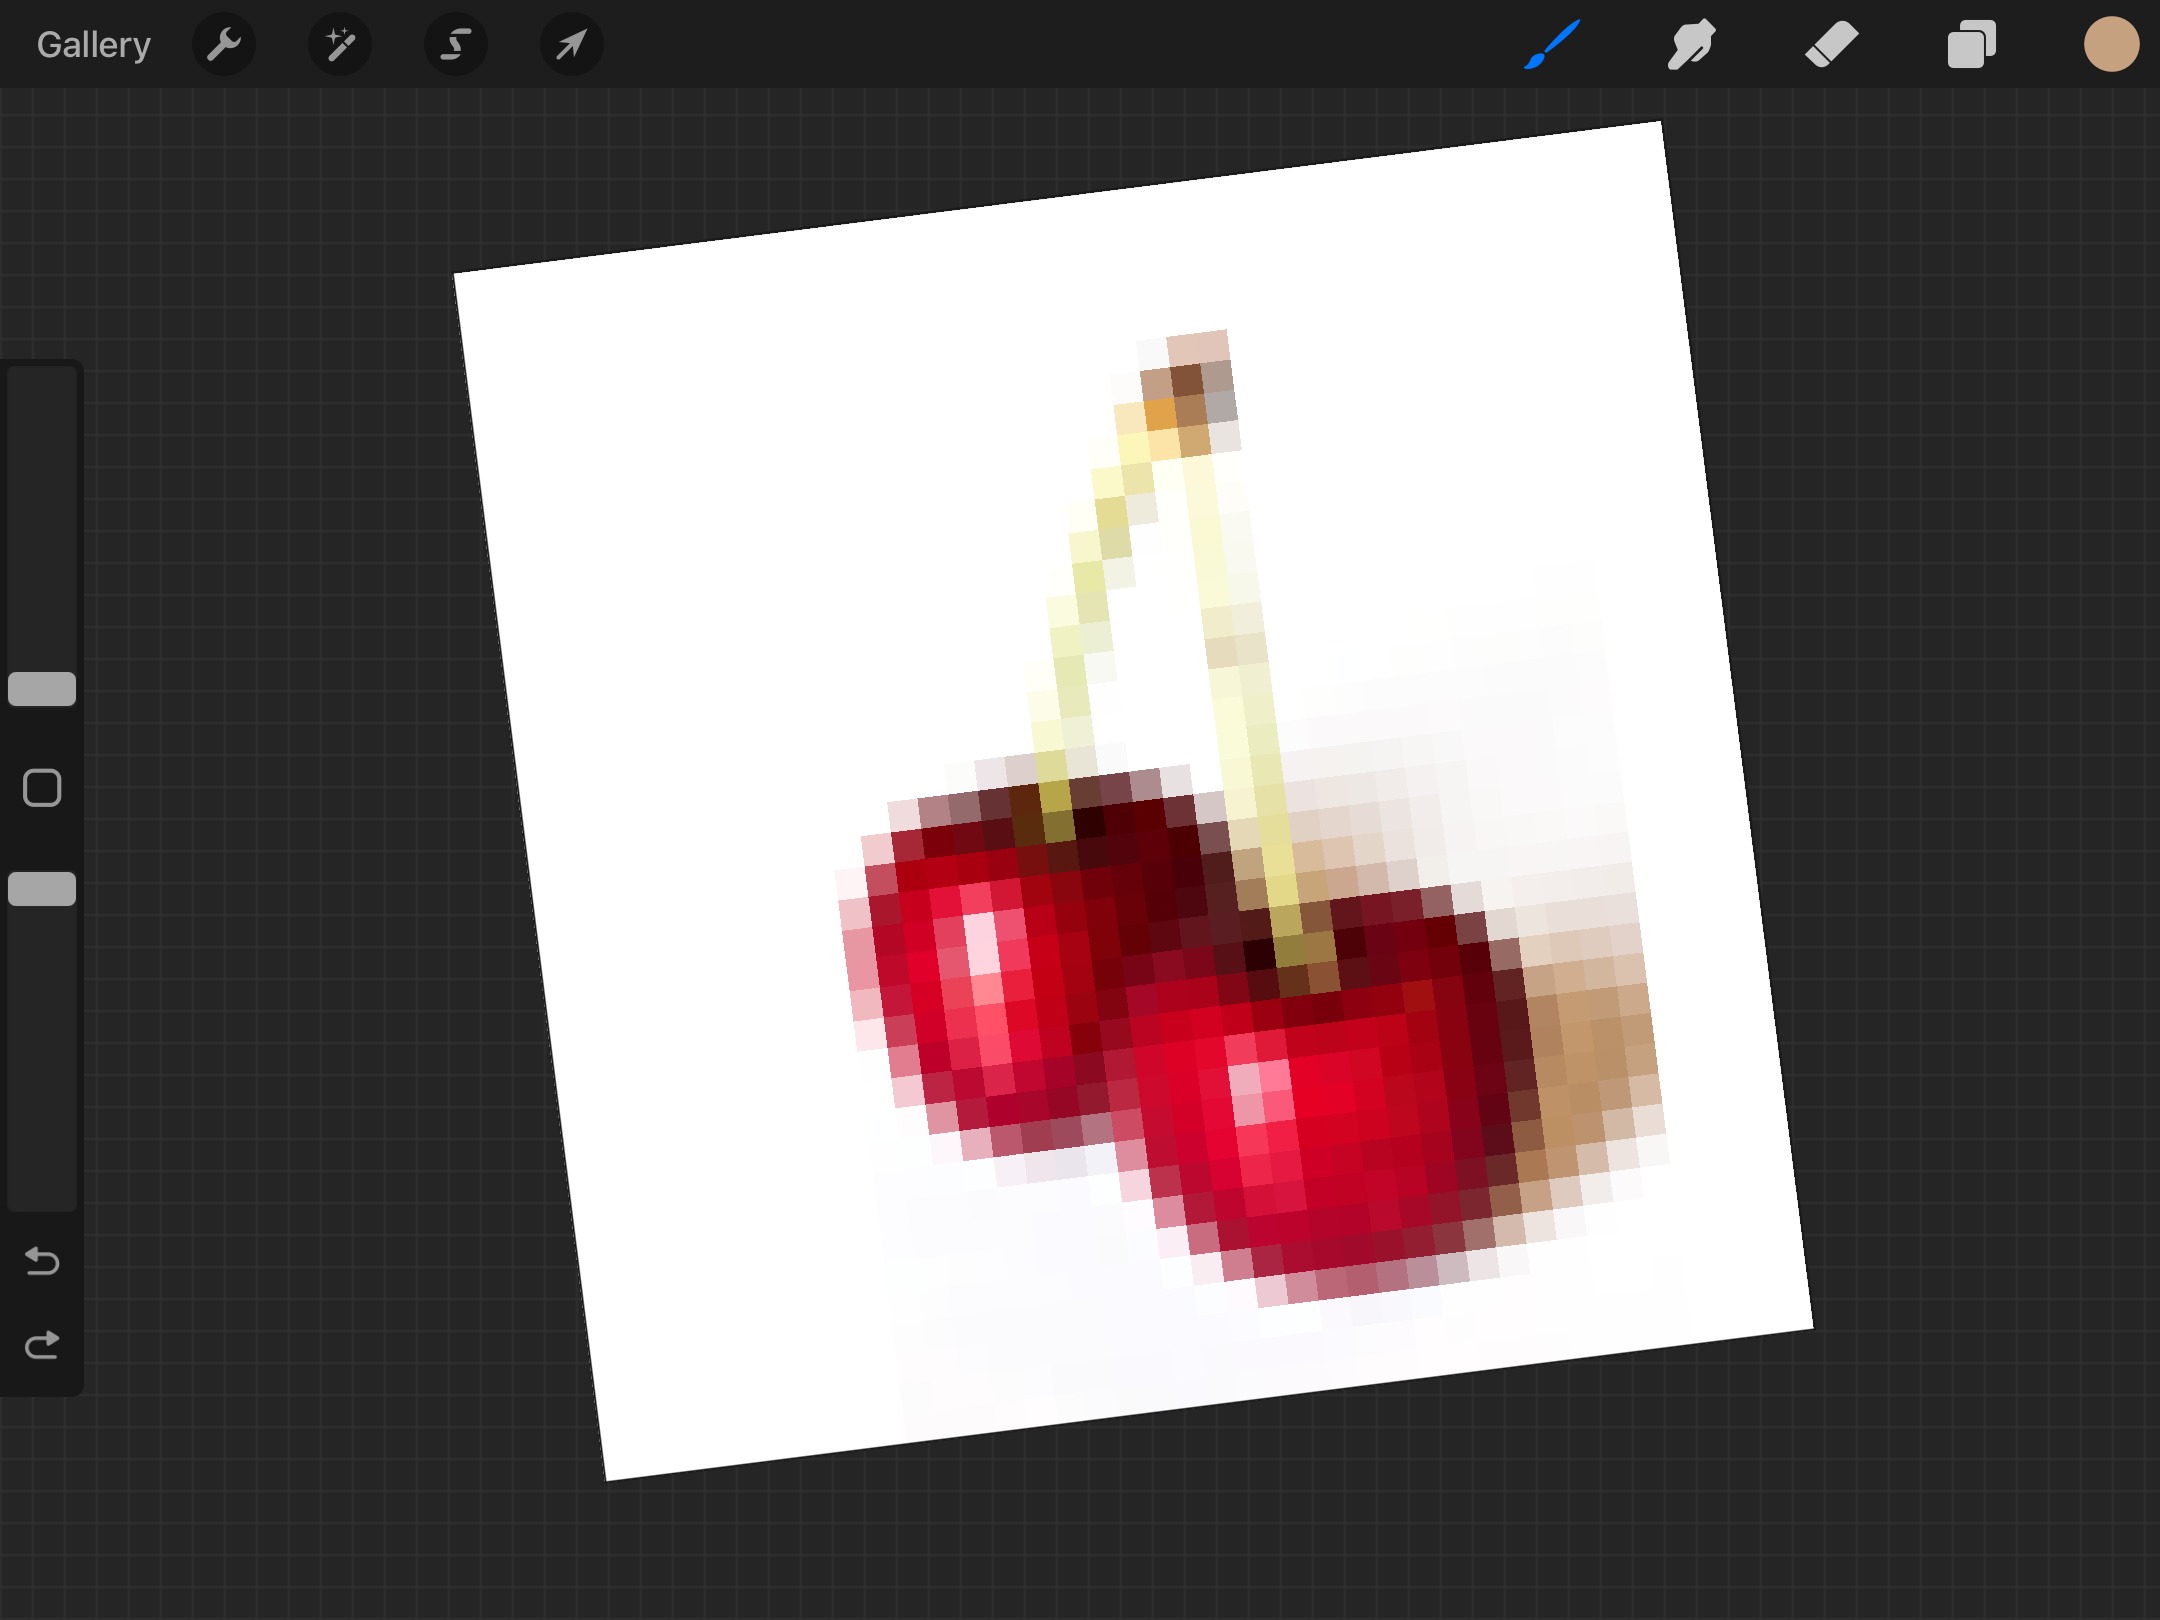
Any rasterized type or imported photo becomes a grid of colored squares that you can intentionally exaggerate. Applying a heavy Mosaic filter or dramatically upscaling a low-resolution layer are the most direct ways to pixelate in Procreate, breaking an image down into visible blocks for a retro digital look.
Animation and 3d workflows
Animation in Procreate begins when you turn on Animation Assist from the Actions menu under Canvas, which reveals a Timeline where each layer or group becomes a frame. You can export that sequence as a looping GIF by following the steps in the article on how to make a GIF on Procreate. Then decide between Max Resolution or Web Ready before hitting Export. If your project needs a soundtrack, you will quickly find that you cannot add sound to Procreate animation directly inside the app, since the current export options for animation are limited to silent GIF, PNG, MP4, and HEVC files without any audio mixing capability. To organize your canvas before animating, make folder in Procreate to group related layers, keeping your timeline tidy and your frames easy to navigate. Shifting into three dimensions, you can use 3D models in Procreate by opening a USDZ file straight from the Gallery, selecting a mesh, and painting directly on the surface with Apple Pencil while dragging one finger to rotate the view. For more control, the Lighting Studio under Actions lets you add lights and adjust their sliders to change how your brush strokes appear across the model’s contours. Beyond these core tools, a handful of tightly focused walkthroughs cover the remaining essentials: one cluster addresses frame-by-frame motion and looping exports, while another tackles canvas organization and precise shape techniques, such as the tutorial on how to make perfect circle in Procreate that ensures your geometric marks are crisp every time. Which one you reach for depends entirely on whether you are building a sequence, cleaning up your layer stack, or constraining a mark to a geometric boundary. For a complete walkthrough of the entire animation workflow from start to finish, the guide on how to make animation on Procreate ties all these techniques together, showing you how to combine frames, folders, and exports into a polished final piece.
Saving, exporting, and backups
Because every stroke in Procreate is made of pixels, your canvas size sets a ceiling on detail, so you should always start larger than you think you need if you plan to print or crop later to avoid encountering Procreate pixelation issues from aggressive upscaling. When it is time to preserve your work, one way to save on Procreate is to let the app manage its own file format automatically, but you must still create a separate copy for sharing or archiving. For sharing, you can open the Actions menu and use the Share Layers section to push out assets as bulk-exported individual images or a single multi-page PDF, giving you a clean way to hand off separated elements while keeping your master file intact. To truly protect against hardware failure, you need to back up Procreate files manually, because the app itself does not store a secondary automatic backup outside your device. Relying on just one location puts hours of brushwork at risk, so establishing a manual backup routine ensures your layered originals survive a lost or damaged iPad.
Alternatives and platform decisions
Because Procreate is built exclusively for iPad and Procreate Pocket for iPhone, anyone working on an Android device or a Windows tablet needs to look elsewhere from the start. You can confirm your own hardware by opening the Settings app, choosing General, then About, and checking the Model Name. If it does not list an iPad or iPhone, the app simply will not be available to you. When you browse the 12 best alternatives to Procreate of 2022, you will notice that many of them center on vector engines rather than the pixel-based canvas you are used to here. That means you can scale a logo or a line drawing infinitely with no softening of an edge. That architectural difference is the single biggest factor in your platform decision, because a raster-only workflow forces you to commit to a maximum output size on day one. If your work involves frequent client revisions that require resizing elements, a vector tool eliminates the quality loss that occurs every time you stretch a pixel layer. For painters and illustrators who stay inside a single resolution, the iPad‑only limitation is rarely a dealbreaker, but it does mean your entire toolkit lives on one device with no official desktop companion.